
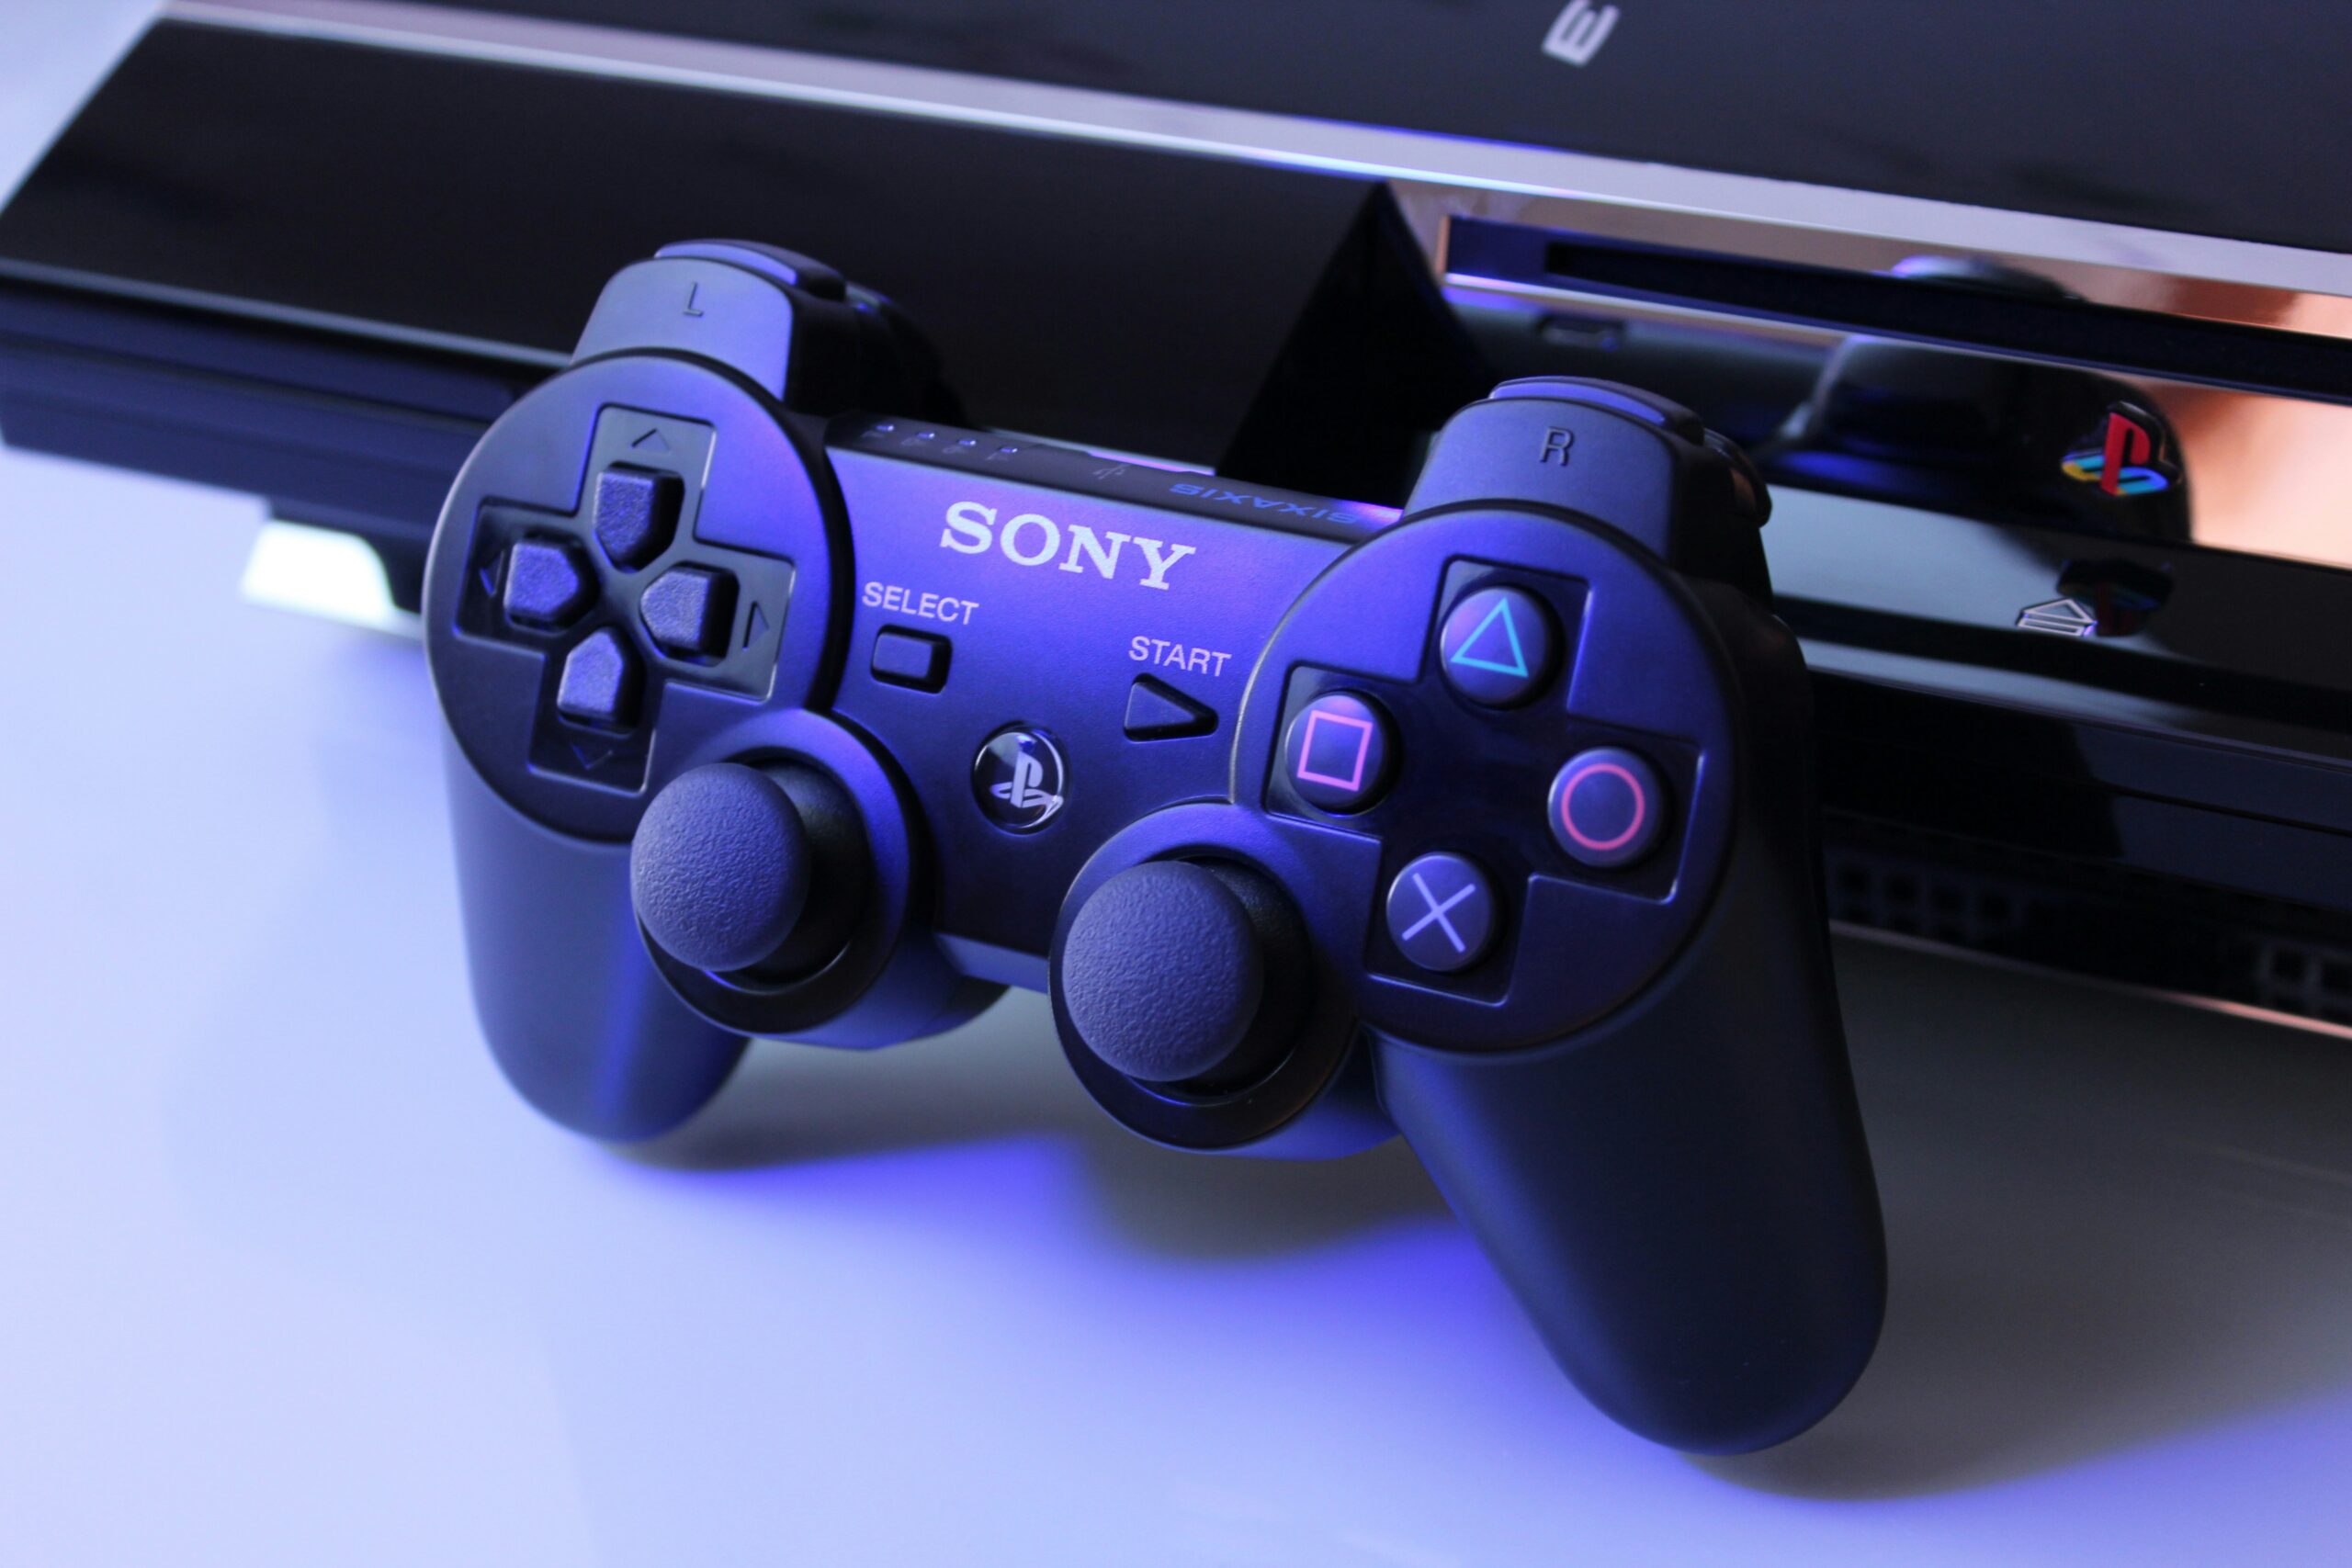
The PlayStation 3 may not be the latest console on the market, but for retro gaming enthusiasts and casual players alike, it still holds a special place. Whether you’re using your PS3 for emulation, classic games, or media, giving your controller a personal touch can make a big difference.
Modding your ps3 controller not only enhances performance but also lets you express your individual style. Here’s how to take your standard DualShock 3 and transform it into a custom masterpiece.
Why Mod Your PS3 Controller?
Before diving into the “how,” let’s talk about the “why.” Here are a few good reasons:
- Better grip and handling: Mods like trigger extensions or thumbstick grips improve control and comfort.
- Improved response time: Upgraded buttons and contact pads reduce input lag and increase precision.
- Personal aesthetics: Change colors, add LED lighting, or use custom shells to match your setup or personality.
- Enhanced gameplay: For competitive gaming or just more enjoyable sessions, performance mods give you a tangible advantage.
Step 1: Gather Your Tools and Parts
Modding isn’t too complicated, but you’ll need the right tools and components. Here’s a basic list:
Tools:
- Small Phillips-head screwdriver
- Tweezers
- Soldering iron (only for advanced mods)
- Spudger or plastic opening tool
Parts:
- Replacement shell or faceplate
- Custom thumbsticks or thumb grips
- Trigger extenders or button replacements
- LED lights (optional)
- Contact pad replacements
- Decals or vinyl skins
Many online stores specialize in controller mods, so finding parts to suit your preferences should be easy.
Step 2: Disassemble the Controller
Carefully unscrew the back panel of the controller (there are usually five screws), then gently pry it open. Be cautious: there are ribbon cables and small components inside that you don’t want to break.
Tips:
- Work on a clean, static-free surface.
- Take pictures as you go so you can remember how to reassemble it.
- Place small screws in a container so they don’t get lost.
Step 3: Upgrade the Internals (Optional)
If you’re aiming for performance mods, this is your time to shine.
- Replace contact pads: Over time, the rubber pads under the buttons wear out. Replacing them with higher-quality ones improves response time.
- Install new triggers or bumpers: Some players prefer the feel of stiffer or extended triggers for better FPS control.
- Tweak the analog sticks: Swap them out for concave, domed, or taller variants depending on your preferred style of play.
Note: Soldering might be required for advanced mods like rapid-fire chips or remappable paddles.
Step 4: Customize the Exterior
For style mods, the sky’s the limit.
- Swap the shell: Choose from matte finishes, chrome, clear plastic, or even glow-in-the-dark options.
- Add decals or skins: If you want a faster visual upgrade, vinyl wraps can completely transform your controller without opening it up.
- LED Modding: Adding LED lights to the PS button or the analog sticks can make your controller truly pop in a dark room. This mod is more advanced and may require soldering.
Step 5: Reassemble and Test
Once all the components are in place, carefully reassemble your controller. Make sure the buttons move freely, no wires are pinched, and all parts are aligned properly.
Before using it extensively:
- Test every button.
- Check that the analog sticks return to center.
- Confirm that LEDs (if installed) are working as expected.
Final Thoughts
Modding your PS3 controller is a fun and rewarding project that doesn’t require too much investment. Whether you’re after sleek aesthetics or high-performance upgrades, a customized controller can breathe new life into your gaming sessions.