Wood veneer furniture is a beautiful and affordable alternative to solid wood. However, one common issue that homeowners face is the appearance of heat marks. These white or cloudy stains occur when heat disrupts the finish or moisture gets trapped beneath the surface. These marks can make even the most well-maintained furniture look worn out and neglected. Fortunately, you don’t have to live with these unsightly blemishes.
Removing heat marks from wood veneer is not as difficult as it may seem. Many methods involve using common household items, and professional solutions are available for more stubborn stains. Whether you are dealing with a minor mark or a large discoloration, there are steps you can take to restore your furniture’s original beauty. In this guide, we’ll walk you through several effective methods to remove heat marks from wood veneer furniture, using simple household items and professional techniques. We will also discuss preventive measures to ensure your furniture stays in pristine condition.
Understanding Heat Marks on Wood Veneer
Before we dive into the solutions, it’s important to understand what causes heat marks. These marks typically appear when hot dishes, mugs, or other heated objects are placed directly on the wood veneer. The heat causes moisture to get trapped beneath the finish, leading to a white or cloudy discoloration.
Common Causes of Heat Marks
- Placing hot dishes or cups directly on the surface
- Exposure to high humidity combined with heat
- Hot appliances resting on wood veneer
- Improperly using steam or heat-producing tools near the furniture
The good news is that these marks are usually not permanent and can be removed with the right techniques.
Best Solutions for Removing Heat Marks
When dealing with heat marks, choosing the right materials is essential to avoid further damage to the veneer. If you’re looking for high-quality wood veneer materials for restoration or refinishing, Woodenave offers a premium selection of natural and engineered veneers that can help maintain the beauty and longevity of your furniture. Their expertly crafted veneer products ensure durability while enhancing your interior aesthetics.
Now, let’s explore the different methods to remove heat marks effectively.
1. Using an Iron and a Cotton Cloth
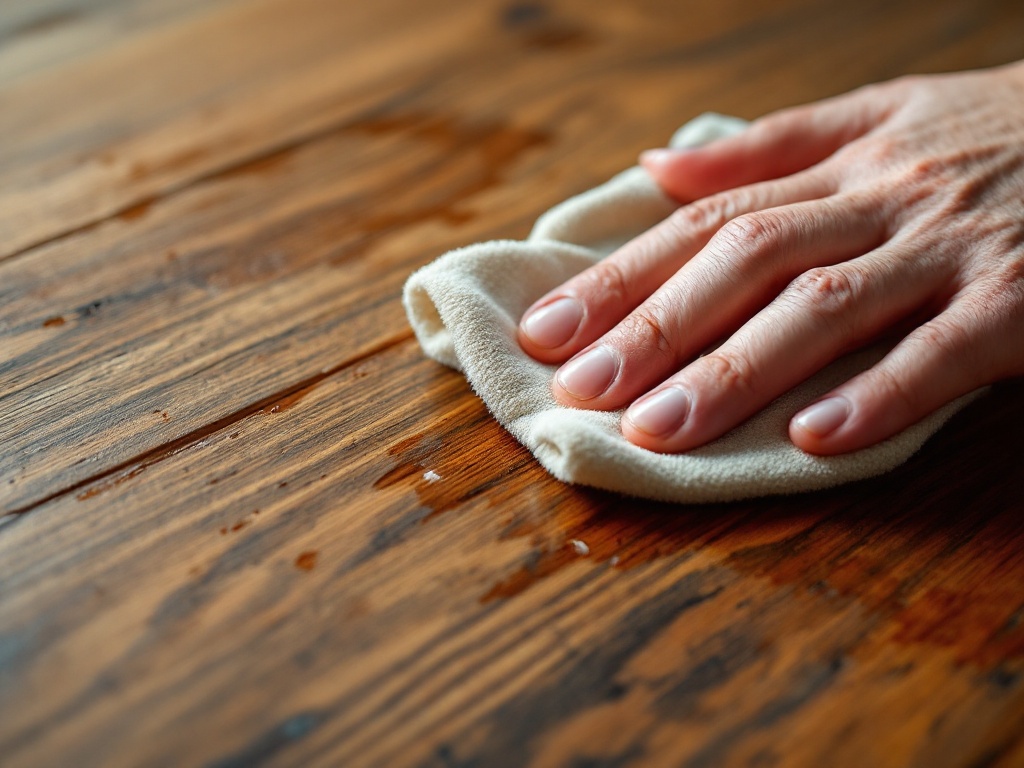
One of the most effective ways to remove heat marks is by using heat itself to reverse the damage. Set your iron to the lowest heat setting without steam. Place a clean, dry cotton cloth over the heat mark and gently press the iron over the cloth for 5-10 seconds at a time. Lift the cloth and check the progress. If the mark is still visible, repeat the process until it fades. Once the stain is gone, wipe the area with a clean microfiber cloth to remove any residue. This method works because the heat helps to release the trapped moisture, restoring the original look of the veneer.
2. Applying Baking Soda and Water Paste
Baking soda is an excellent natural abrasive that helps remove stains without damaging the veneer. To use this method, mix equal parts baking soda and water to form a thick paste. Apply the paste to the heat mark using a soft cloth and gently rub in circular motions for a few minutes. The mild abrasiveness of baking soda helps lift the stain without harming the surface. After scrubbing, wipe the area clean with a damp cloth and dry it immediately. This method is effective for minor heat marks and works well on delicate veneer surfaces.
3. Mayonnaise or Petroleum Jelly Method
The oils in mayonnaise and petroleum jelly can help rehydrate the wood finish and lift heat stains. Simply apply a generous amount of mayonnaise or petroleum jelly to the affected area, making sure to cover the entire stain. Let it sit for at least 1 hour, but for more stubborn marks, leave it overnight. The oils penetrate the finish, breaking down the trapped moisture that causes the cloudy appearance. After the waiting period, wipe away the excess with a clean cloth and buff the area gently to restore the natural shine of the veneer. This method is especially useful for older heat marks that have settled into the surface over time.
Alternative DIY Solutions

Household Products That Help Remove Heat Marks
- Toothpaste (non-gel) – Works as a mild abrasive to lift stains.
- White vinegar and olive oil – A combination that cleans and restores shine.
- Magic eraser – Gently buffs out minor stains.
- Steel wool (#0000) – Use with caution to avoid scratching the veneer.
Professional Methods for Stubborn Heat Marks
If DIY solutions don’t work, consider these professional techniques:
- Using Wood Polish or Restorative Products – Commercial wood polish products help remove stains and restore the finish.
- Applying a Veneer Repair Kit – These kits contain specialized solutions designed for wood veneer repair.
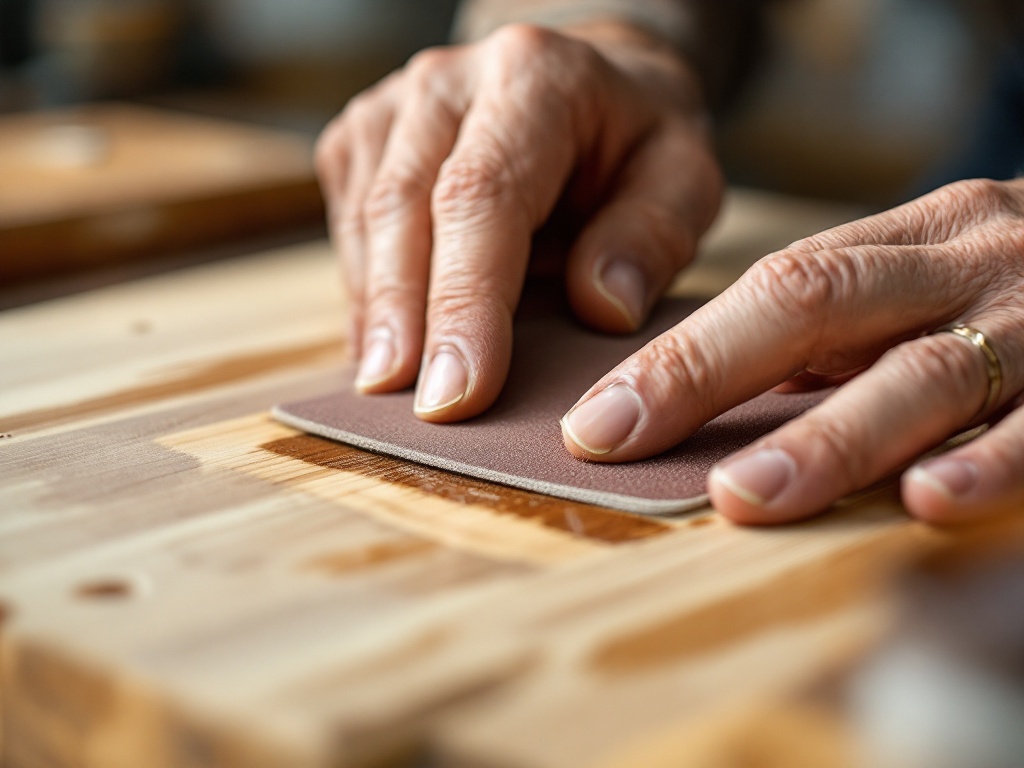
- Sanding and Refinishing – If the damage is severe, lightly sanding the surface and applying a fresh coat of finish might be necessary.
Preventing Heat Marks on Wood Veneer
Tips to Protect Your Furniture:
- Use coasters, placemats, or trivets for hot dishes and drinks.
- Avoid placing heated appliances directly on wood veneer.
- Regularly apply furniture polish to maintain the protective finish.
- Keep your furniture away from direct sunlight and excessive humidity.
Final Thoughts
Heat marks on wood veneer may seem like a disaster, but they are often easy to fix with the right approach. From using simple household items like an iron, baking soda, or mayonnaise to professional-grade restoration techniques, there’s a solution for every situation. The key is to act quickly and use gentle techniques that won’t damage the delicate veneer surface.
In addition to removing heat marks, taking preventive measures is just as crucial. Using coasters, avoiding direct heat exposure, and maintaining your furniture regularly will help preserve its appearance for years to come. With the right knowledge and a bit of effort, you can keep your wood veneer furniture looking as good as new.

