
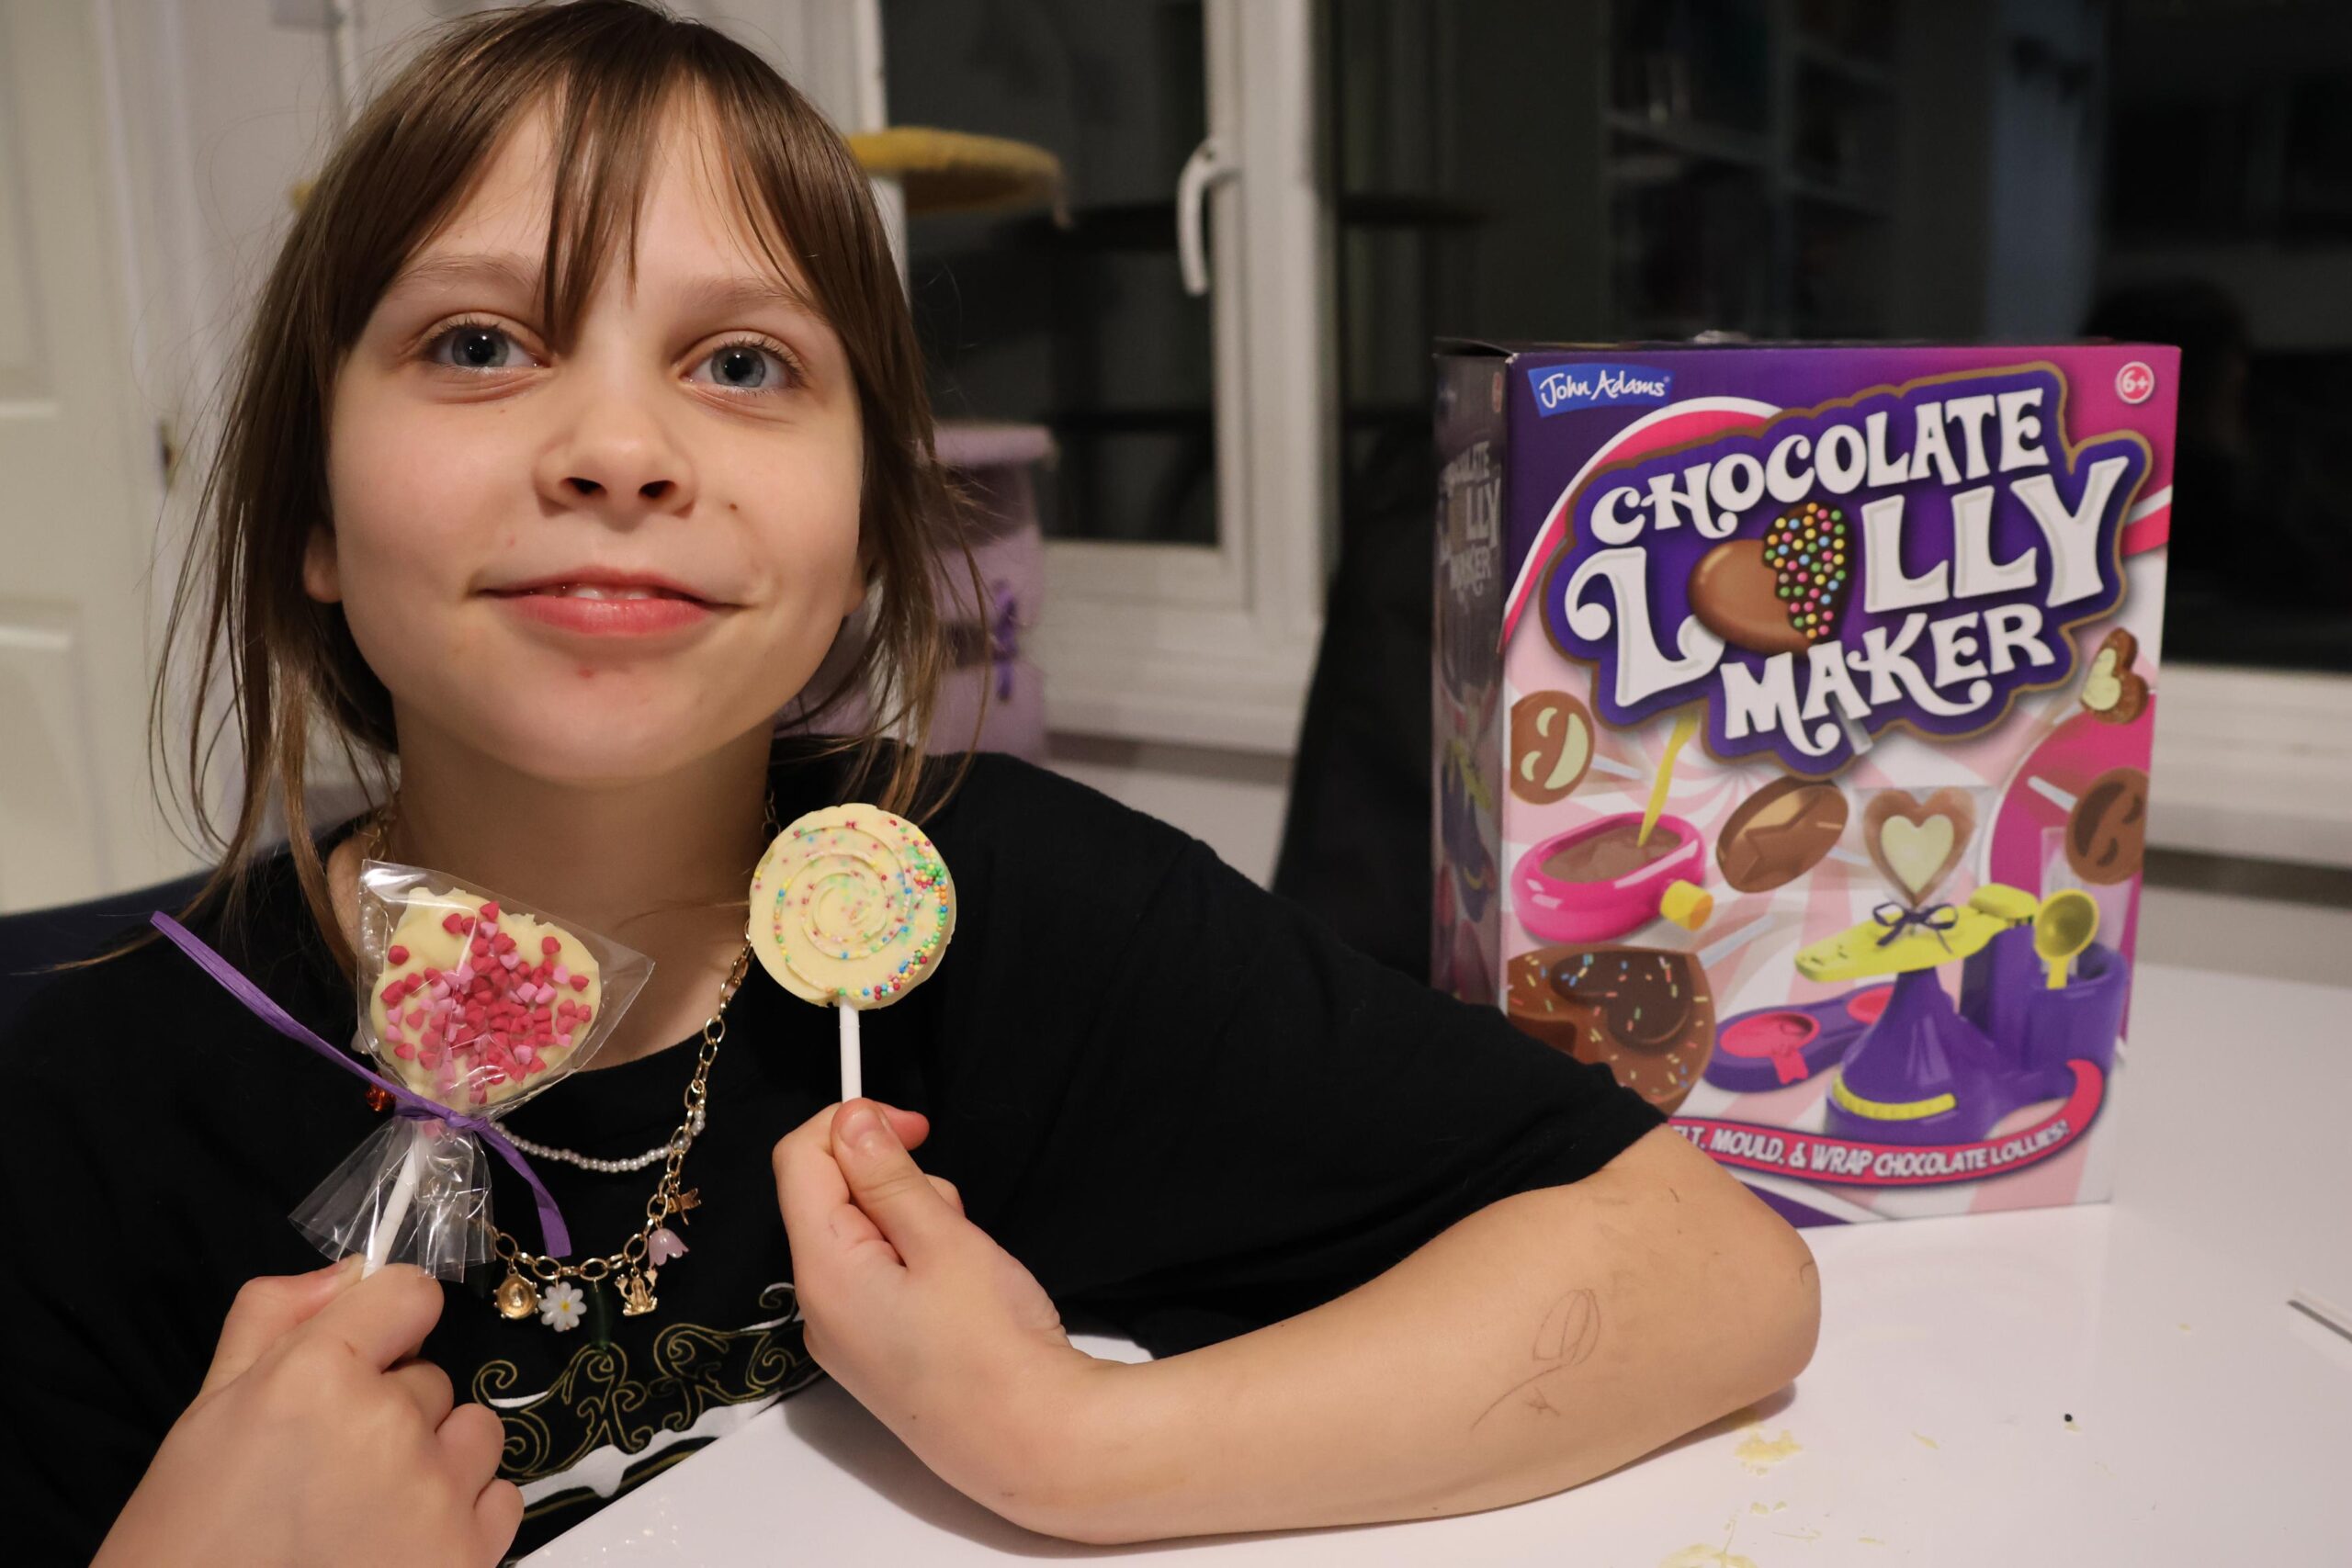
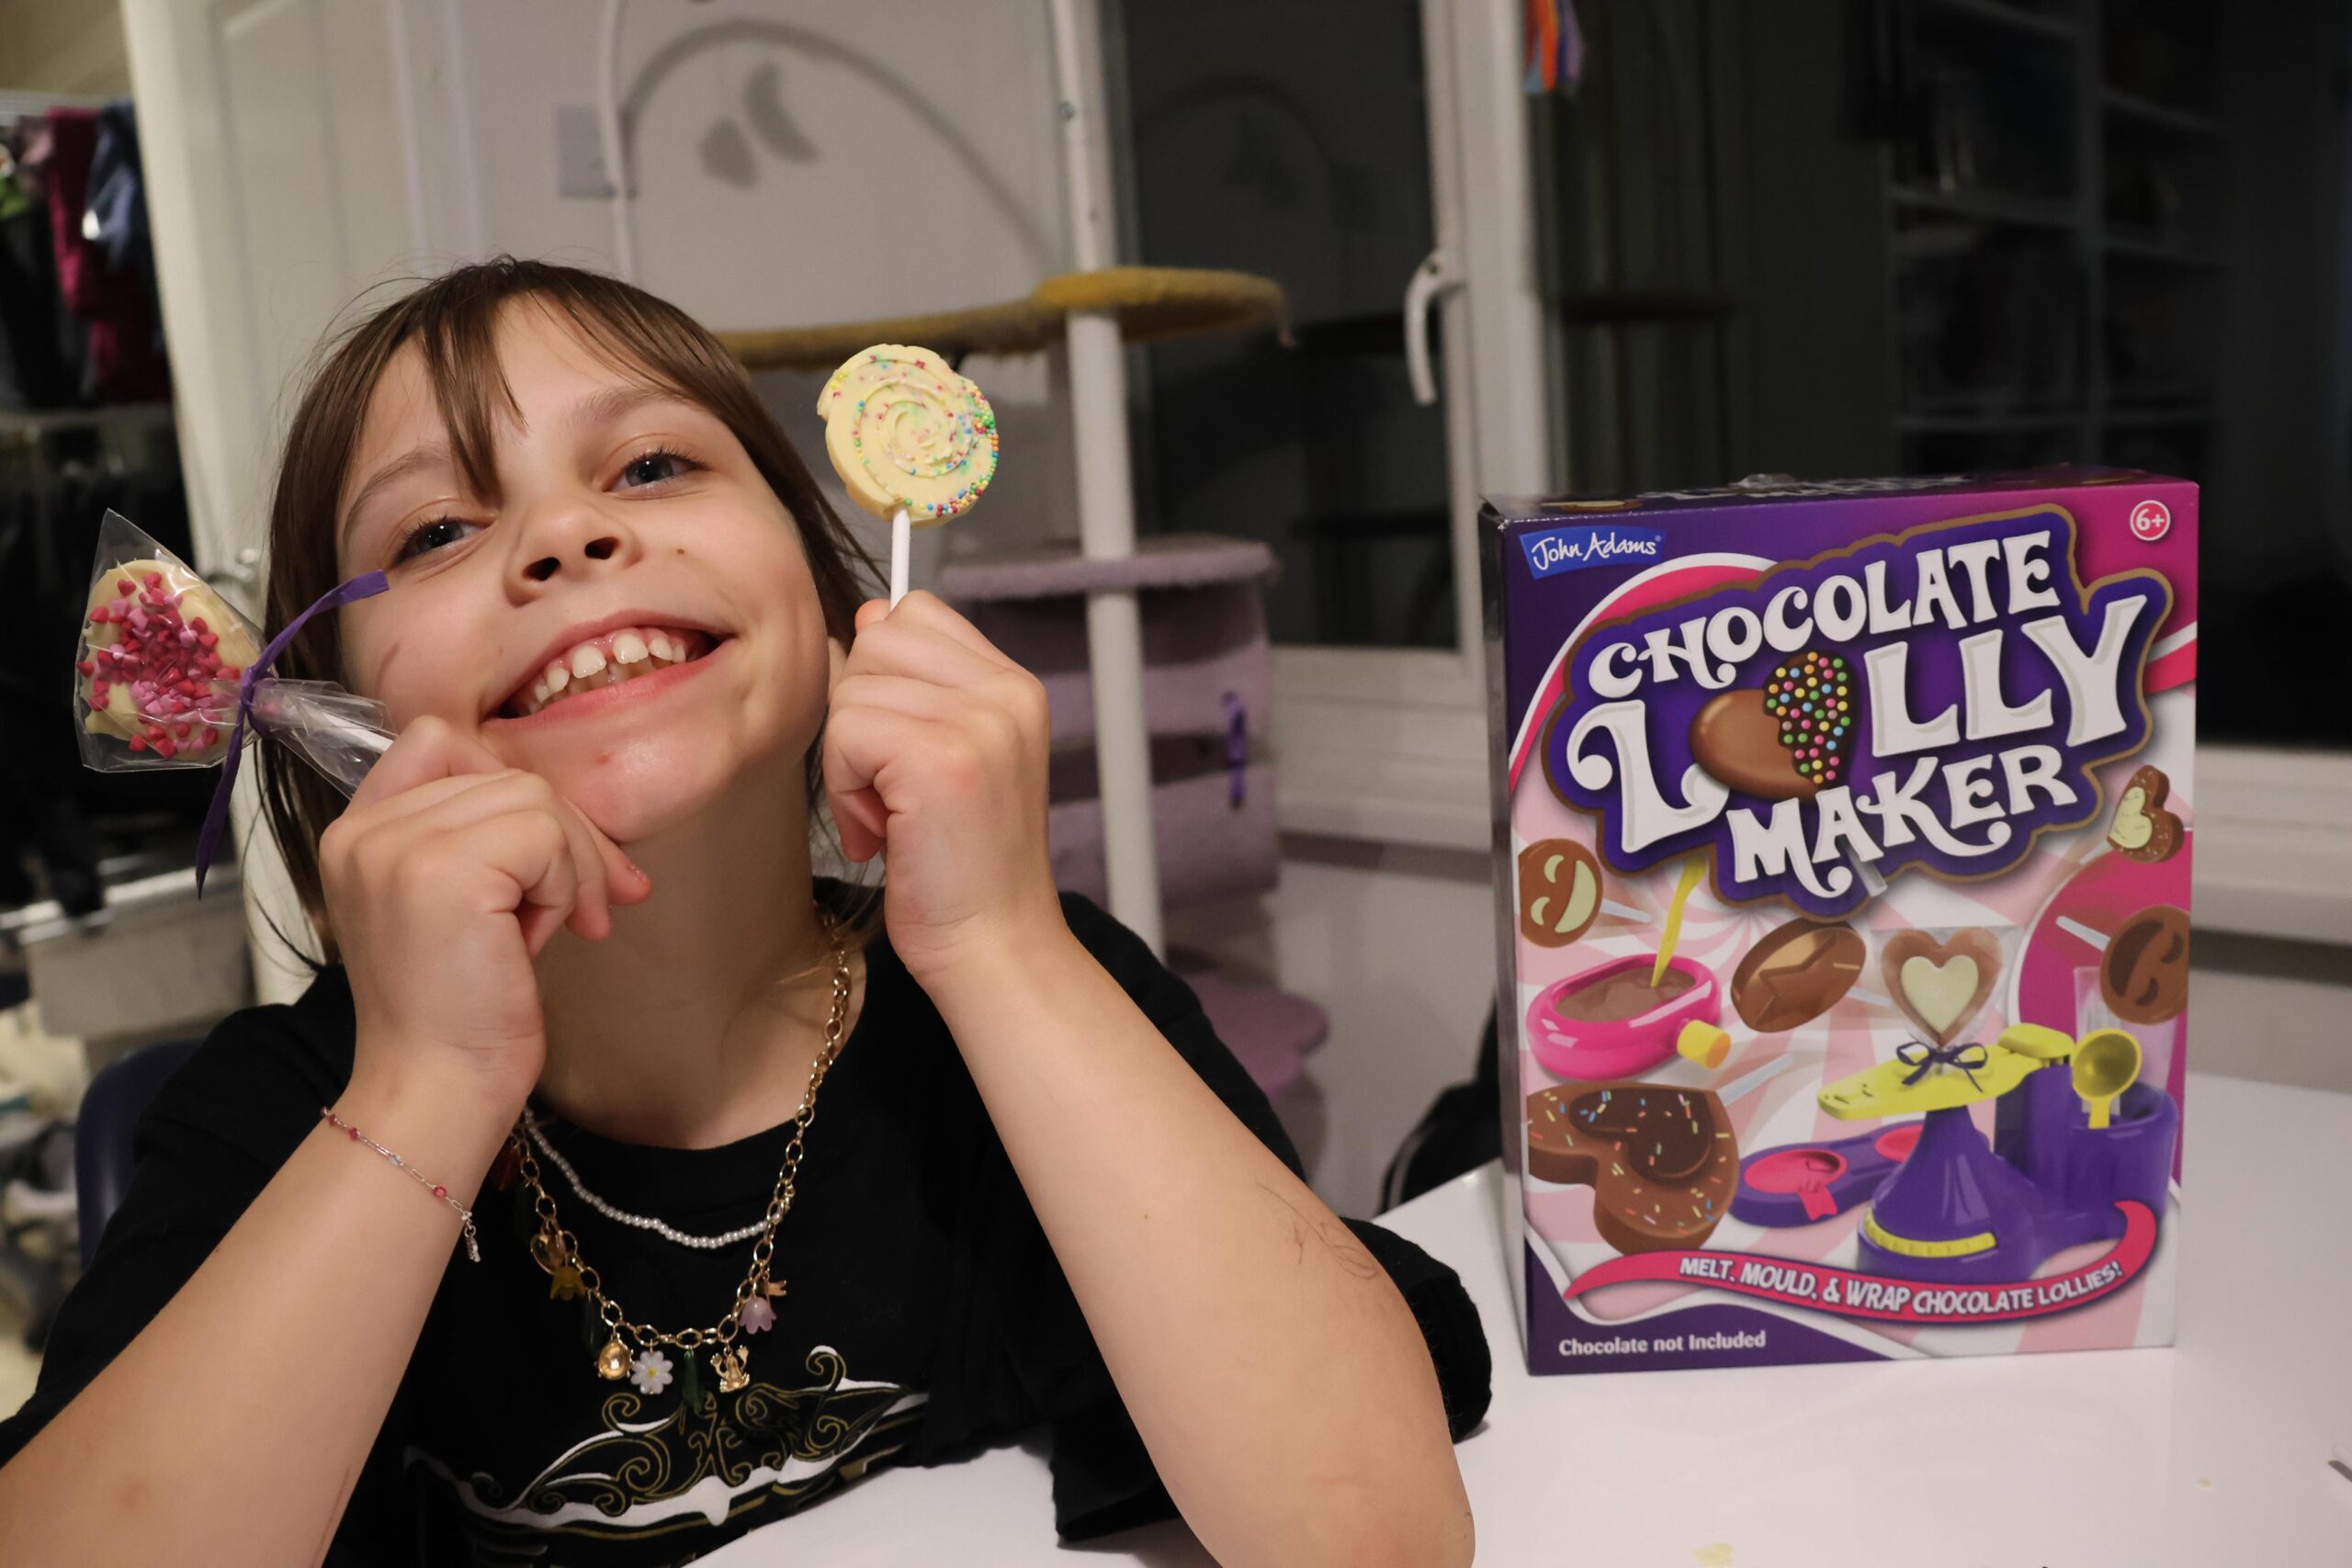
[Ad – Gifted Product] Valentine’s Day isn’t only an adult holiday, and as such, having something fun for children to get involved with makes for a fantastic day. Robin was pumped to try out the Chocolate Lolly Maker, which allows you to take some chocolate and make it into something new! If you, like us, have tons of chocolate left over from Christmas, giving it a new life around Valentine’s Day is actually a great way to get your leftover candy consumed.
The Chocolate Lolly Maker has everything you need to make your own chocolate lollipops and package them up. We unwrapped everything, got it set up, to see how it all worked. I had a lot of expectations for this kit, which might not have been completely fair – because the moment we filled up the little container with hot water to melt the chocolate, I realized that this kit was going to need some help. The chocolate melter is a little plastic water bottle with a space for chocolate. Robin snapped the pieces of chocolate and then I added hot, not boiling, water straight from our tap into the water bottle. This was not in anyway hot enough to melt chocolate!
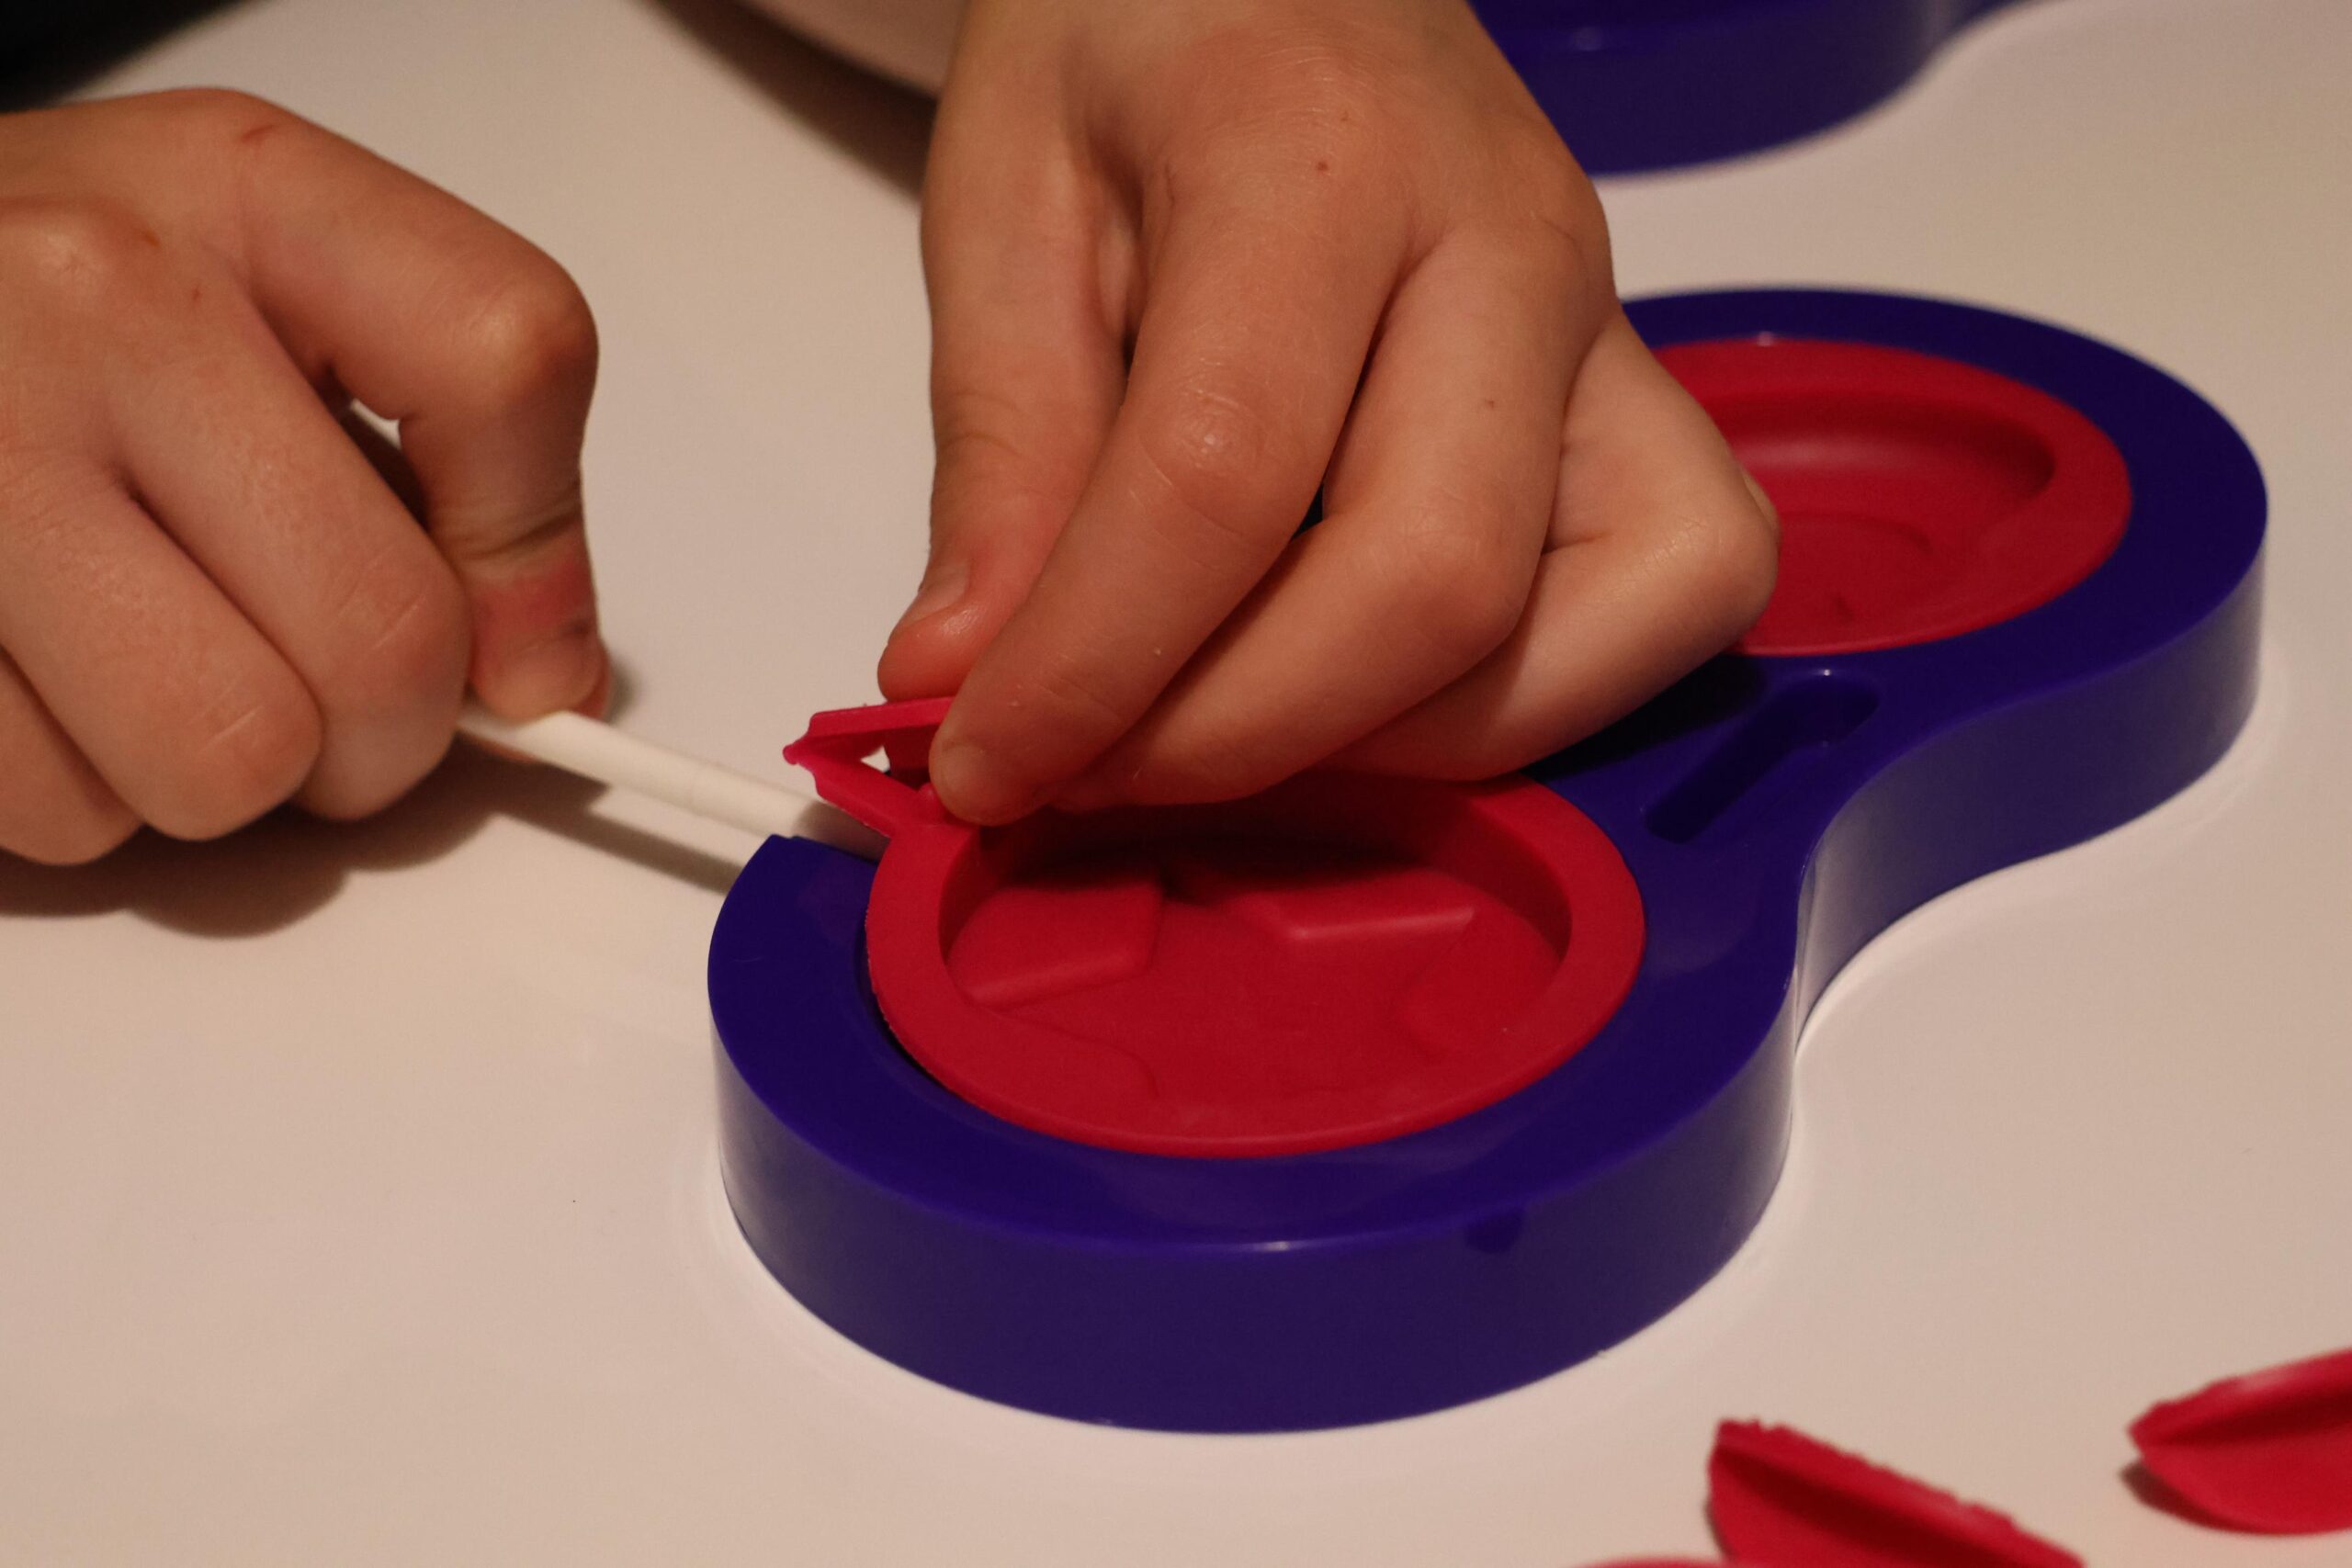
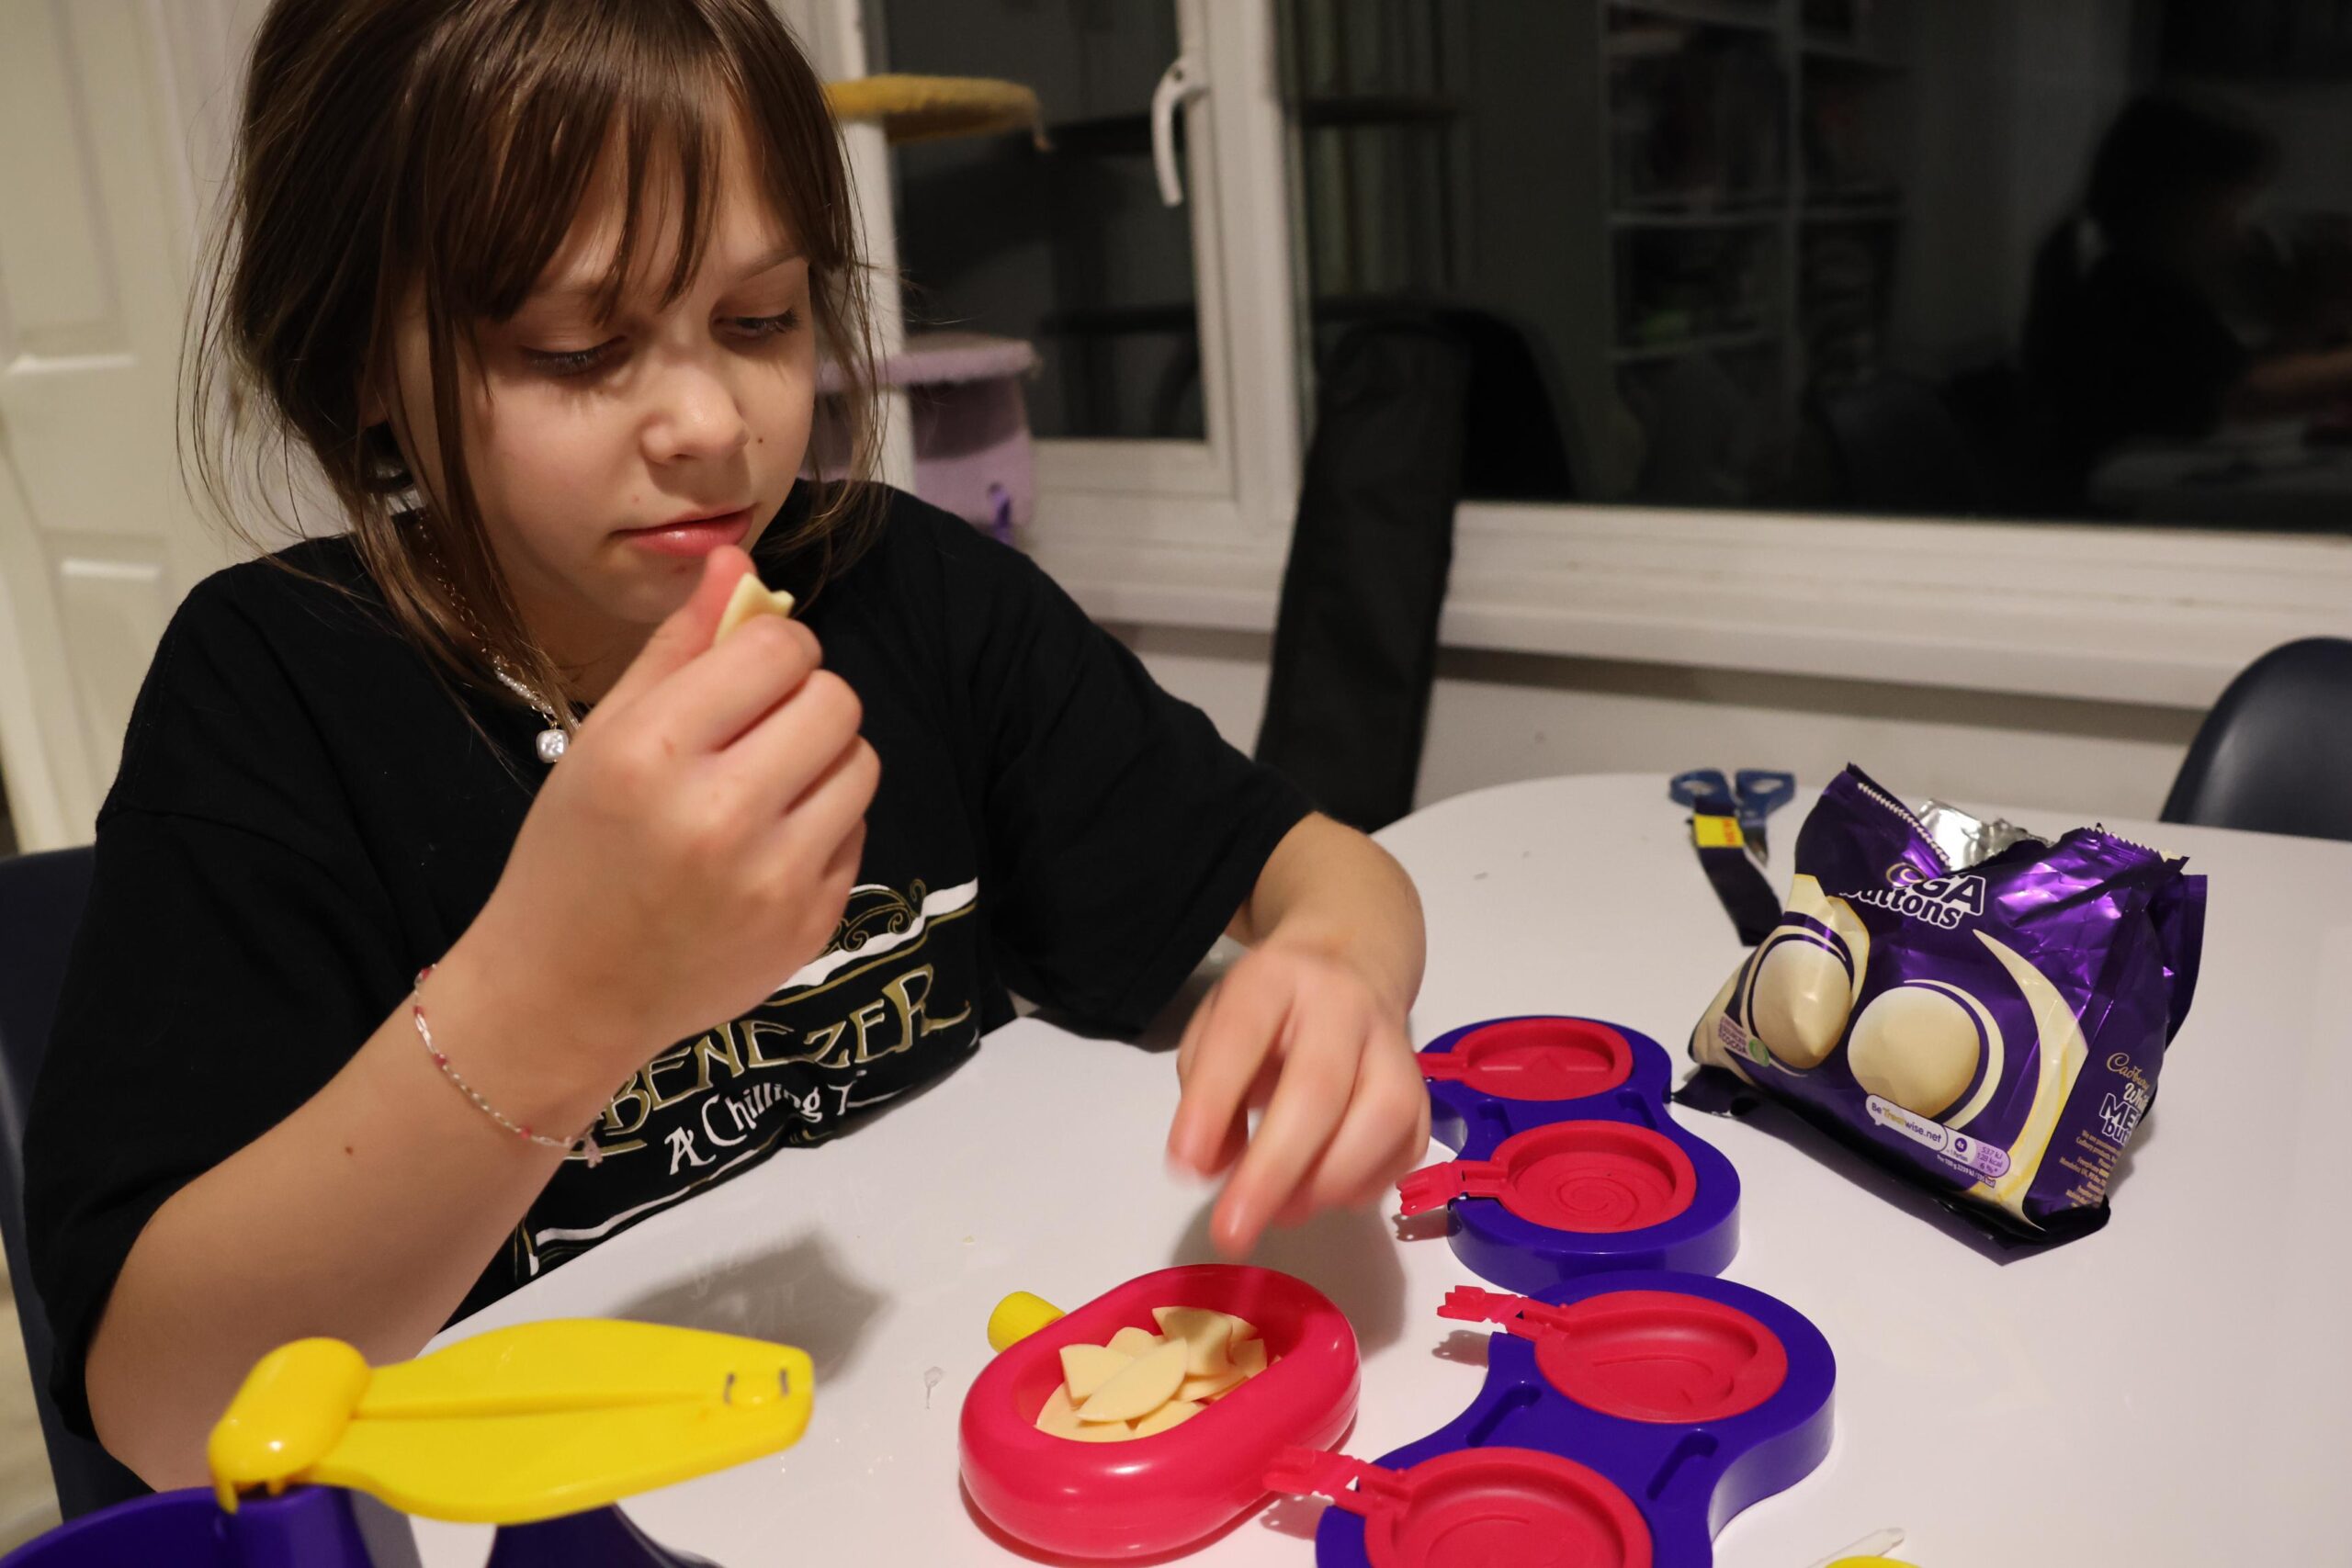
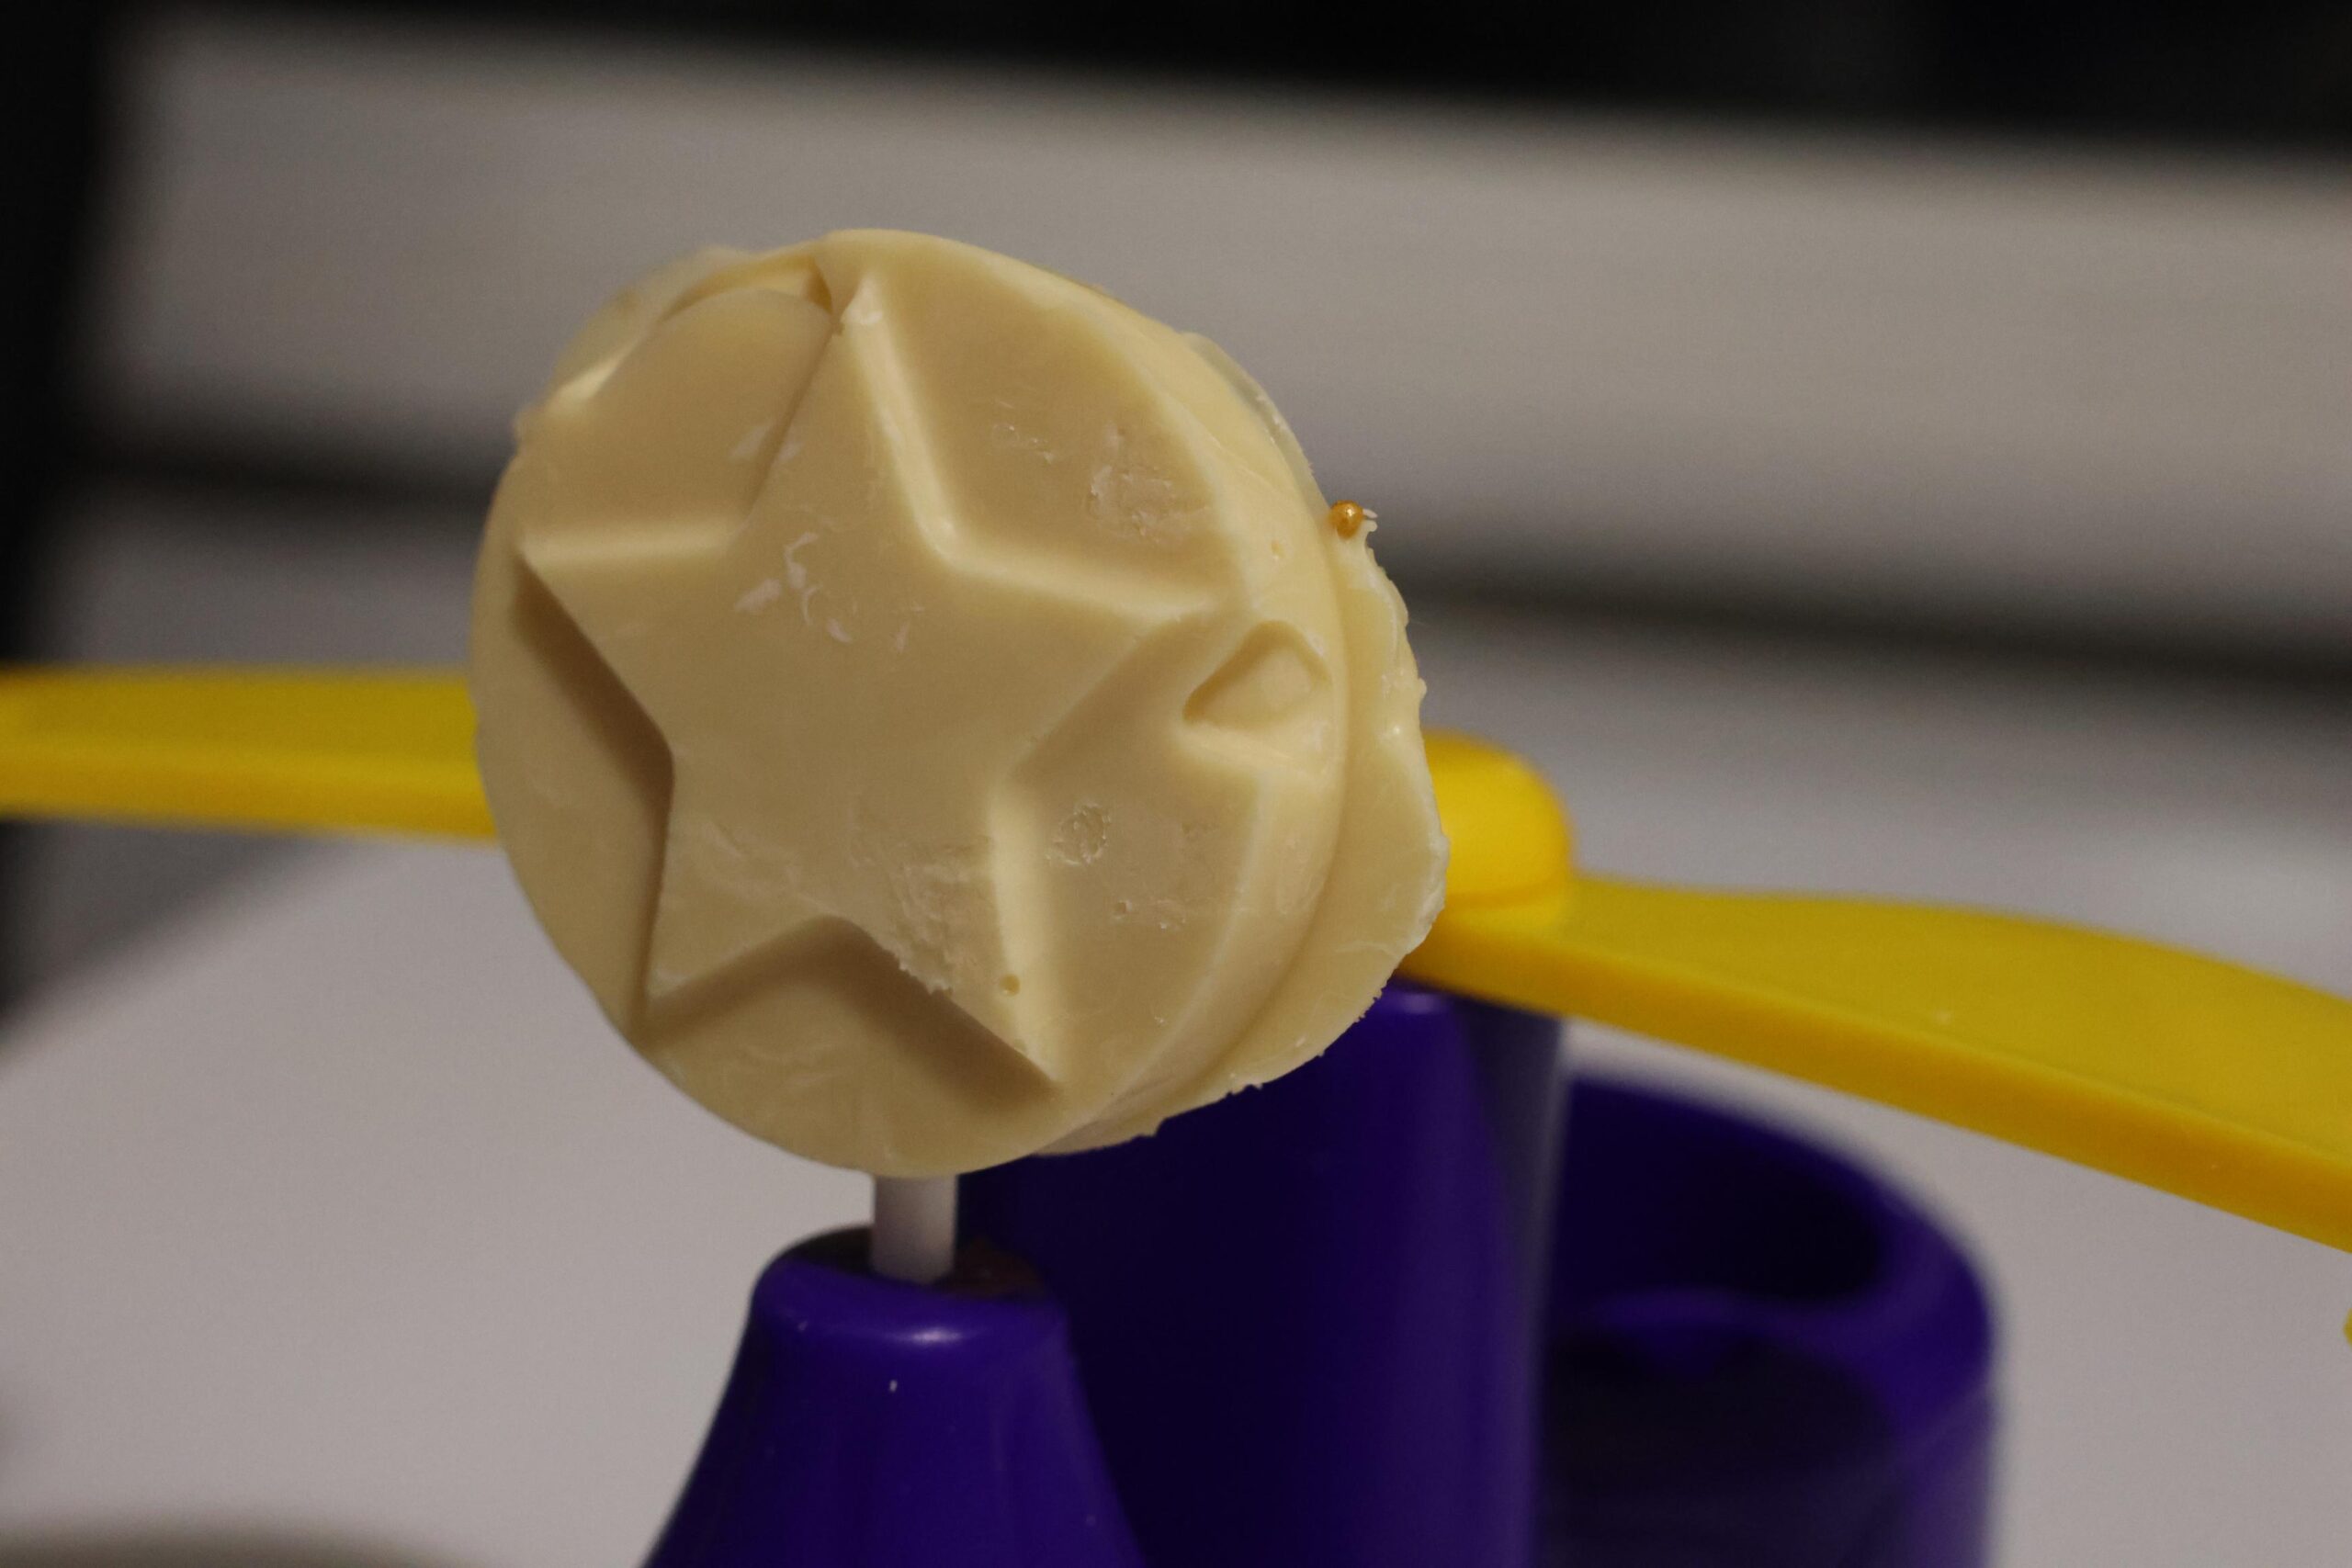
I understand that boiling water would have melted the actual plastic, but I do feel tap water wouldn’t be good enough to melt anything. With that in mind, we put the melter from the Chocolate Lolly Maker off to the side, and set up an actually chocolate melter with a pan of boiling water from the kettle and a measuring jug of chocolate. The lollipop moulds themselves were very fun in the kit, on the other hand! There were two little, hard, stands that you could put two of the moulds in each. There is a swirly one, a heart one, a simile one and a heart one. The designs are simple, but very effective and fun. You can easily pick two, place them into the harder tray, and add in the re-usable lollipop sticks.
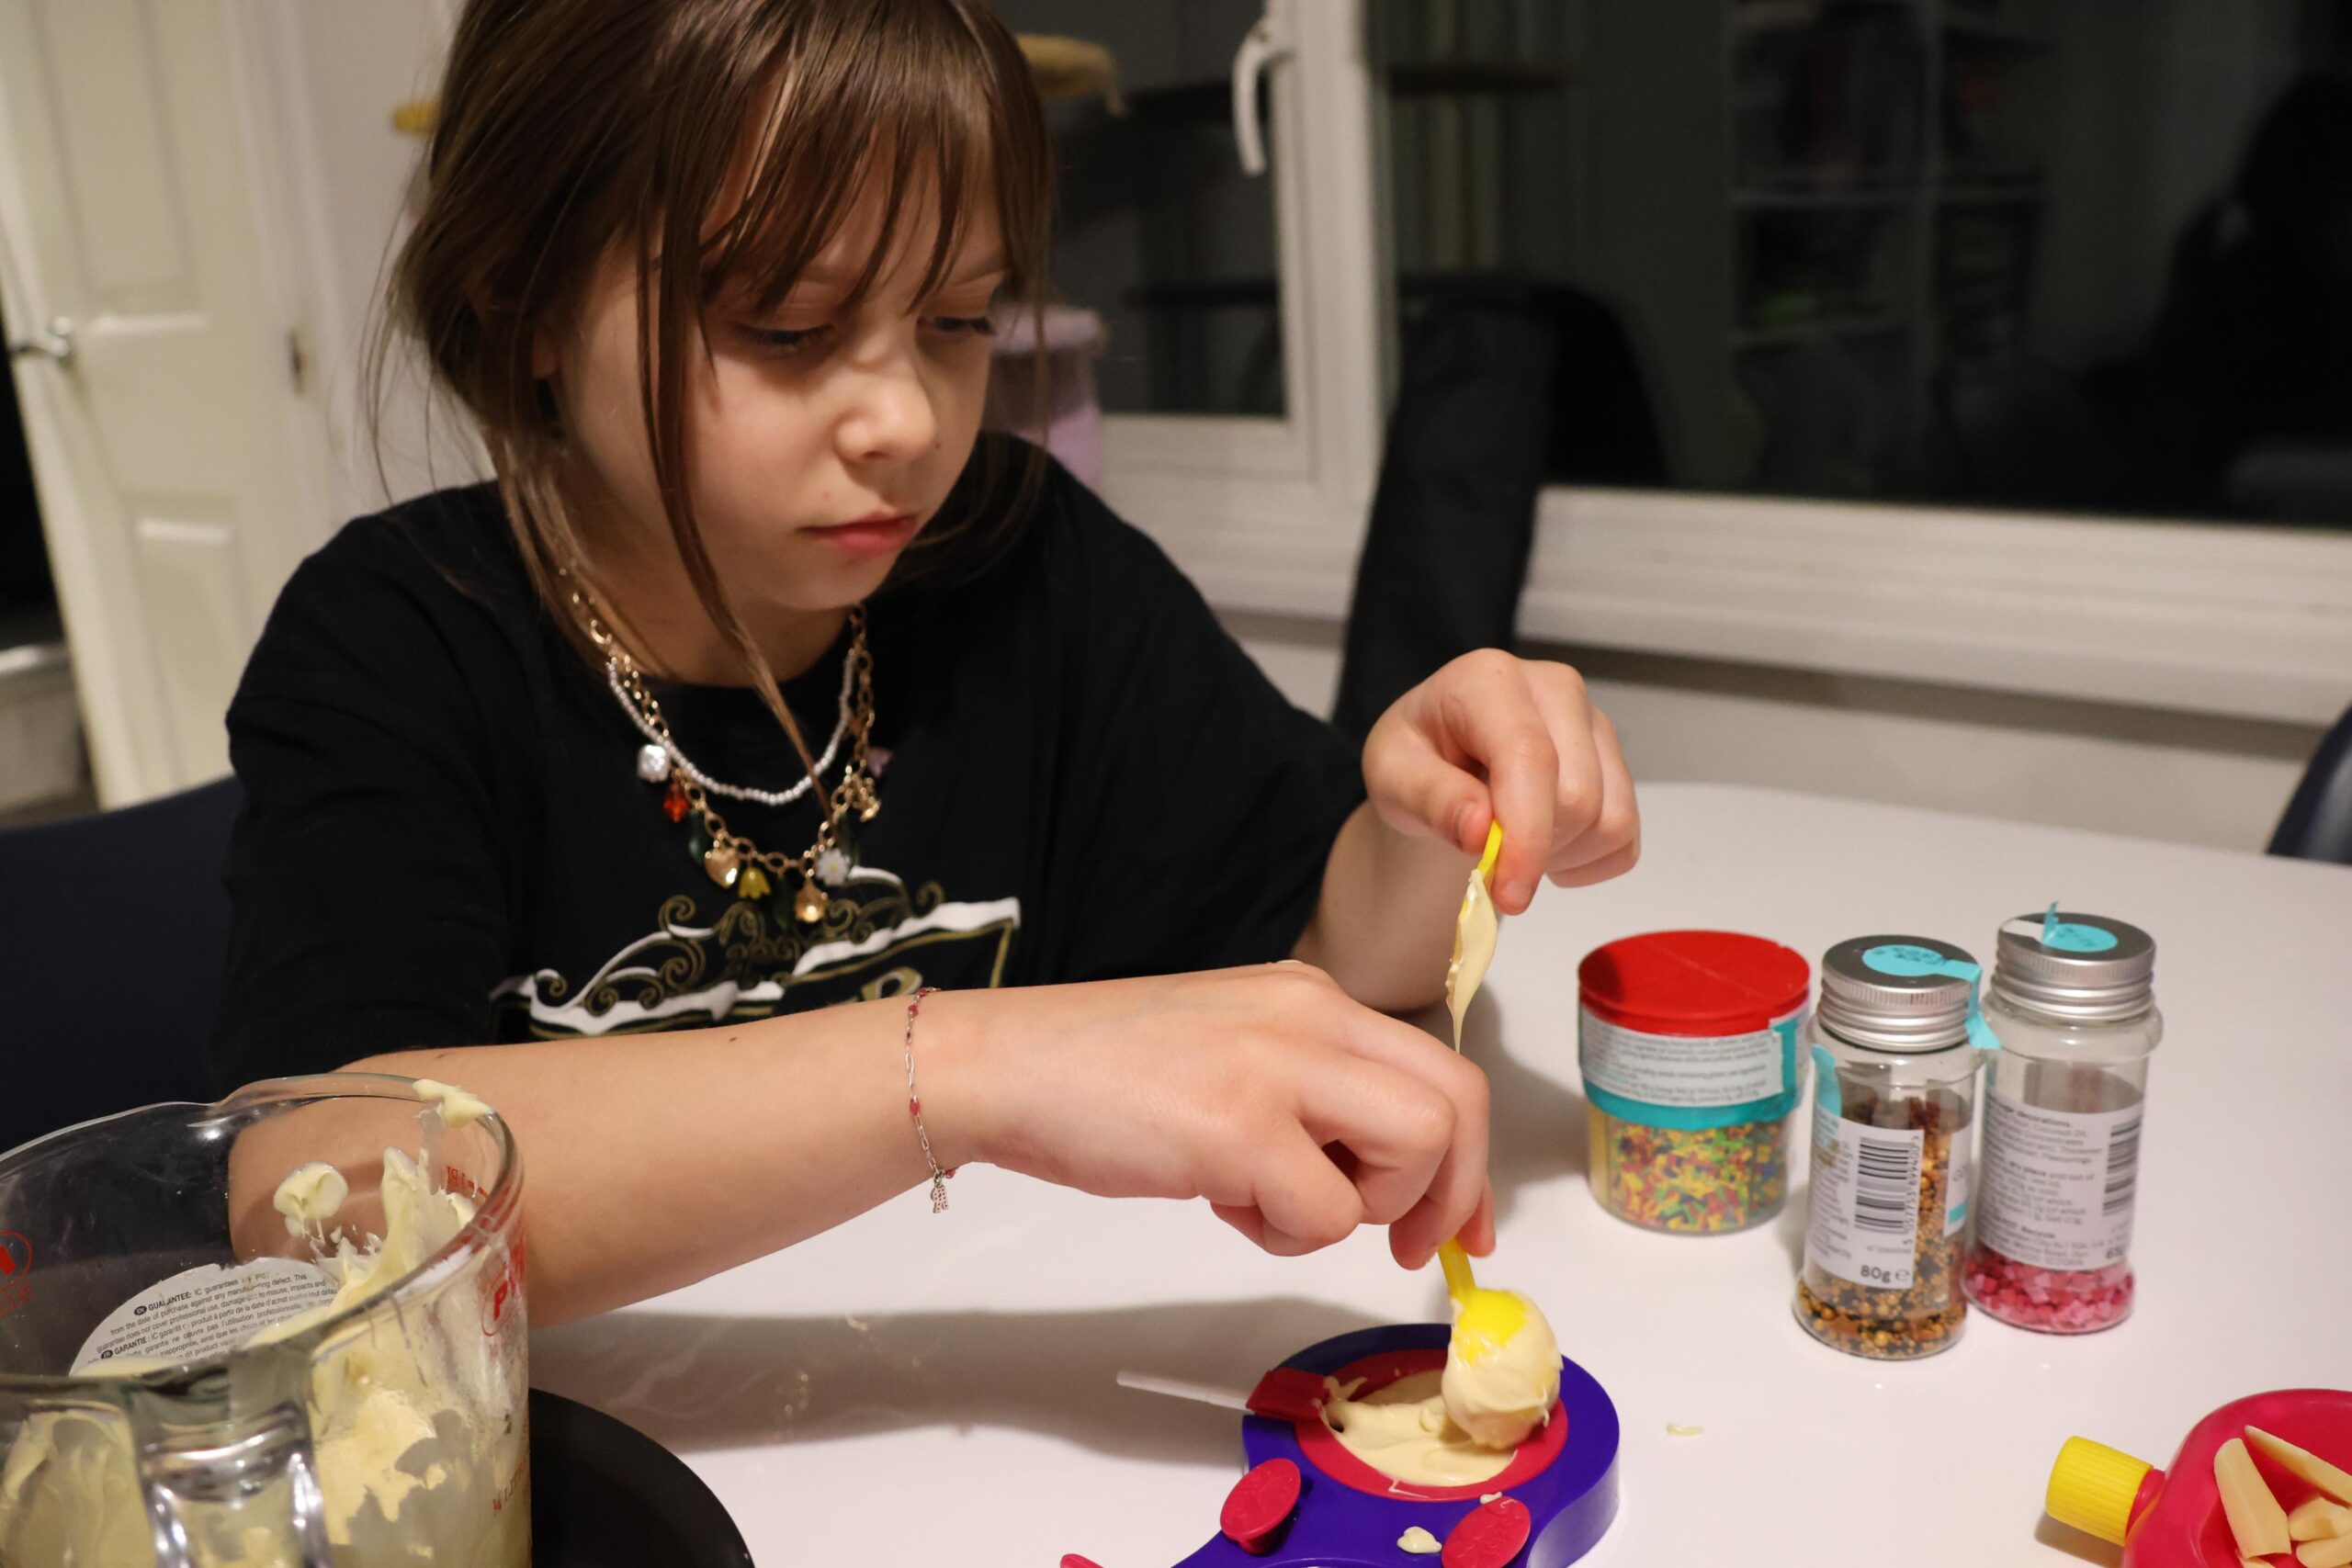
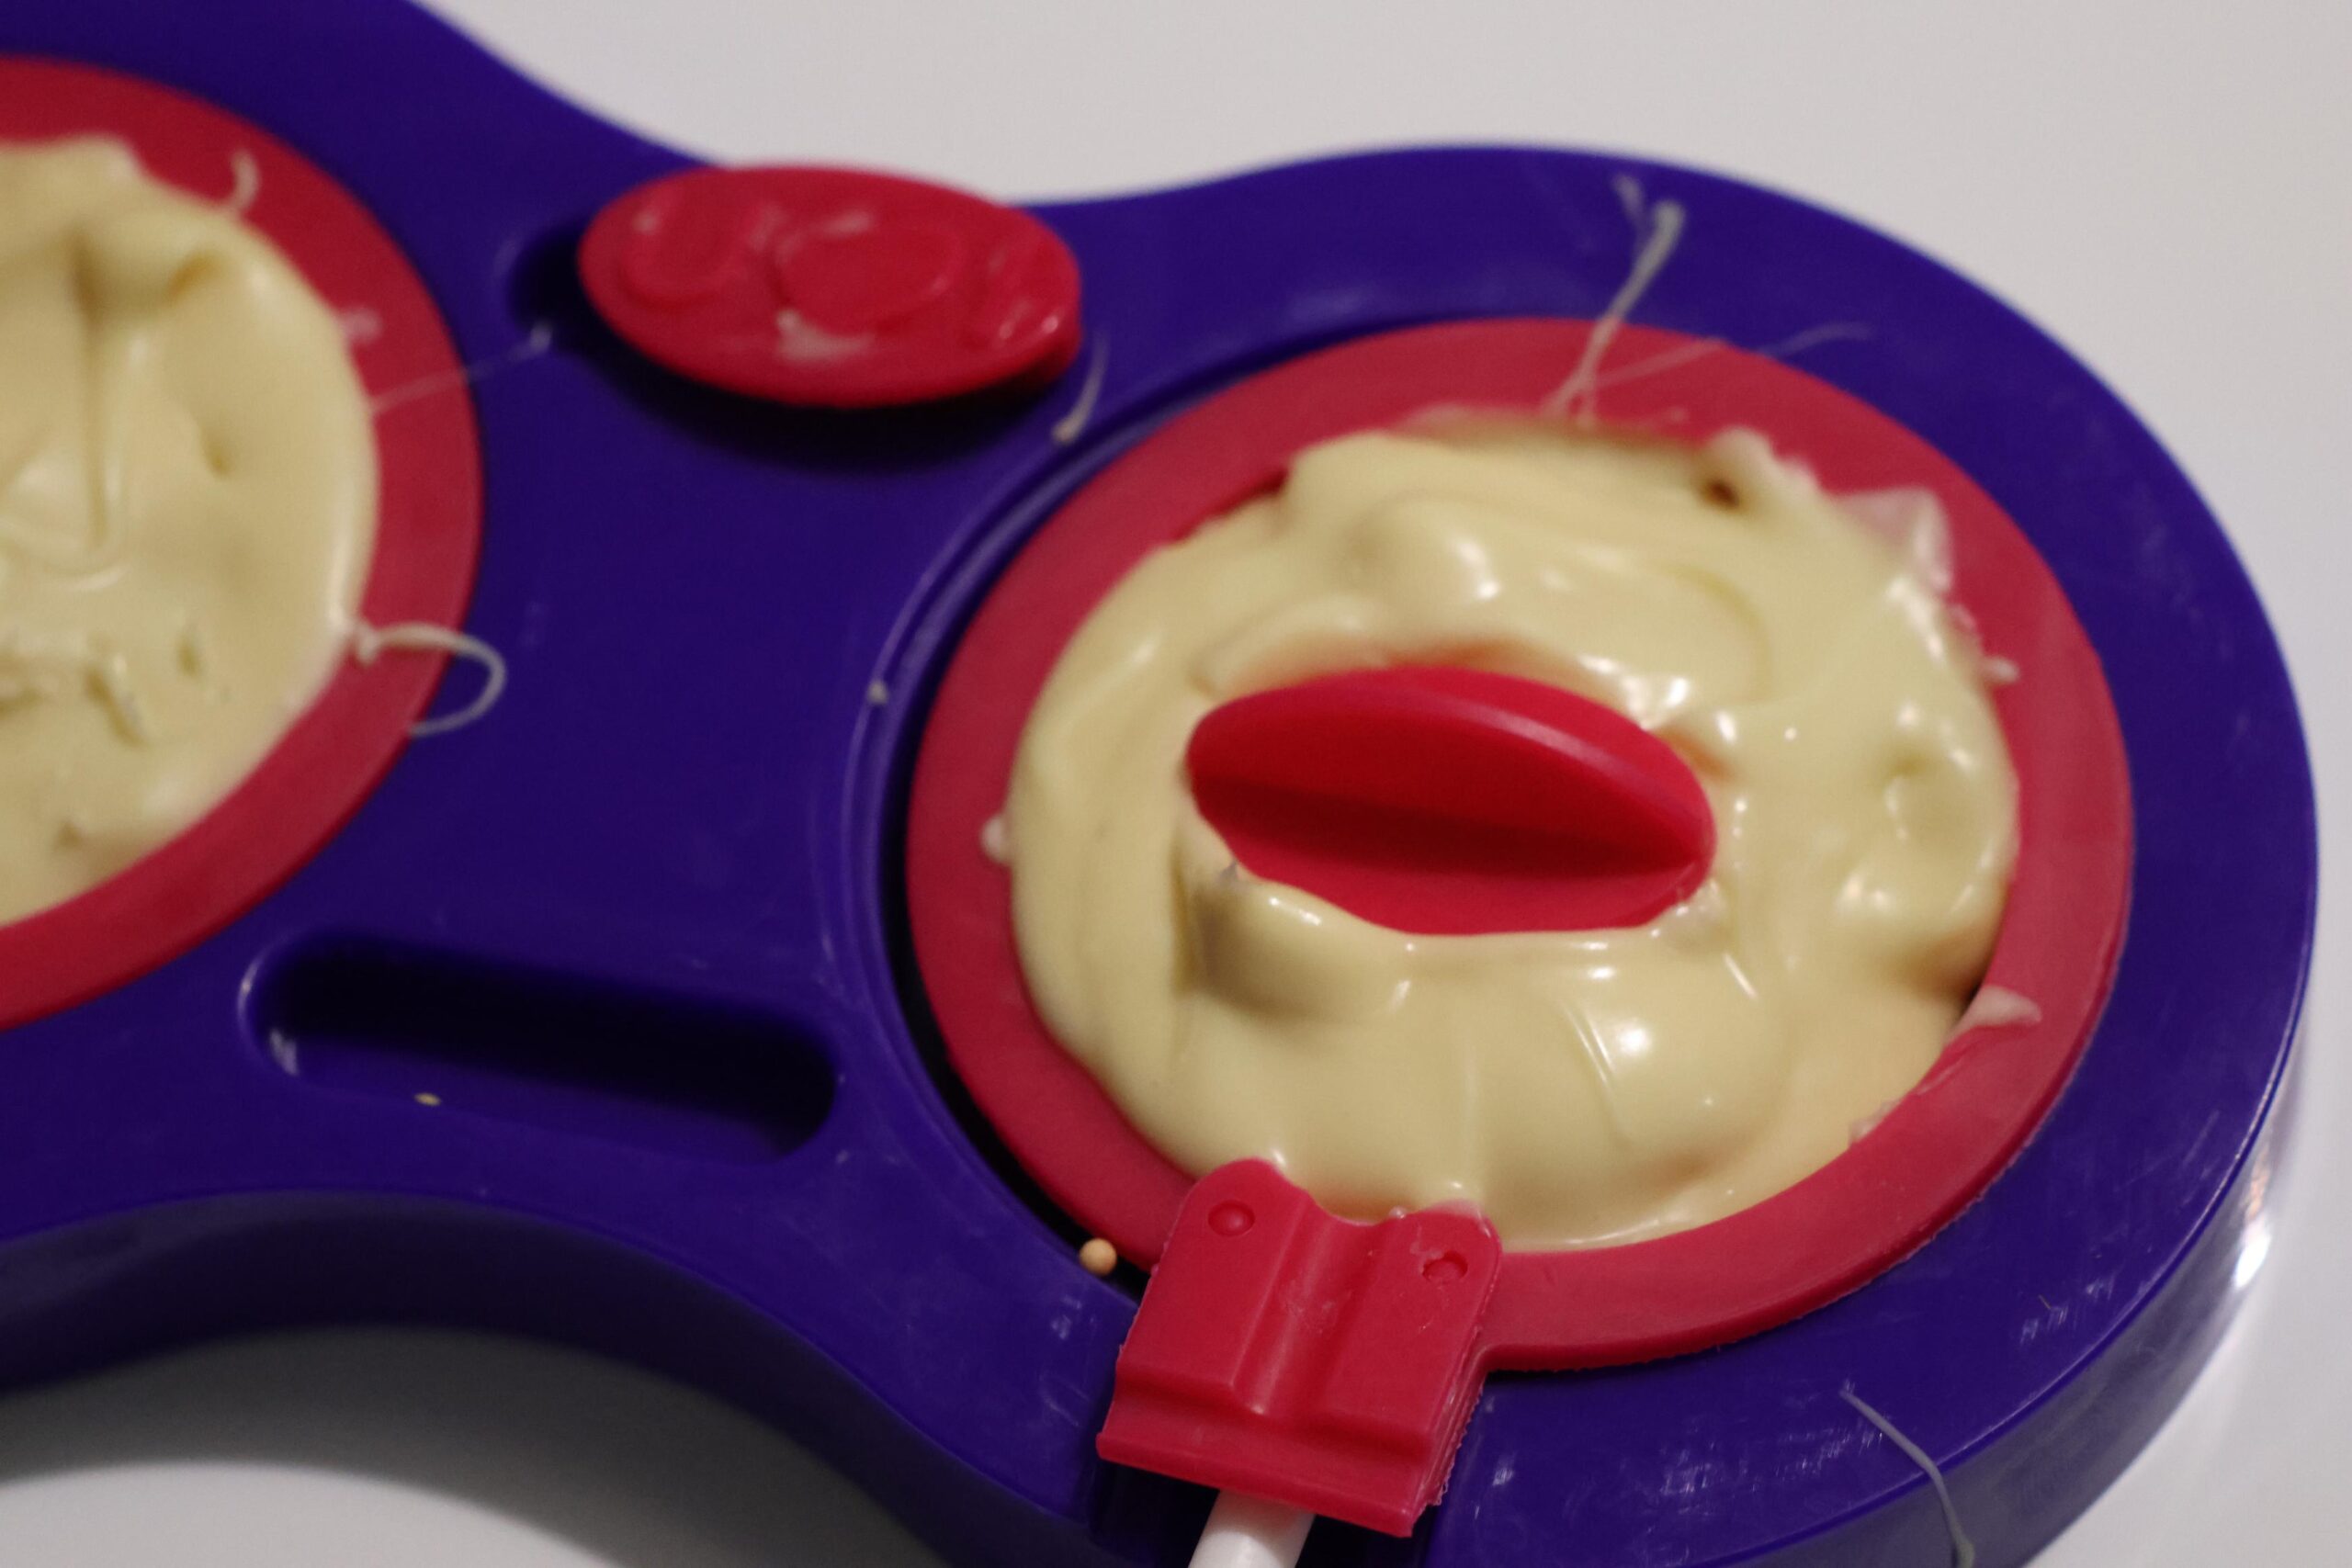
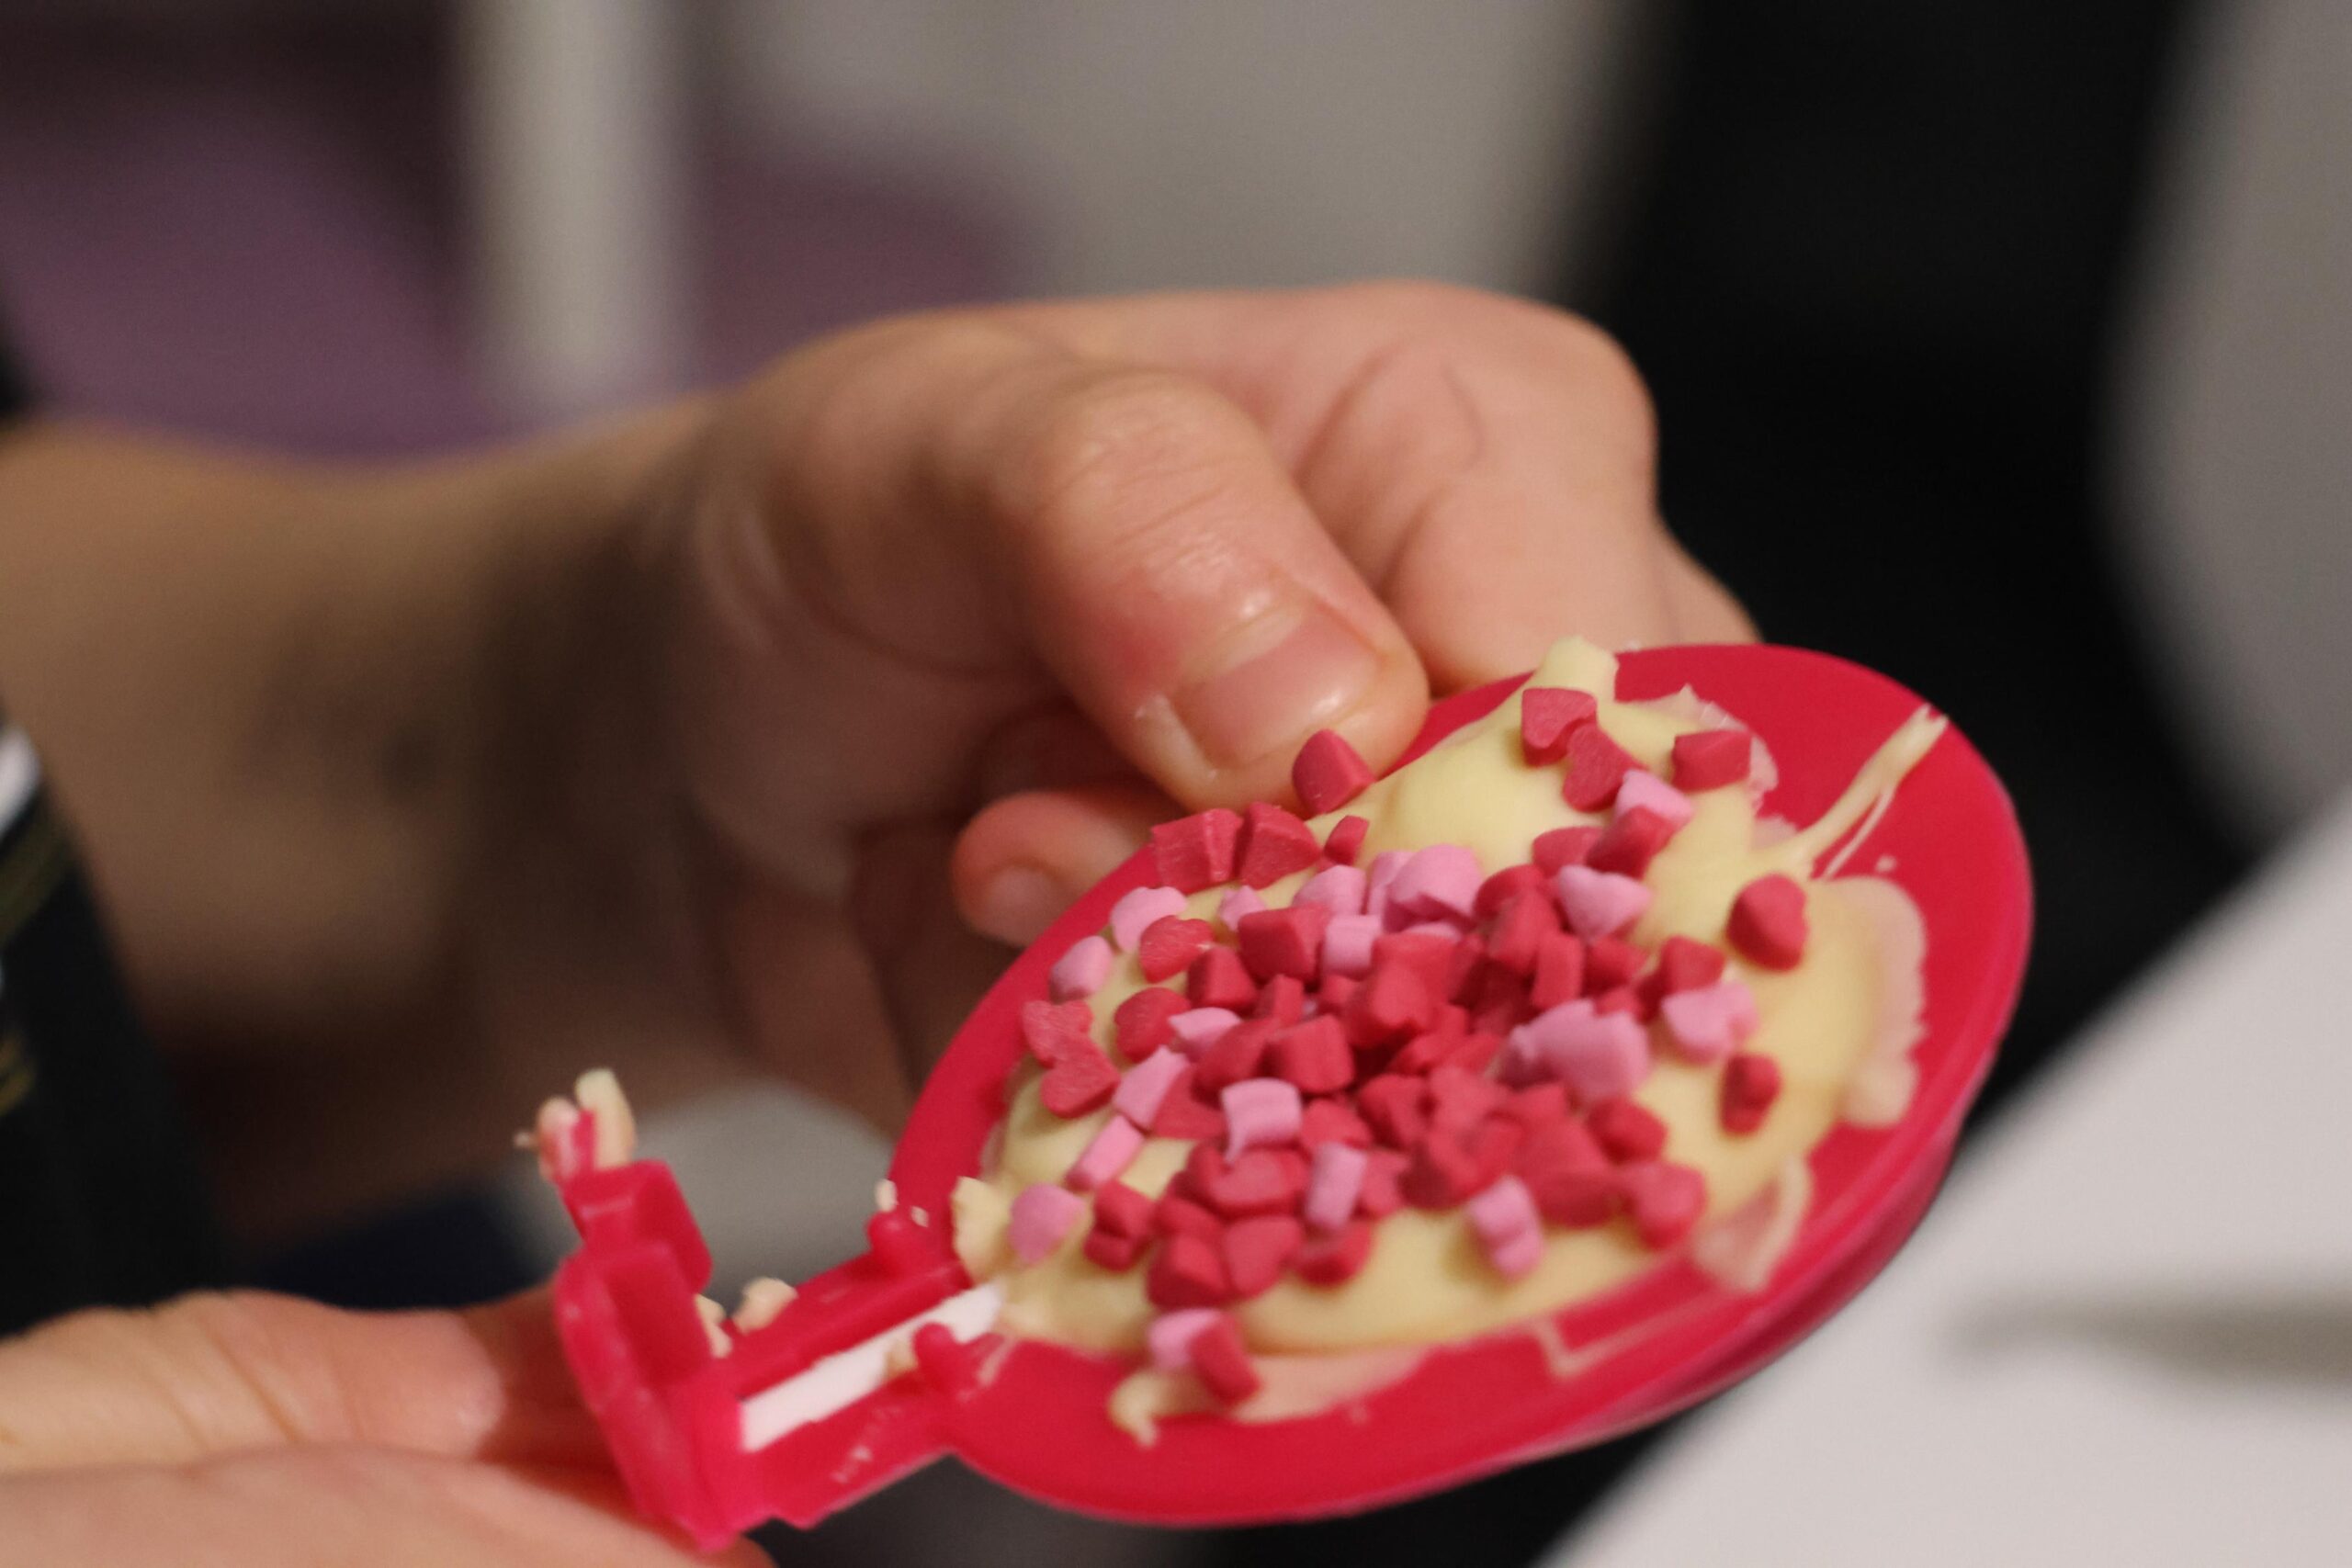
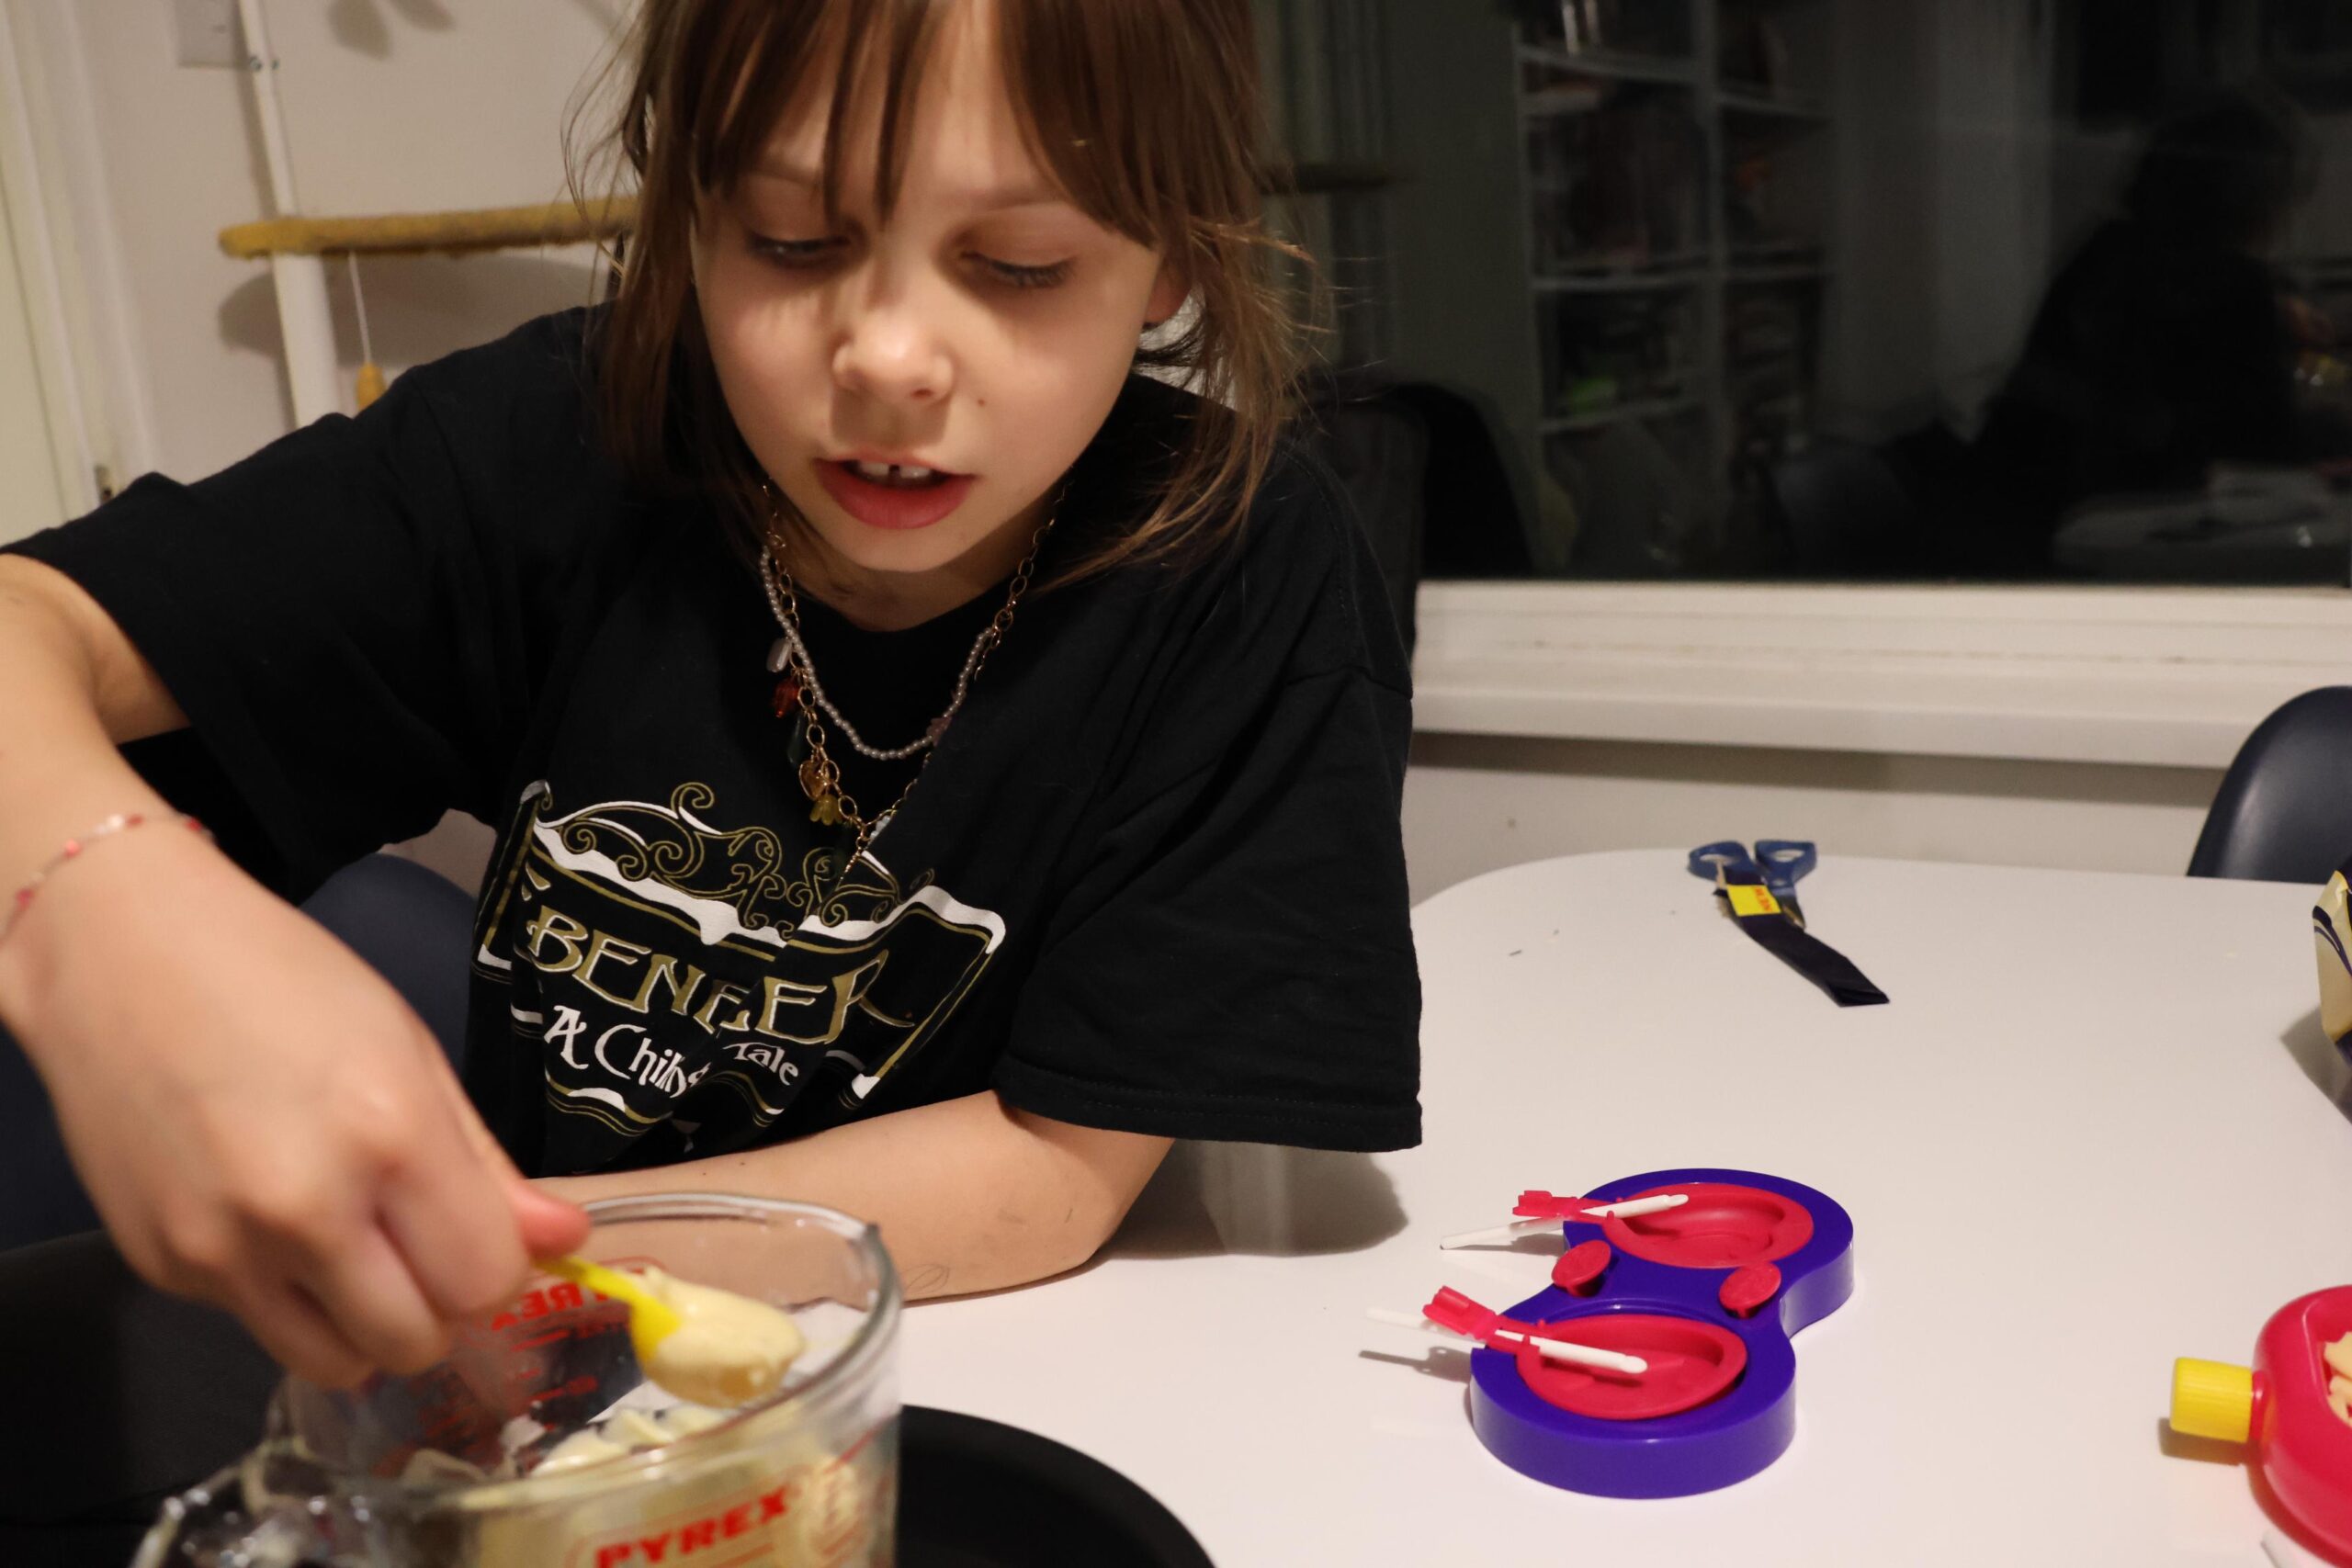
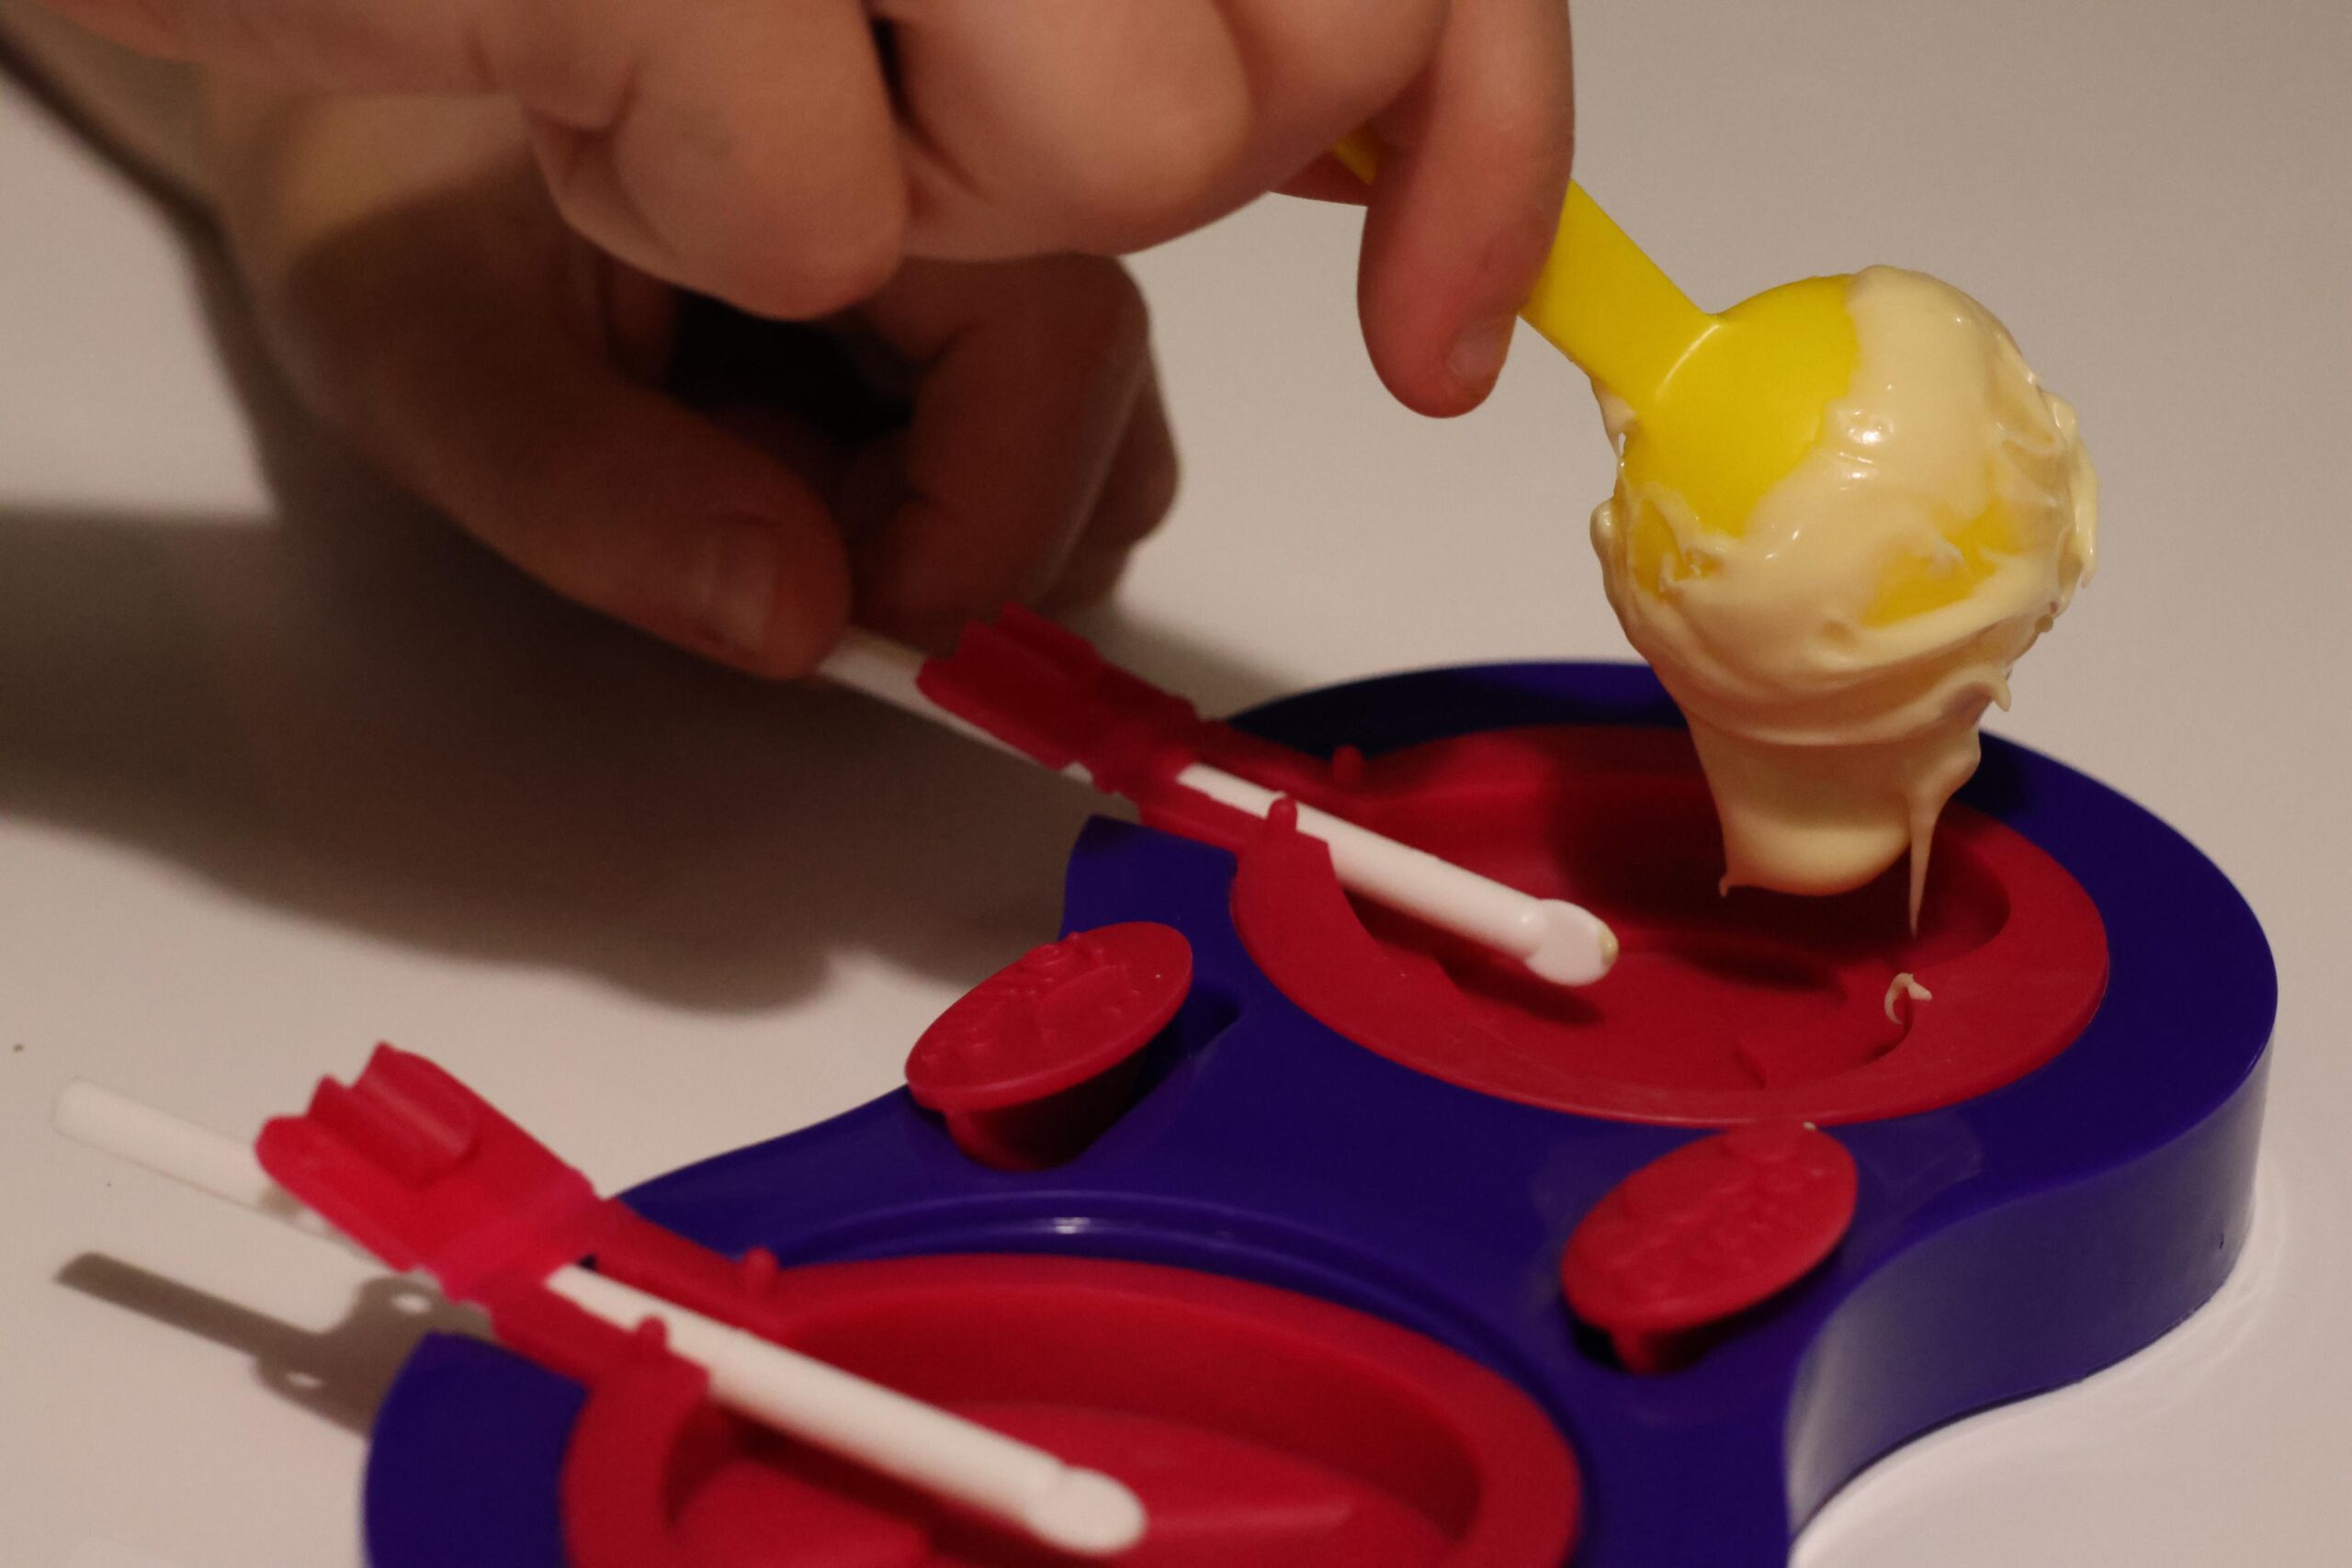
Then, using the spoon and spatula in the Chocolate Lolly Maker, Robin placed the melted chocolate into the moulds. The moulds hold the lollipop sticks, which is good, though we couldn’t “close” the bit that held the stick until there was some chocolate also holding down the stick. From there, Robin wanted to add sprinkles to a bunch of them. We then put them in the fridge. The Chocolate Lolly Maker comes with a sort of stamp, with messages like I <3 You, Happy Birthday, Thank You, etc on them. It says to put the lollipops in the fridge for five minutes, then stamp them, but for us one was too hard to stamp and the other wasn’t hardened enough. I think it’s just tricky to find the absolute perfect time, but I do like that the word stamps do fit on the tray that goes in the fridge, so you can put them next to the lolly you want to stamp.
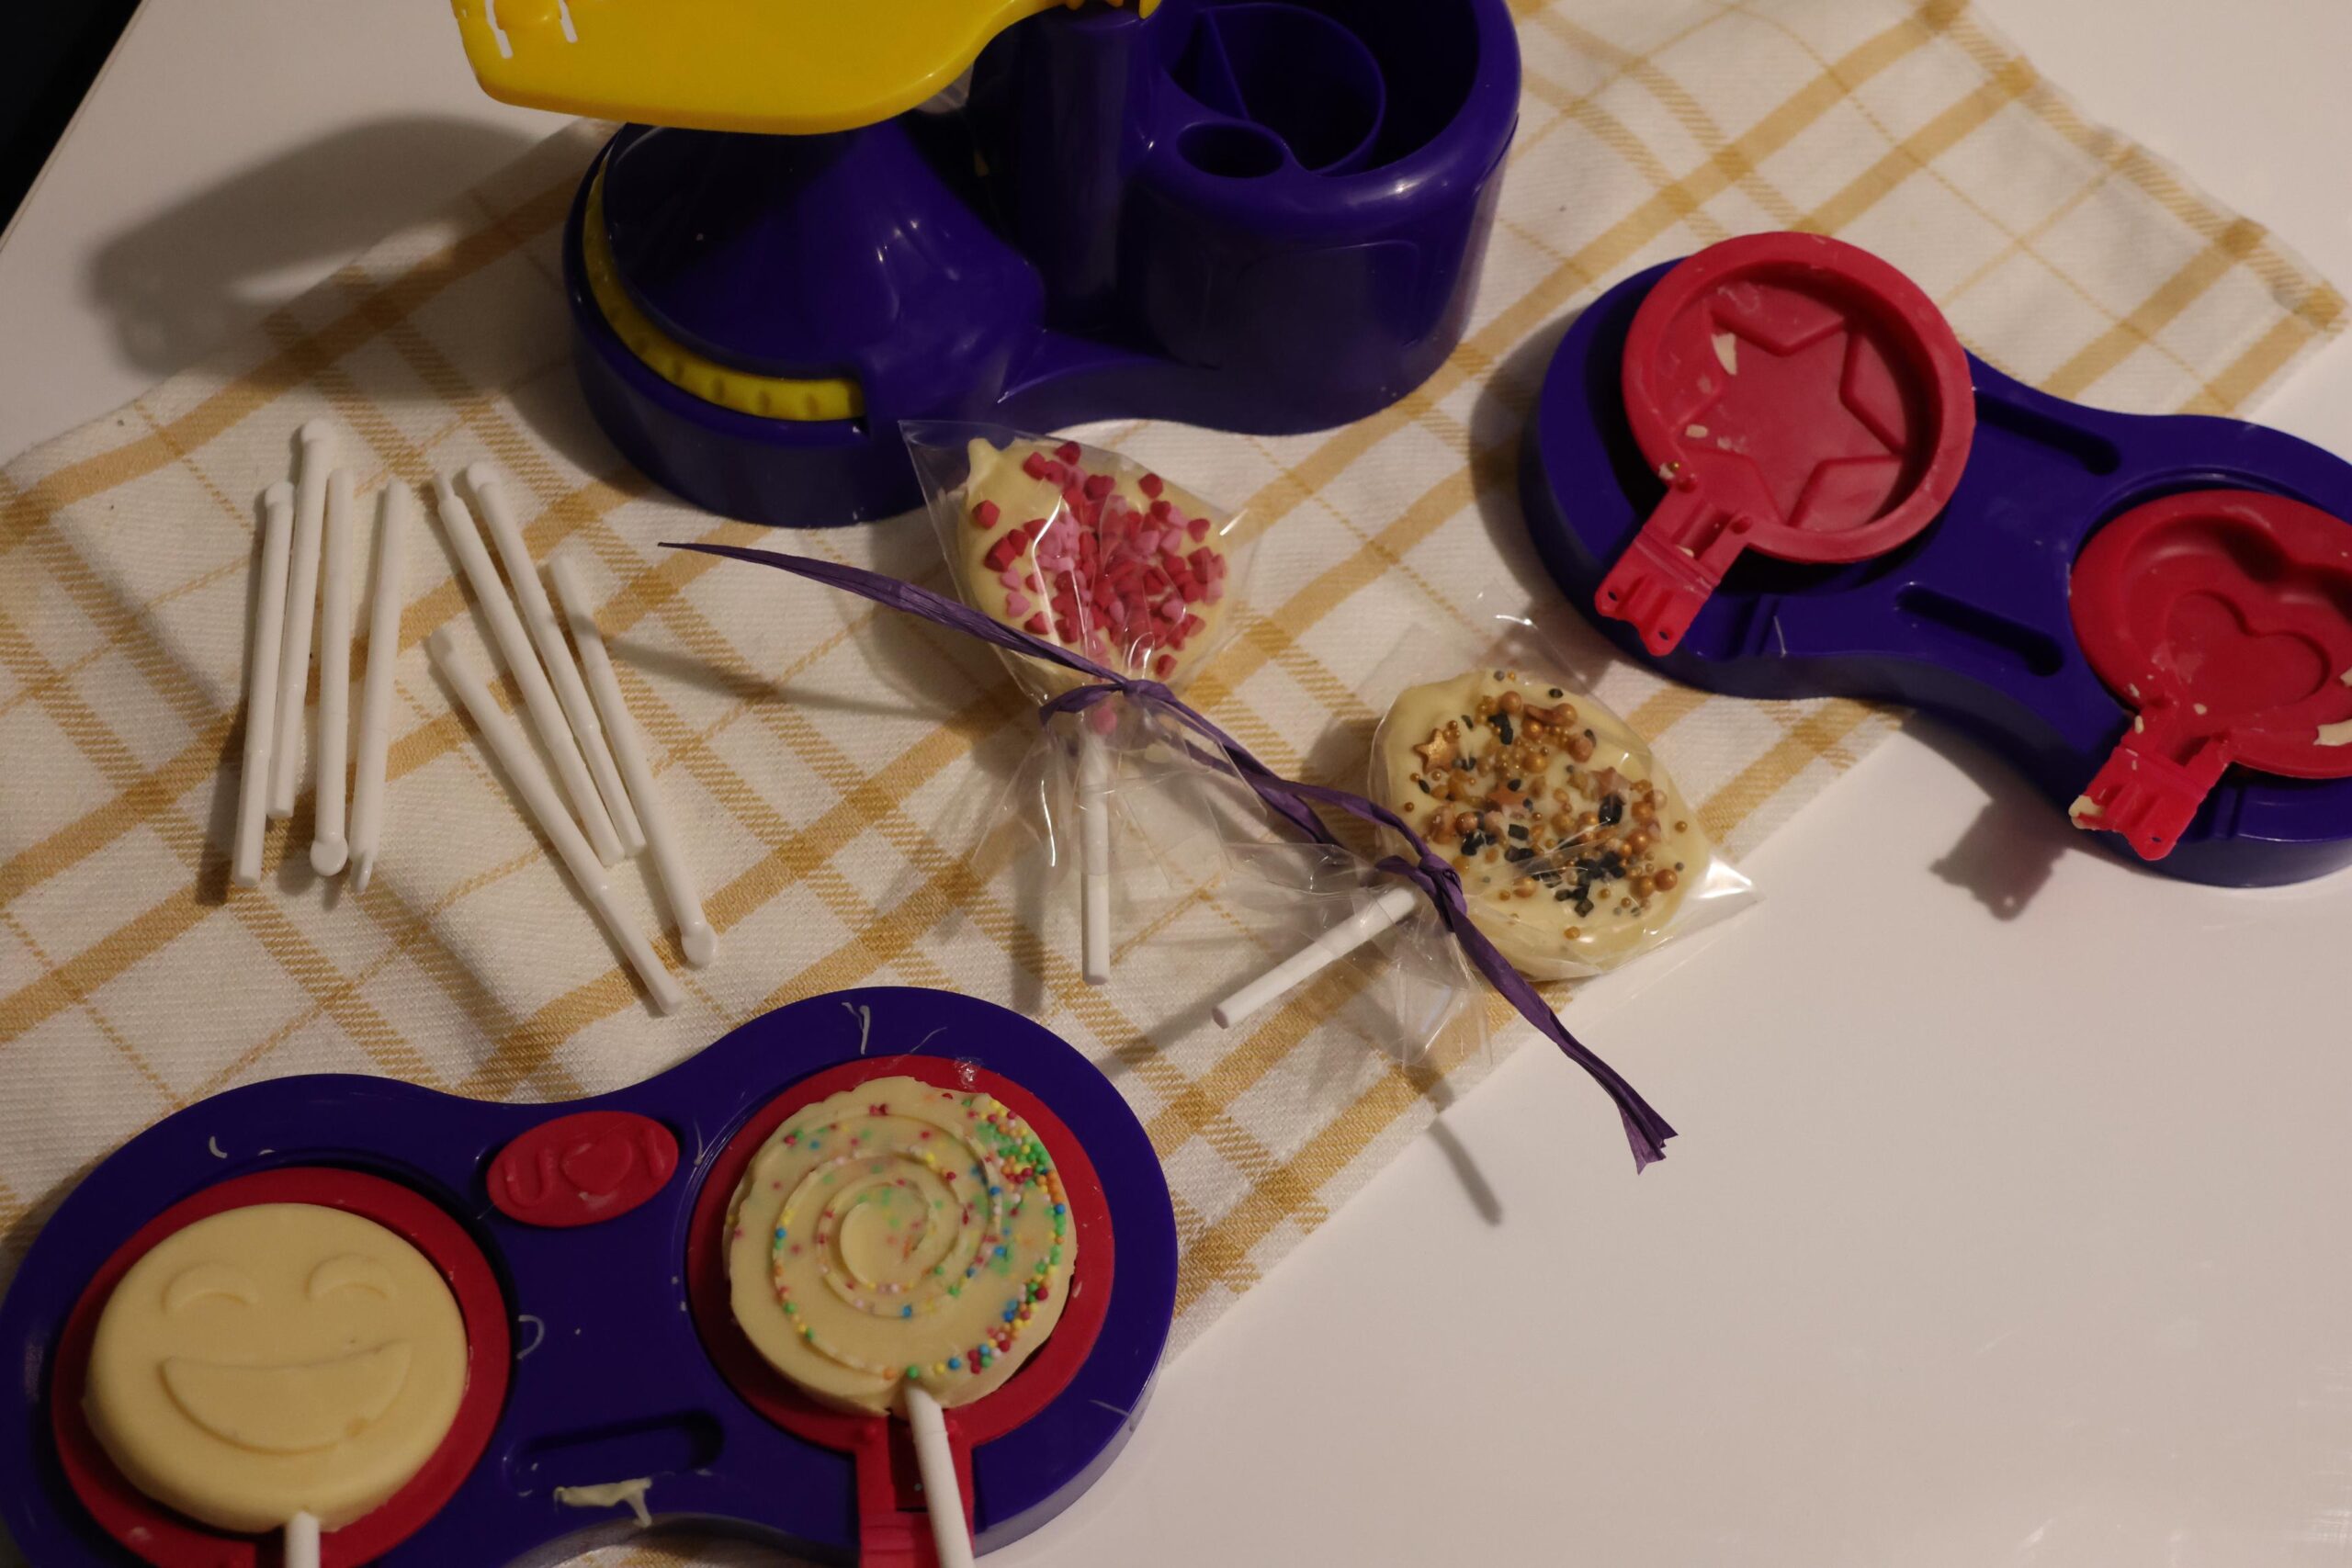
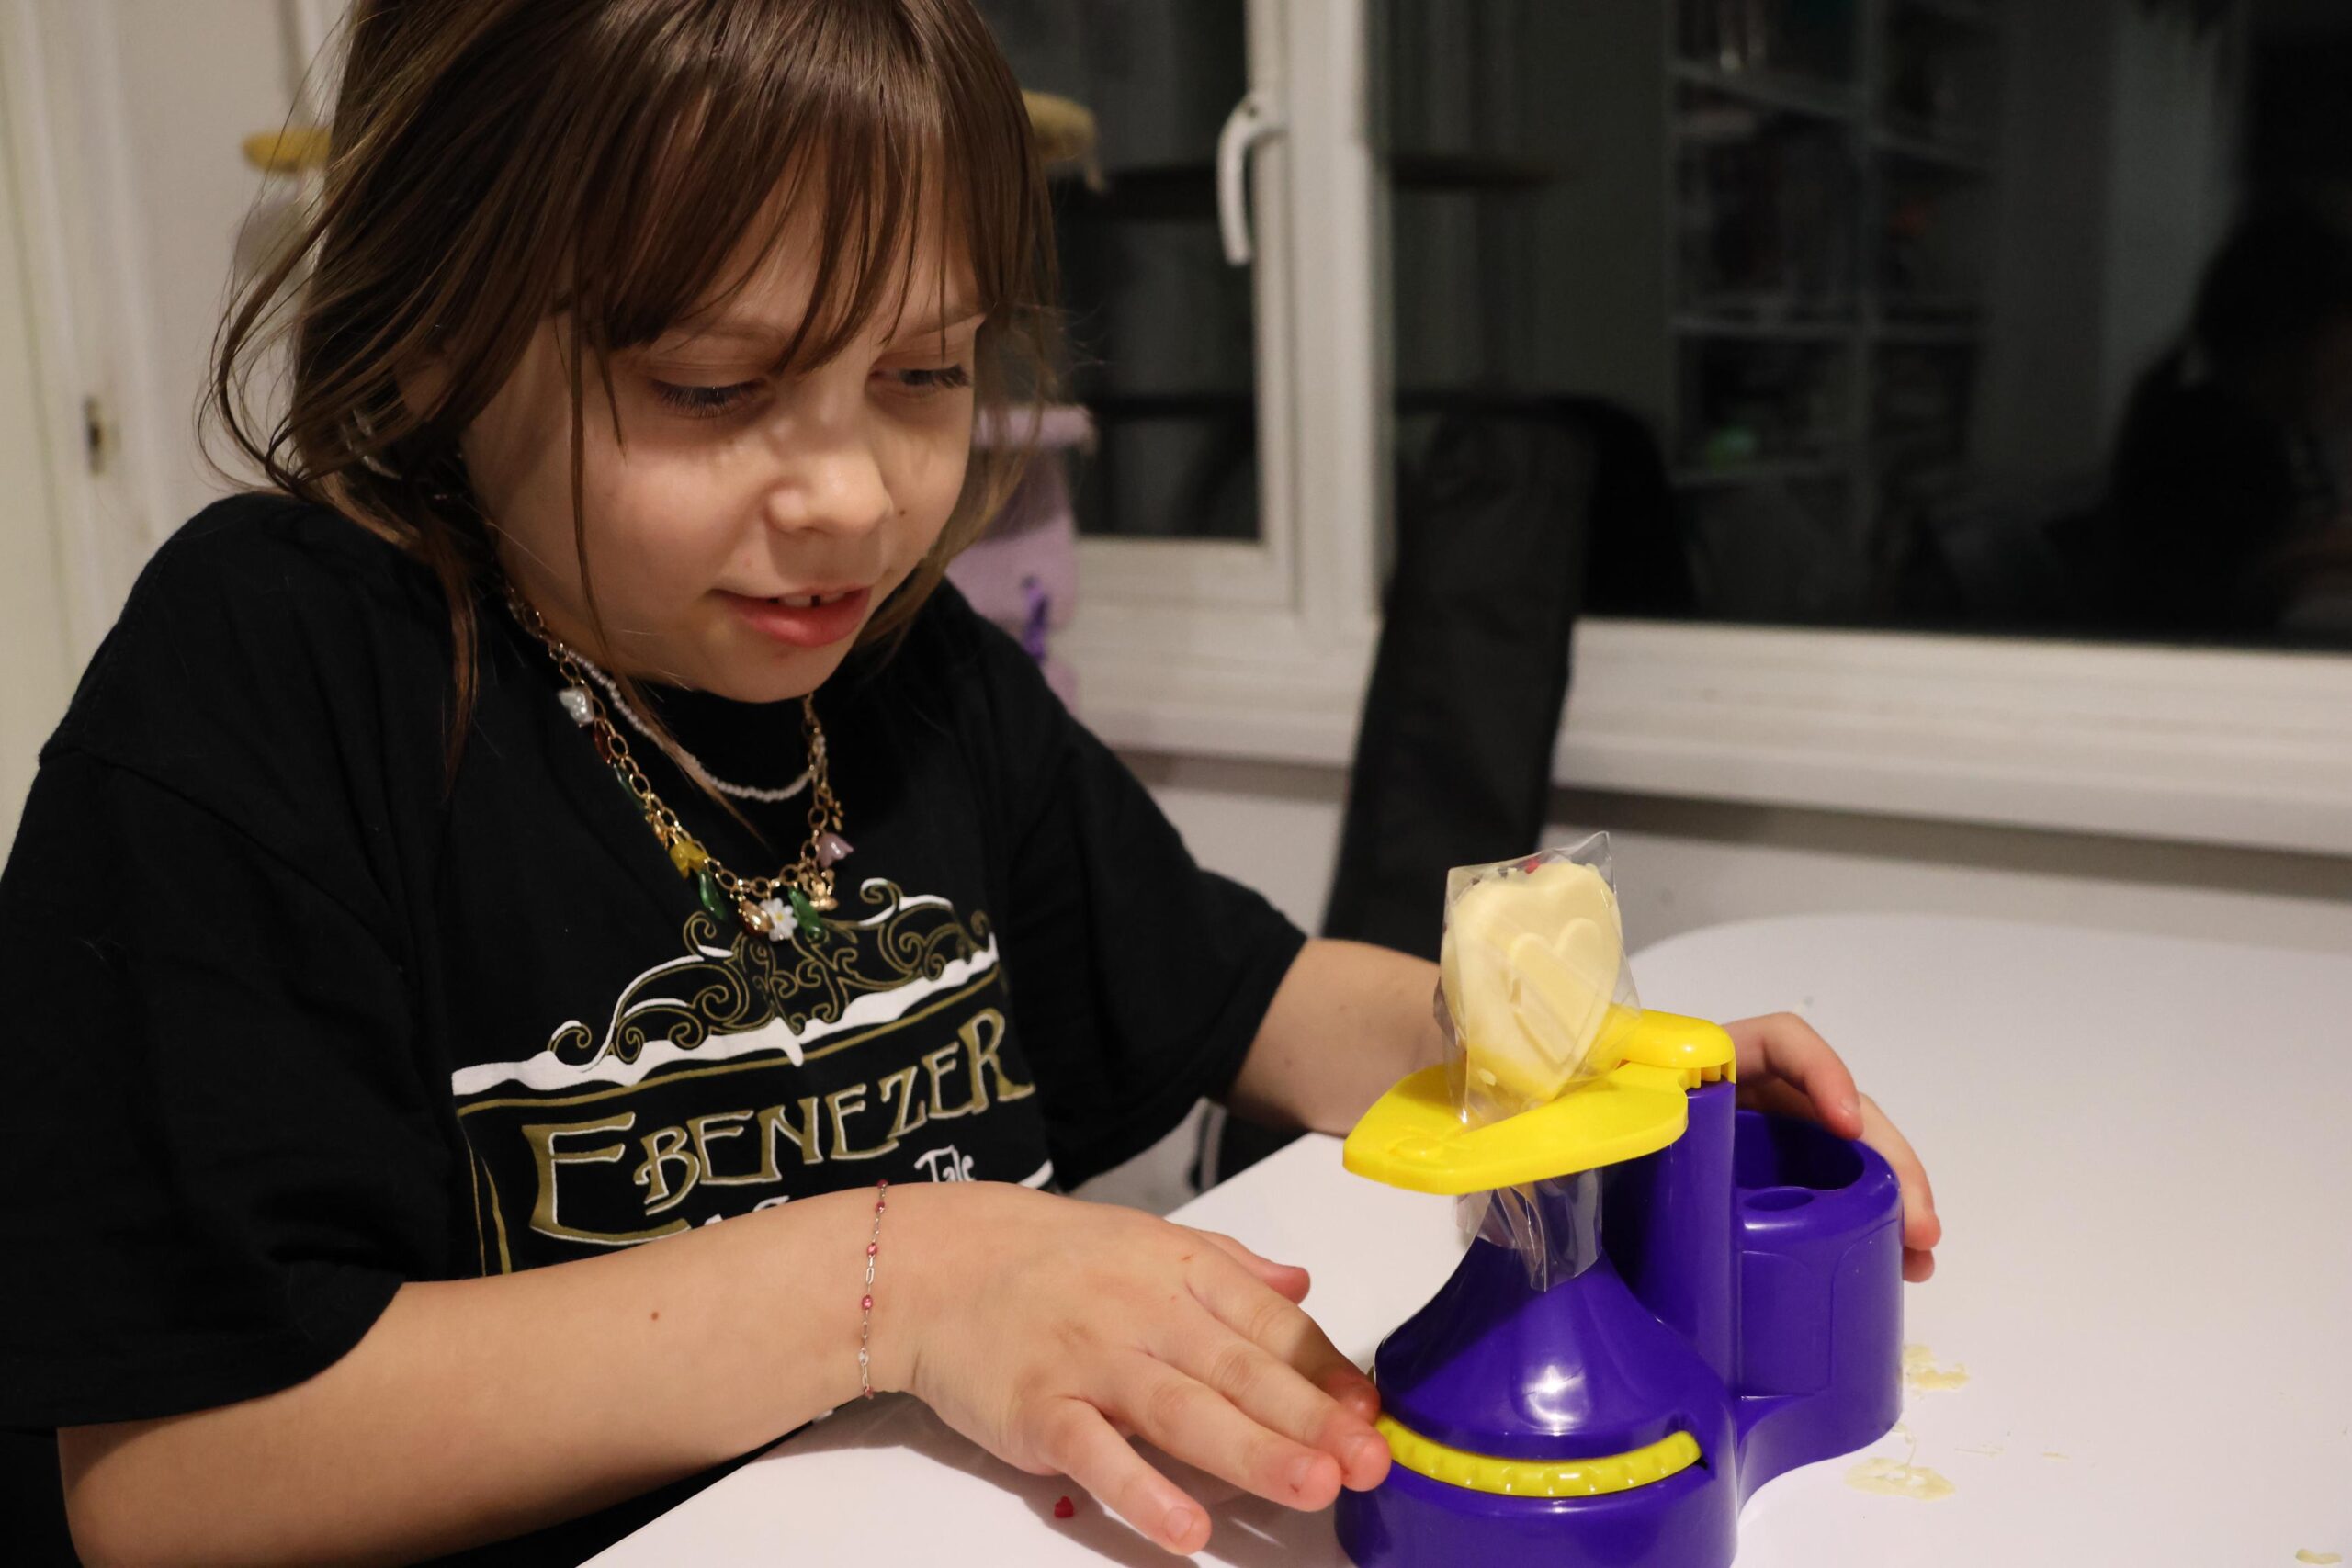
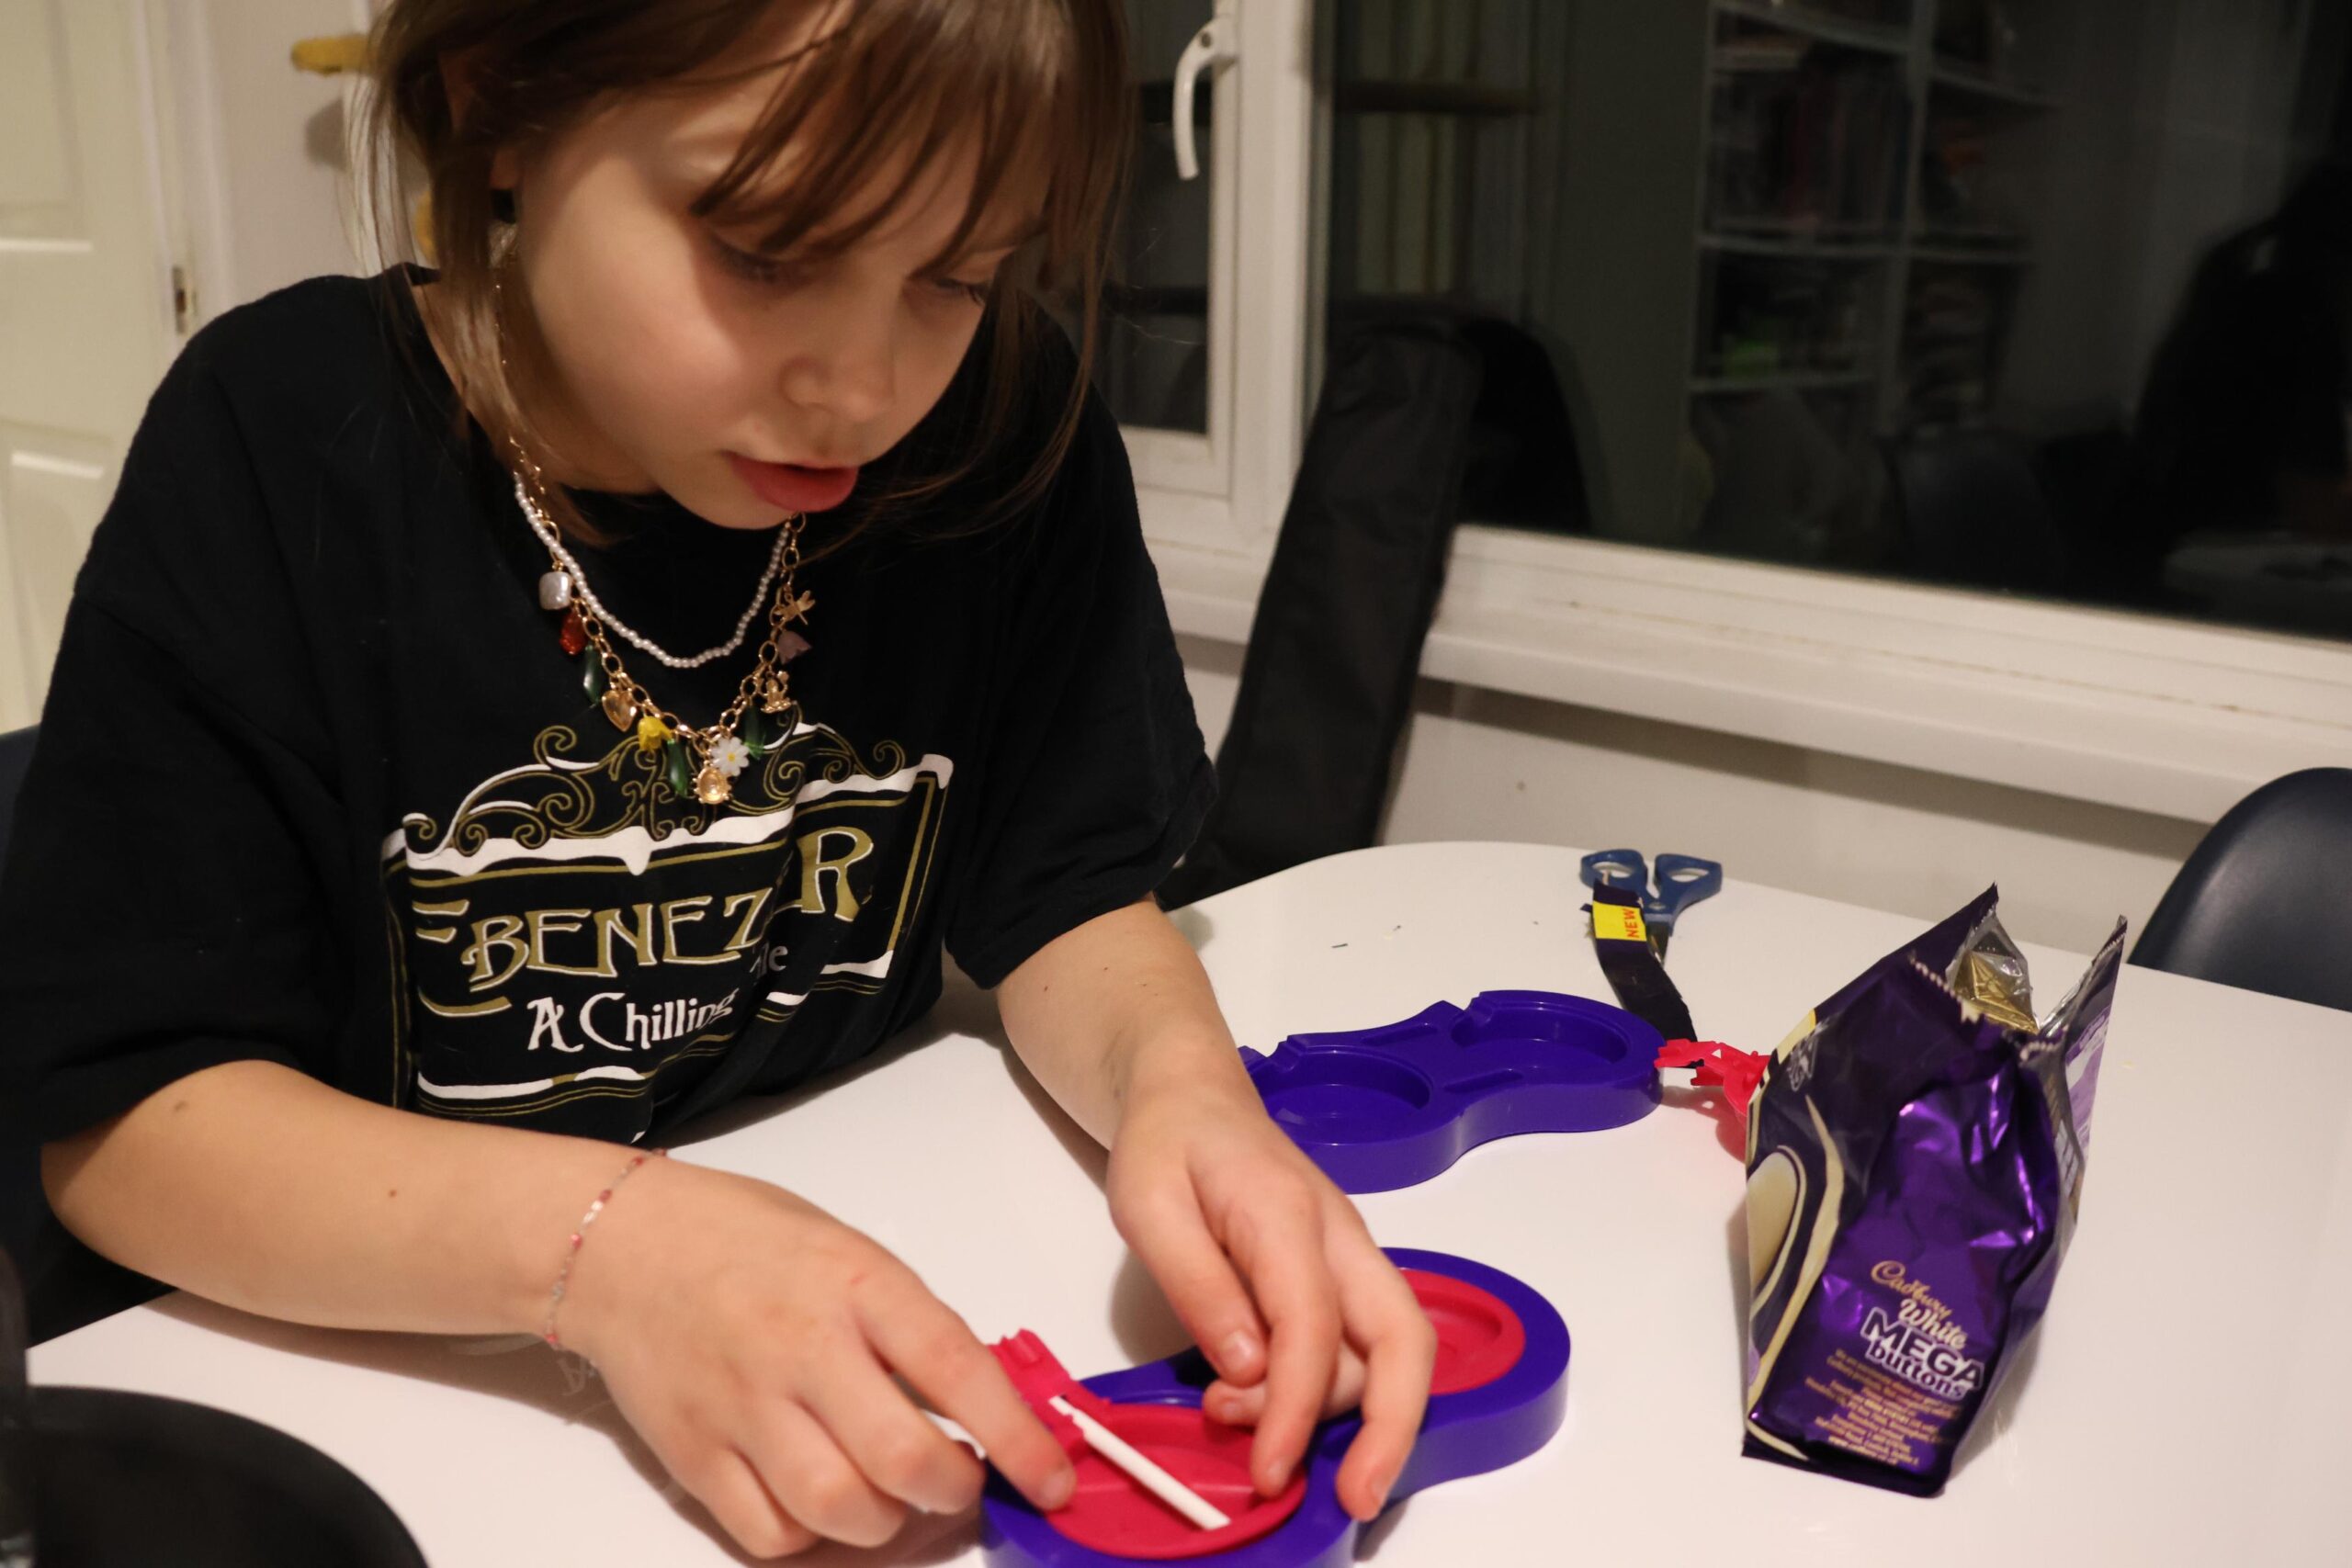
Once our lollipops were hardened, we used the included machine to wrap them, which Robin thought was very fun. She de-moulded each lollipop, then placed them into the stand, put the included bag on them, spin the bottom dial, then tied them with some of the included string. It’s as easy as that! We did very much like the wrapping element of the chocolate lolly maker, though at the end of making it all, none of our chocolate in the chocolate melter had melted at all – which was a bit of a pain! It’s a fun toy, especially for Valentine’s Day, but does need some parental help when it comes to melting chocolate.
Well, that is super fun! What a great way to get in a little craft time AND snack time!
These are such cute pictures!! This seems like the perfect activity for a fun family night and to treat a sweet tooth!
Such a fun cooking/craft activity for kids! Perfect for keeping them busy and you get a sweet treat out of it too.
I super super love how fun and engaging this is! I will get it. My niece loves DIY toys. THe lolly maker is both fun and a delicious DIY lol…Love it.