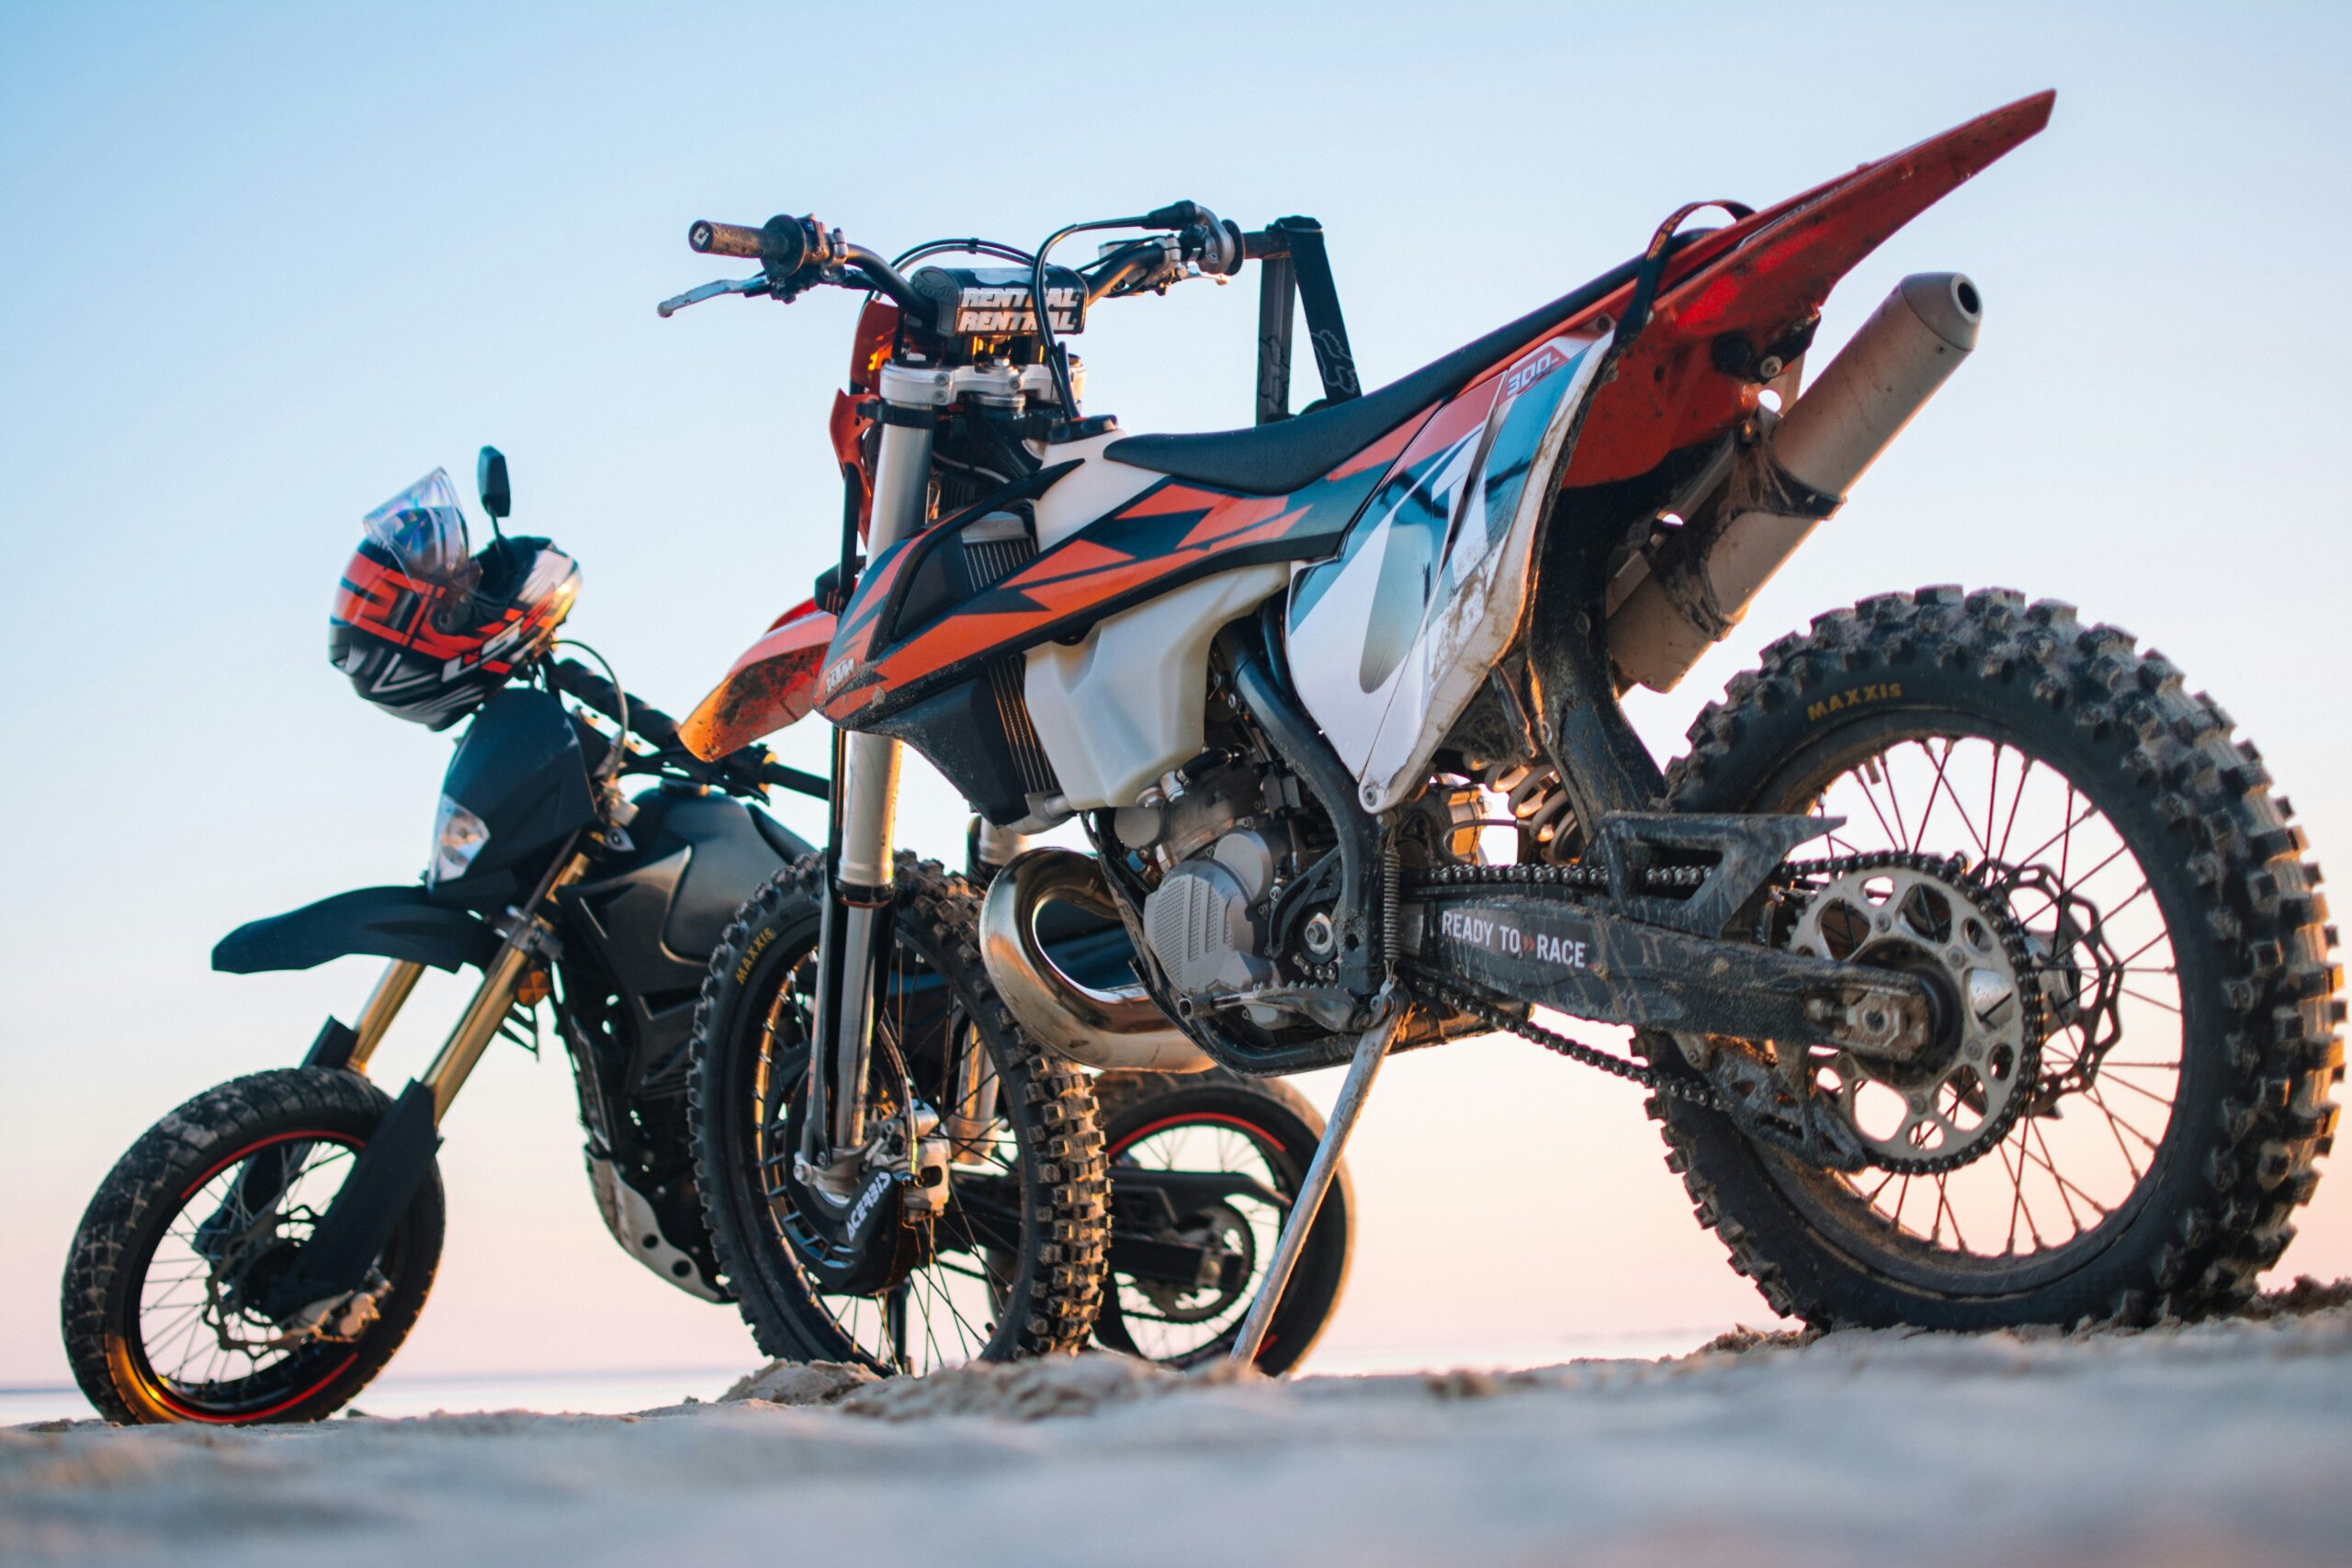
Graphics do more than add to a dirt bike’s visual appeal. They also protect the bike from harm. When doing so, they need to look sharp and vibrant.
Owners must maintain the graphics on your Yamaha dirt bike to keep them looking their best. They are regularly exposed to harsh conditions, and this maintenance helps to protect them from wear and tear while ensuring the bike looks fresh and professional.
Cleaning the Bike
Before installing graphics, dirt bike owners must clean their rides thoroughly. This helps ensure proper adhesion. A mild soap is often enough to remove the dirt, oil, and debris that can interfere with the adhesion, but some owners use a specialized cleaner for this task. After cleaning the surface, allow it to dry completely before adhering the decals. Doing so will reduce the risk of bubbles and other imperfections in the graphics.
The Right Graphics
There are countless graphics kits for dirt bikes today. Owners must choose a kit that matches their ride’s style and color scheme and ensure high-quality graphics. By prioritizing these qualities when purchasing a kit, they will obtain durable and fade-resistant decals, ensuring they add to the bike’s visual appeal. The graphics should also protect the bike from scratches and wear commonly seen with off-road riding.
Installation Techniques
Owners must use the correct installation techniques to ensure the graphics are visually appealing and durable. Warm the graphic’s adhesive with a heat gun or hair dryer before applying it. The heat makes the adhesive pliable, making it easier to remove air bubbles and achieve a firm adhesion.
Graphics Care While Riding
Owners should take steps to protect the graphics when riding. They should avoid leaving the bike in the sun for extended periods, as UV damage could occur. They should also avoid using harsh chemicals or abrasive materials to clean the bike, which could harm the graphics. Soap and water are best for cleaning the bike, and a high-pressure washer should never be used.
A protective sealant or wax will help protect the graphics from environmental damage. Riders should also inspect the bike after each ride to ensure the graphics aren’t damaged or peeling. If problems are seen, they must be addressed immediately to prevent further damage. Doing so will save the rider time and money.
Replacing the Graphics
Dirt bike graphics don’t last forever. Riders must closely monitor the graphics for signs of wear or a loss of vibrancy. When the edges of the graphics are peeling or noticeably fading, invest in a new graphics kit. Torn or scratched graphics should be replaced and upgraded if they look tired or worn. The graphics should add to the bike’s appeal rather than detract.
Every rider should know how to protect and maintain their dirt bike’s graphics. Doing so will ensure the graphics add to the bike’s visual appeal while preserving its appearance. The tips above help achieve this goal, but the owner should also talk to the graphics manufacturer to see if it has additional tips or recommendations.
The most important thing to remember is that the bike must be inspected regularly and problems addressed promptly. Riders who do these two things will find their graphics last longer and look better. They will help the rider make a great impression regardless of where they take their ride.

