
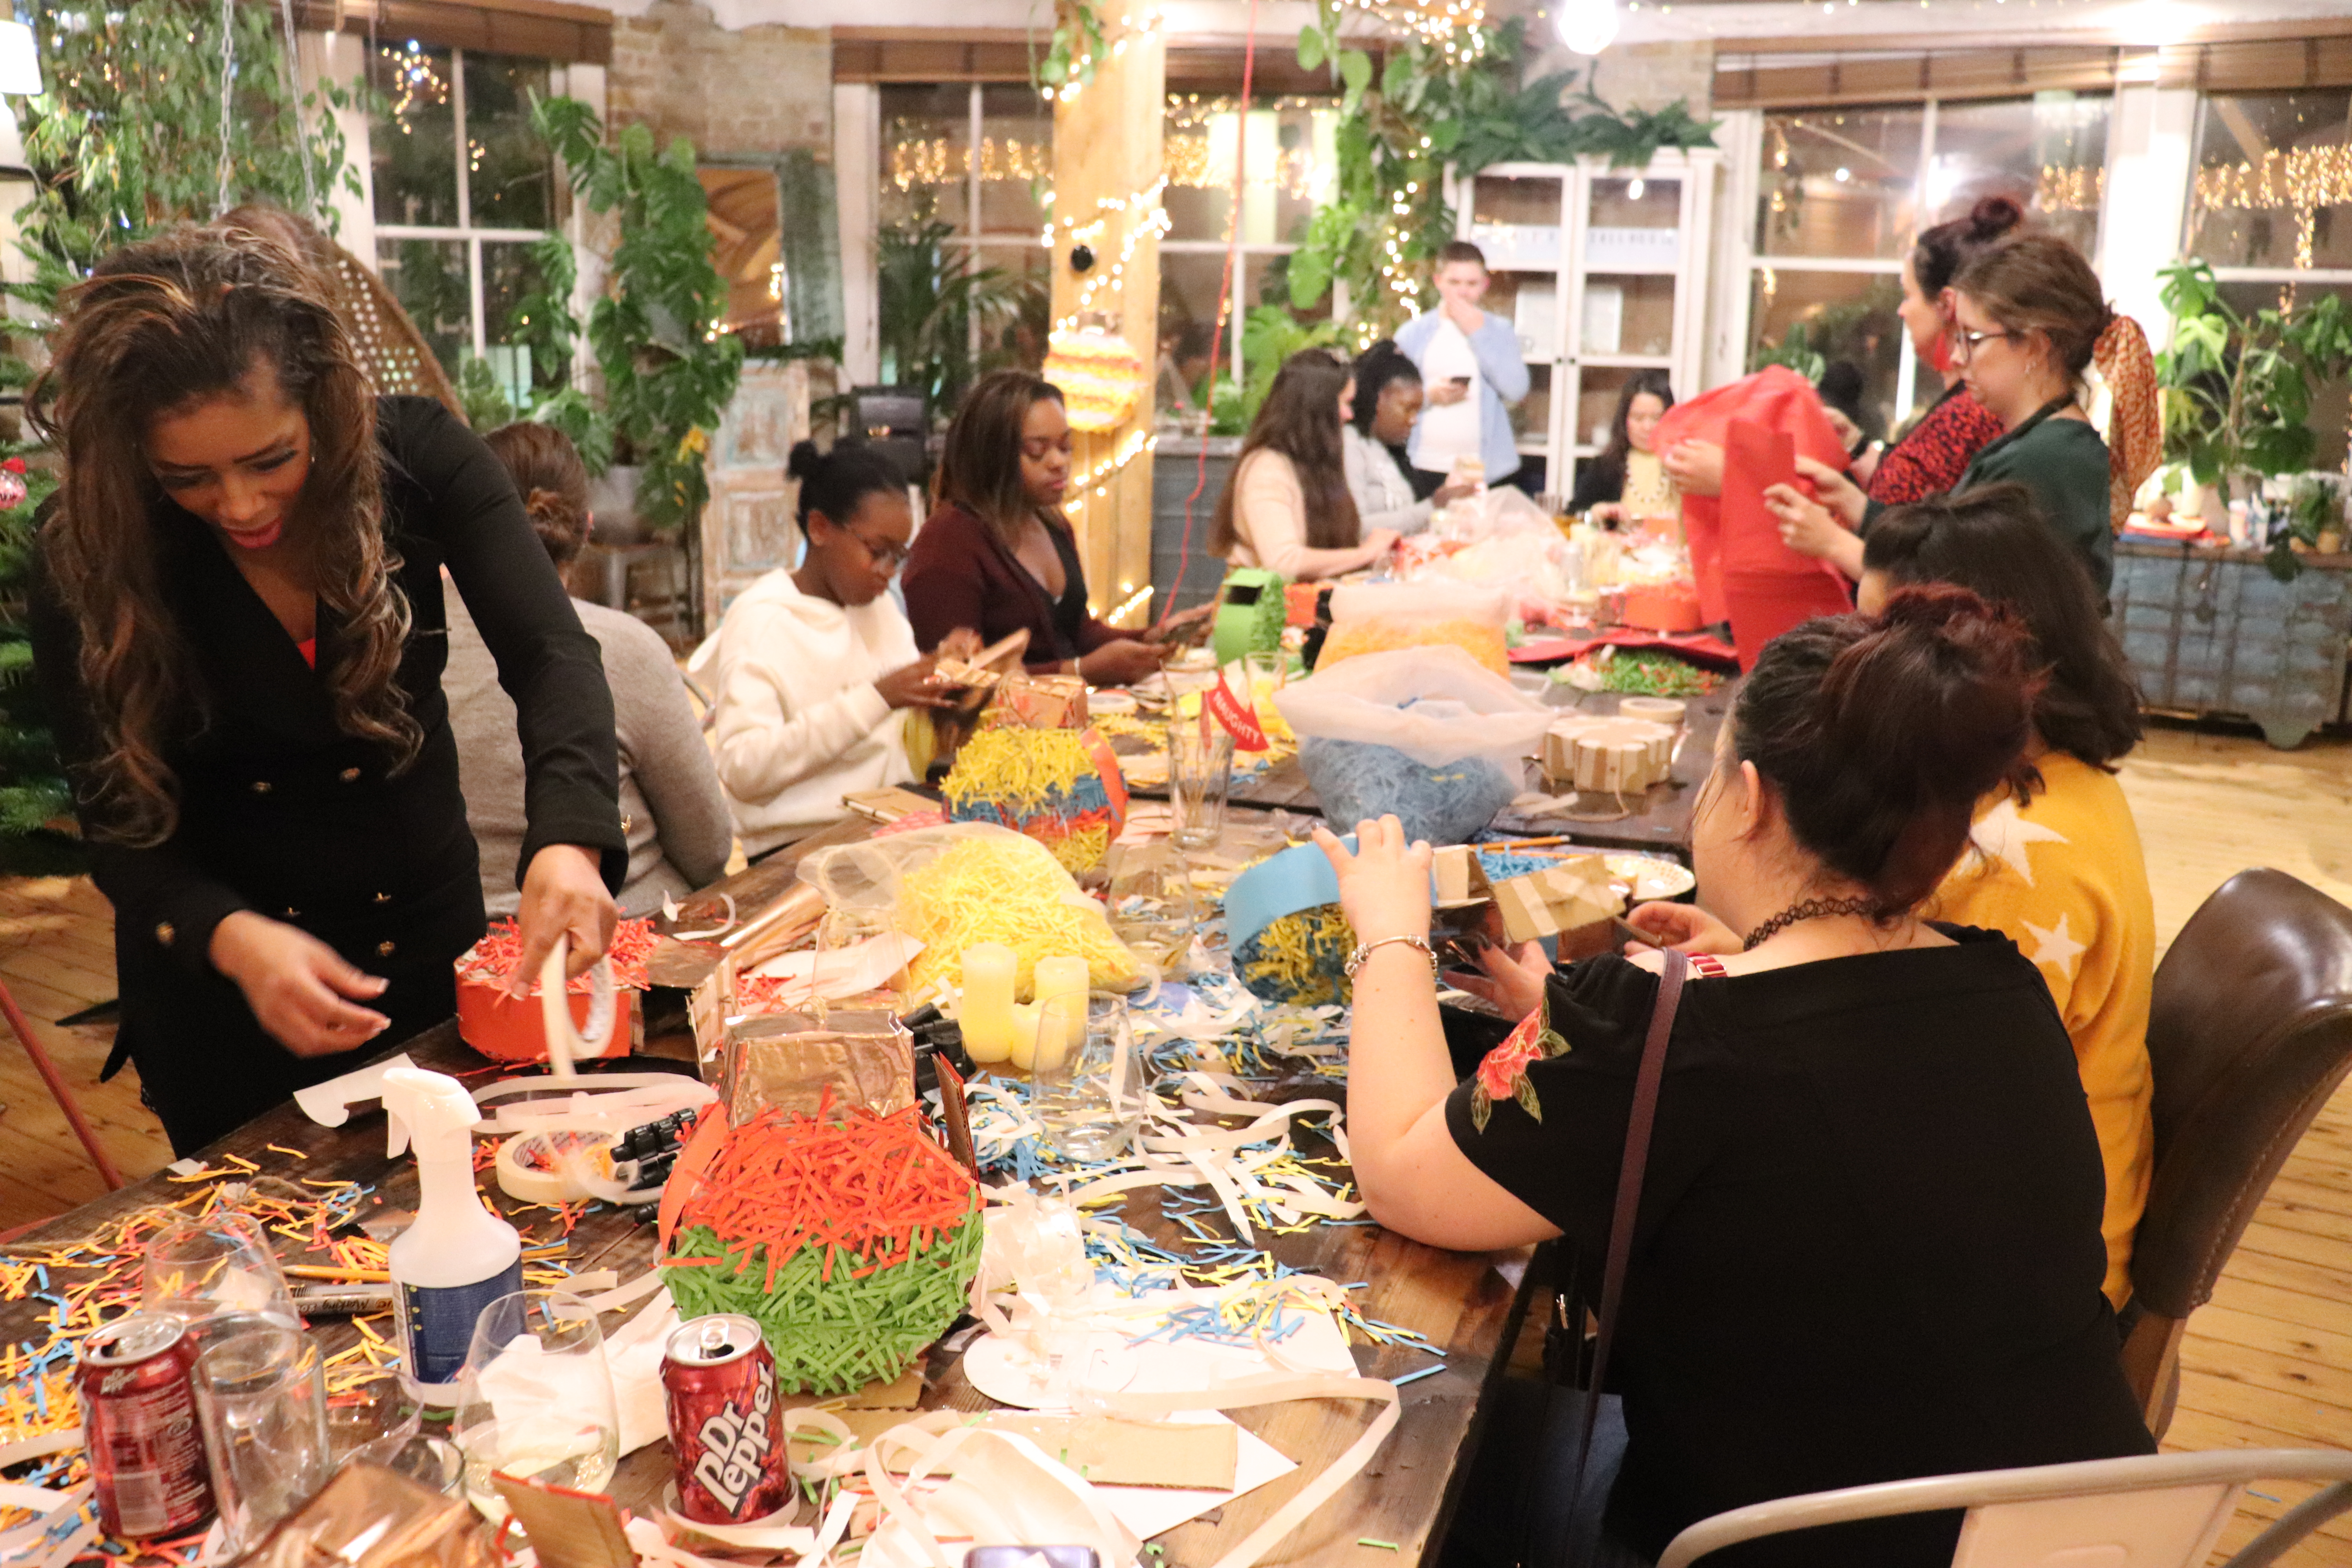
[Ad- gifted experience] As the Holiday season is upon us, Viking, an office supplier in the United Kingdom, invited a bunch of us bloggers to a Christmas Crafts event. I went along with Claire (who wrote up a lovely post herself) and Dann.
When it comes to Christmas Crafts, I know of quite a few. I expected some sort of Christmas Card to be made, maybe an ornament of some kind – but Viking really blew me away with the event and the crafts featured. Once we got to the Shoreditch Tree House, a fantastic venue that looked much like an open garden, with a large table in the middle, we were met with loads to eat and drink. With a Christmas themed buffet eaten, we moved onto our crafts. Viking had set up two crafts for us all to do, both with the general theme of shredded paper. They had some brand new shredders present, which they used to shred colored paper that can them be used for the crafts! This was a very clever idea and one we had not actually though of before.


Shredded Paper Ornament
The first craft we took on was creating an ornament for a Christmas tree. Using some string, colored paper, printed words to trace, paint markers, a clear plastic ornament that can be opened up and a bow to tie it together, we went to work. This project was pretty simple – once I had located a ‘J’, I placed the paper inside the ornament case and started tracing around it. I made my J purple, then once the paint pen had dried, I used gold to trace the outside of it. I also wrote ‘Merry Christmas 2019’ on the backside, as I like dating ornaments I make. Dann did similar, drawing a ‘D’ on his ornament and then coloring over it.


Once the outside was done, we selected colored paper for the inside. I went with blue, as I felt it would allow the J to pop, while Dann went for red and green (classic colors for the season). We got to try out the new shredders, then bring our confetti over to our ornaments to stuff them. Once they were stuffed, we went onto the trickiest part of this project – fitting the halves together. Sometimes, they just would not go! Once we got everything clasped together, we added the twine and bow – and presto, it’s done. This is a very cute project and these ornaments can be decorated and filled however you want. The idea of having confetti is super cute, though I found having less colors inside made them less busy looking!
Ornament Pinata
The Ornament Pinata we made next was much more challenging and a very unique idea! Using mainly cardboard, some metallic paper, colored paper, masking tape, double sided sticky tape, and some string – we made our own pinata to break on Christmas or Boxing Day. Viking provided two large circles, two long straight lines, and a rectangle with one of the long sides cut into an arc, all cut out of cardboard, to make our Pinata out of. First, we taped the rectangle to the circles, making two ornament-shaped flat cardboard bits. From there, we bent the long strips of cardboard so that they were more malleable, then started taping that to the sides of one of our flat ornaments, making a sort of shell. Then, we tapped on the back bit – so that there was a 3D version of an ornament – this may be hard to explain, so feel free to look at the pictures.


Once the mode was made of our pinata, we started decorating it. The top bit of the ornament was decorated with rose gold paper, while the circle front and back were layered with double-sided sticky tape. I would strongly recommend trading this out for some regular glue, as we had a lot of trouble getting the outside off the tape, so that we could stick things to them! After we got the tape all set up, we started coating the front and back with shredded paper. I went with half red and half green, while Dann tried to do striped which didn’t quite work out. It took a few different layers of tape and paper to get it very fluffy! Then we took strips of colored paper to cover the sides and poked a hole in the top, before adding a loop of string. I stuck a bunch of shredded paper inside my pinata too – which will go well with some sweets!

When it was time to leave, we were given a gift bag that included a mug to decorate for Christmas, as well as some sharpies and marker pens to aid in our decorations. To fill the mug, we were given a luxury hot chocolate spoon, which I have already eaten and enjoyed. Viking’s shredders were very nice to use and can do far more than just shred important documents. Both of these crafts were also just really fun to do!
This looks like a great time!
xx Kelly
Sparkles and Shoes