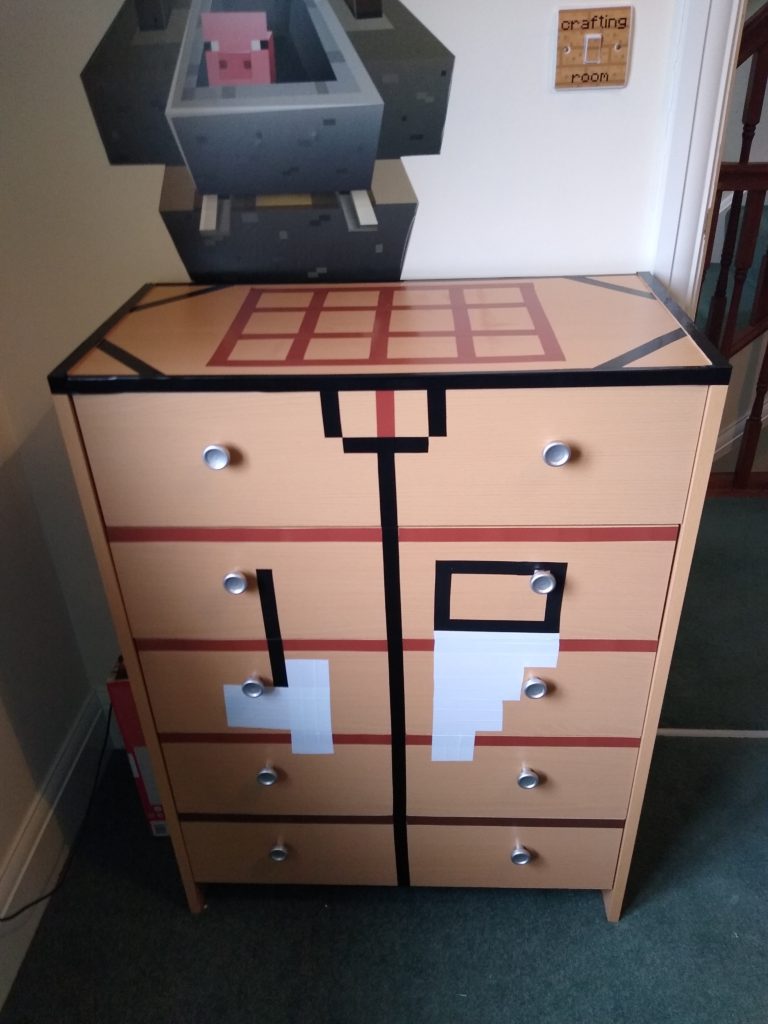
Kai has a lovely Minecraft themed room. This has come about through him picking the theme and loads of things being selected for the room, to make it the best Minecraft world possible. All that was missing was a Minecraft Dresser.
Vinyl stickers that look like holes into the world of Minecraft litter his walls, the windows are covered in similar stickers that make them look like glass blocks. His curtains, bedding and lamp shade all dawn the same green checkered pattern like the top of a grass block. He’s got a redstone torch, a little blue Minecraft sheep and many other little details. One thing that we couldn’t really find for sale was a Minecraft dresser.

After taking a look online, I found that the best thing to make a dresser into is a crafting bench, complete with tools on the front. Hunting for a bland, wooden dresser to do up was pretty easy, we ended up purchasing one from Argos. This sat in Kai’s room for some time, as we needed to plan out exactly how to do it, but he did often remind us to get it done.

The first attempt at a Minecraft dresser was through painting each of these lines on. After getting sample pots of paint and some green tape to mark things out, I found that painting each of these lines on was not a fun time. Nor was it the best way to go about a Minecraft dresser. There was long waits for lines to dry, the lines weren’t as straight or solid as I wanted, and it just didn’t have the look I was going for. After having a think about it, I figured out the best way to do this; through electrical tape.
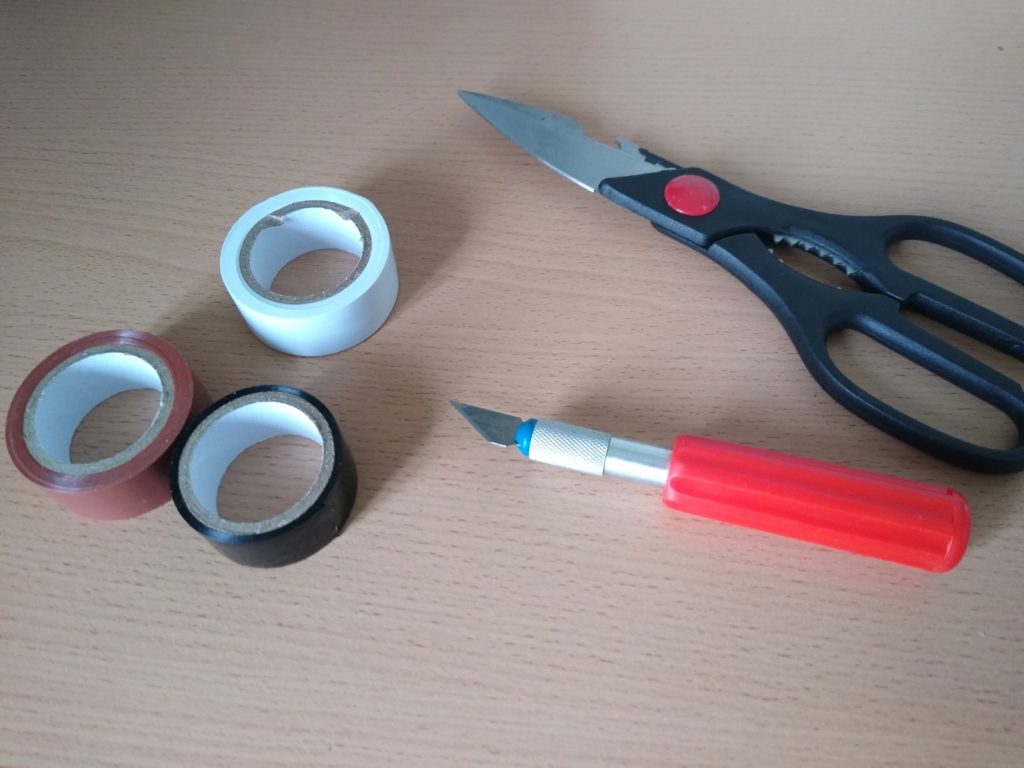
I used the following materials:
- Brown Electrical Tape (two of these were needed)
- Black Electrical Tape (two of theses were needed)
- White Electrical Tape

The following tools:
- Tape Measure
- Pencil
- Eraser
- Crafting Knife
- Scissors
A lot of creating this dresser was looking at pictures of the Minecraft crafting table and comparing them, but in my mind I didn’t think the Minecraft Dresser needed to be perfect. It just had to resemble the crafting table enough that people would know what it is. Clearly the dresser wasn’t a perfect cube, so the proportions wouldn’t ever be perfectly the same.

We measured the various sides of the dresser and spent the majority of the time doing maths to figure out the proportions of each line and each area. He then marked where I needed to put the tape. I placed the tape and used a crafting knife to clean up edges here and there.
When it came to taping various areas, it’s worth noting that electrical tape gets thinner as you stretch it, so you really do need to be slow and careful when it comes to placing these strips of tape. Not every placement is going to be perfect – and that is okay. Once the entire look was done, small mistakes and all, it made for a great dresser.
After a couple of hours work, the Minecraft dresser made with tape instead of paint came out pretty dang great. When Kai saw it, he pretended to craft right onto it, so he seems to really like it. The youngest, Robin, keeps going in Kai’s room and saying it looks pretty, so that’s a plus too.

