
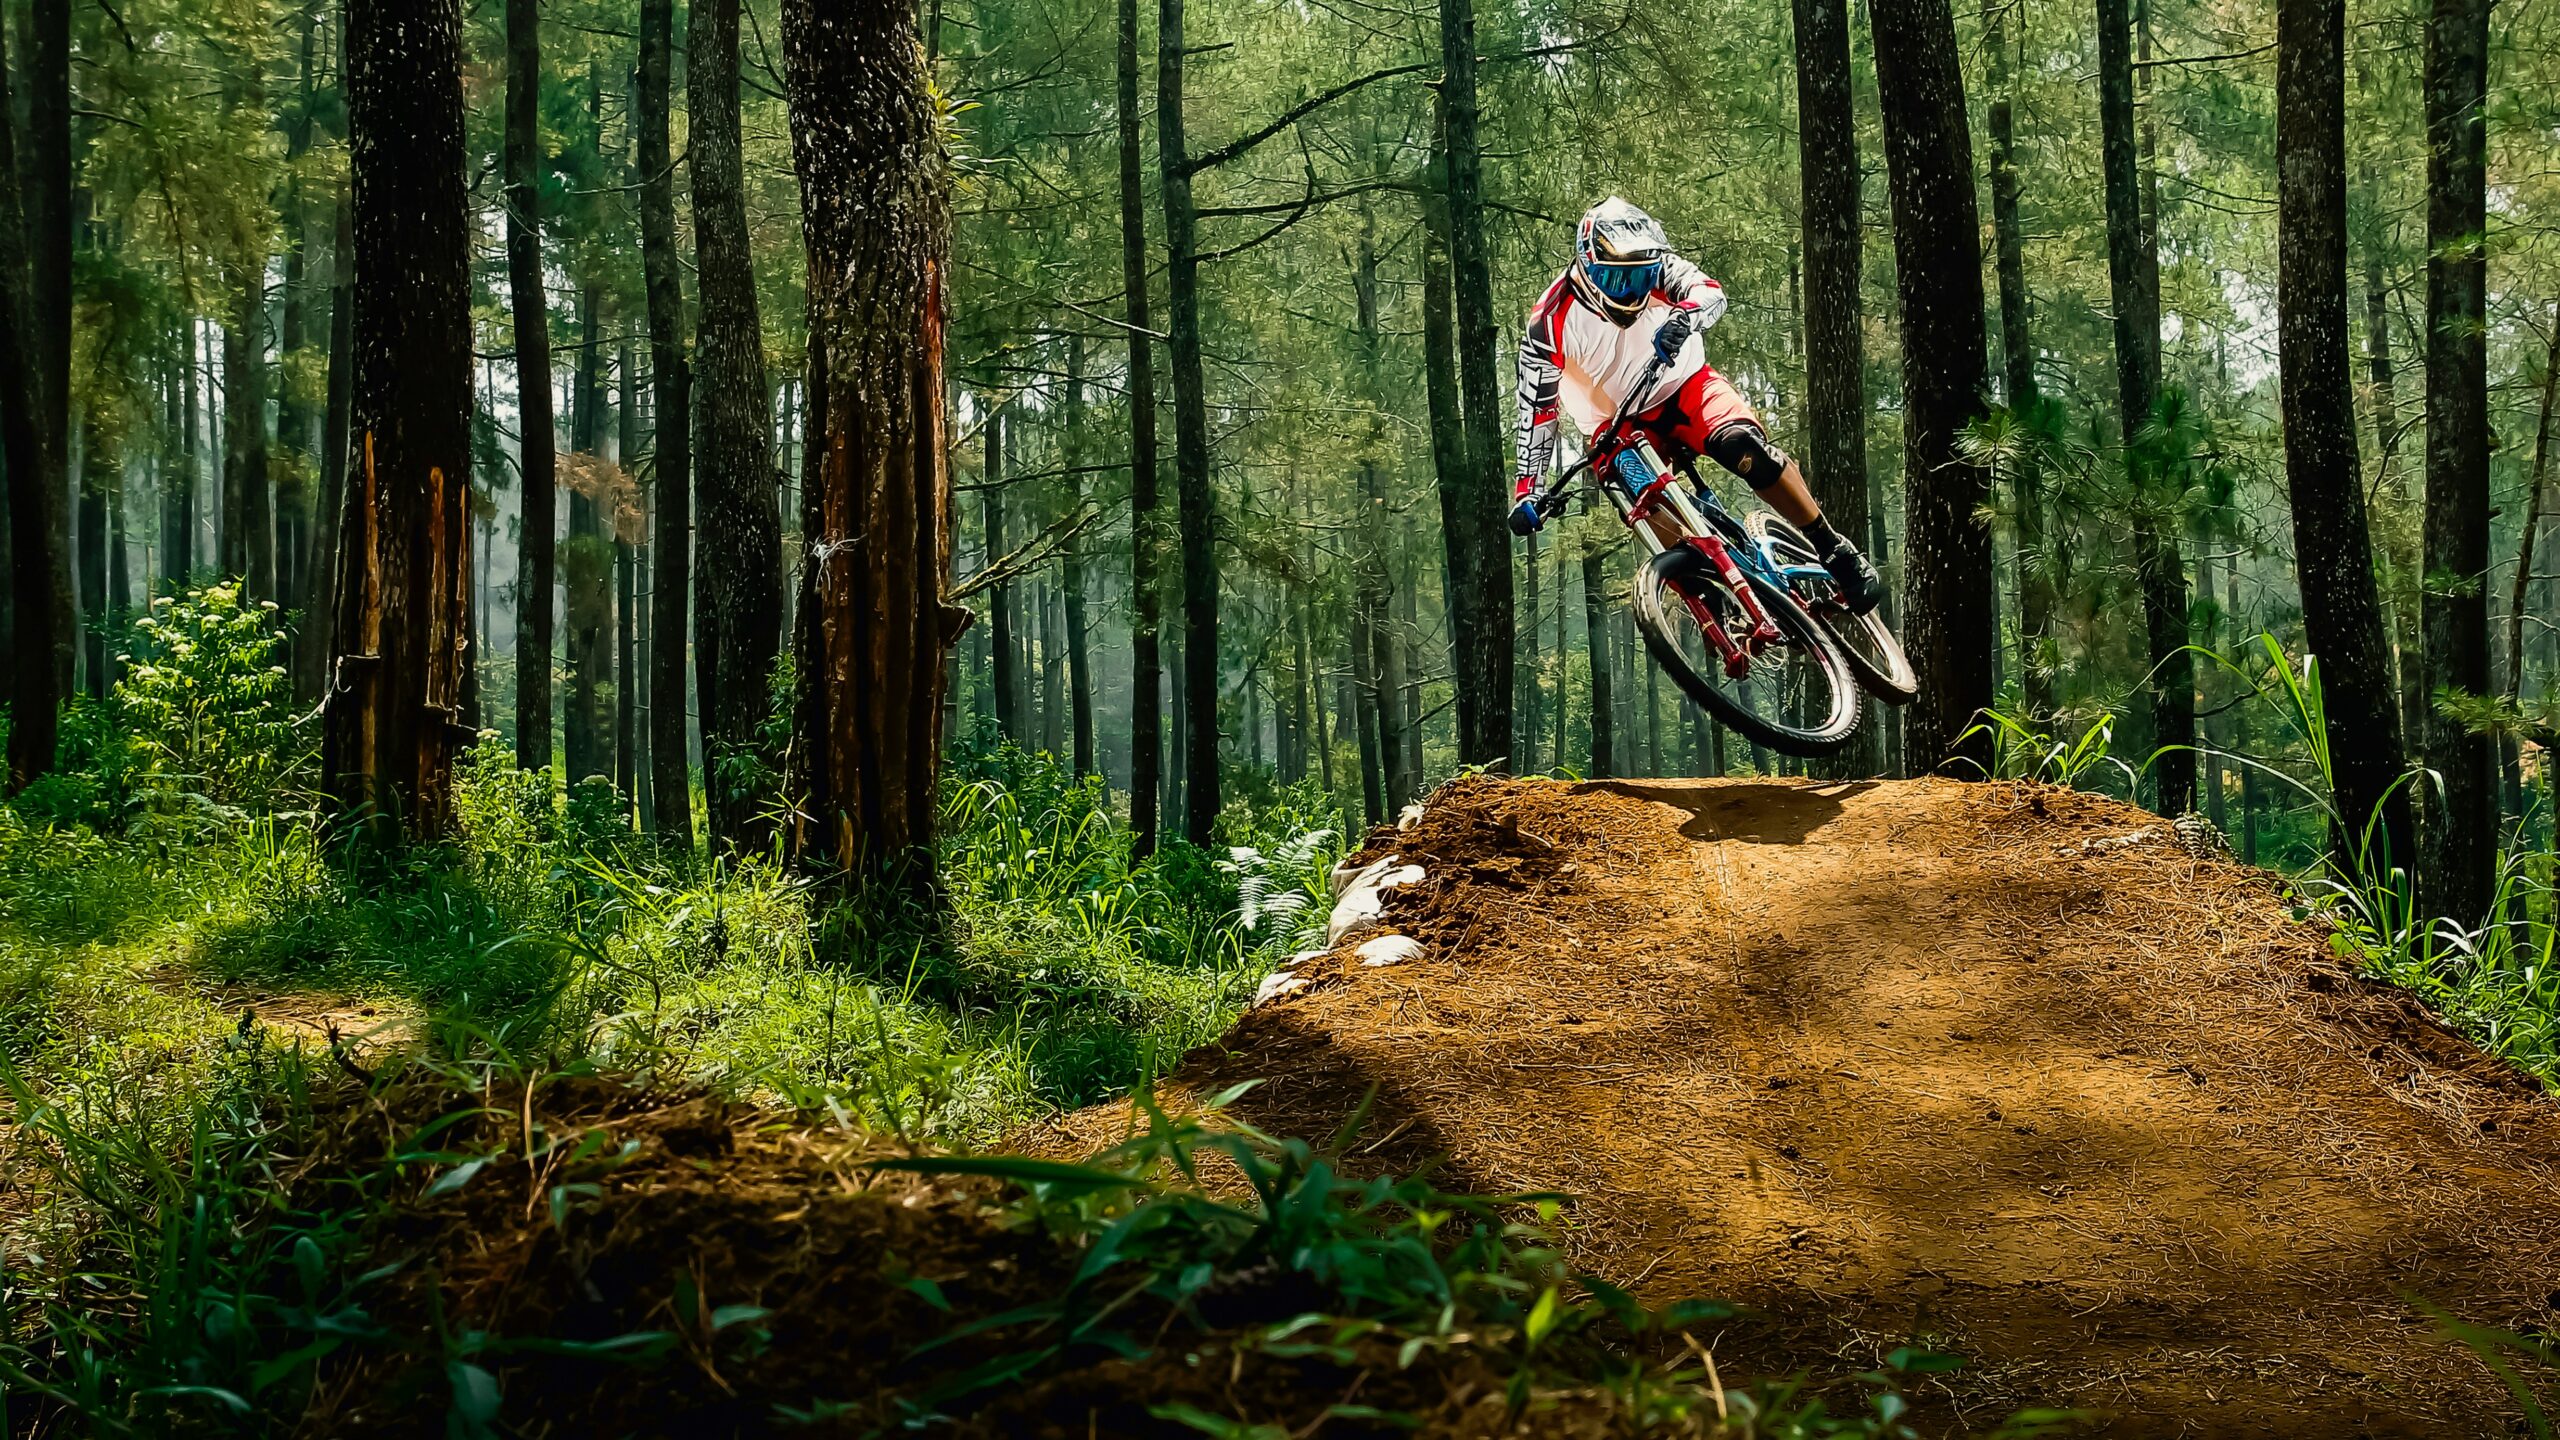
Match the hardtail to terrain first, then confirm fit, fork travel, wheel size, tires, brakes, gearing and dropper-post requirements. Do not begin with frame material or discount.
1. Describe the normal trail
Record surface, steepness, ride length and the roughest recurring feature. Paths and XC loops need a different bike from steep, rocky trails.
2. Choose XC or trail intent
XC hardtails favor climbing and distance. Trail hardtails favor stability and descending control. Compare cross-country bikes when speed and fitness lead the brief.
3. Confirm frame size
Use the exact geometry chart. Check reach, stack, standover and seat-tube length, then make sure the rider can reach the controls and move around the bike.
4. Match fork travel
Use only travel approved for the frame. More travel changes steering and frame load. An air fork normally offers useful adjustment for rider weight.
5. Select wheel size
29-inch wheels preserve momentum and rollover. 27.5-inch wheels can feel more compact. Fit and geometry are more important than following a wheel-size trend.
6. Choose tires for the route
XC riders need rolling speed with adequate grip and protection. Trail riders may need stronger casing and more aggressive tread. Pressure must balance grip, rim protection and rider weight.
7. Check gearing and brakes
Choose a low enough climbing gear and brakes that provide predictable control. Reliable, serviceable equipment matters more than the highest component tier.
8. Decide on a dropper post
A dropper creates room on descents and corners. Confirm routing and insertion depth before assuming it can be added later.
9. Spend in the right order
- Correct fit and geometry.
- Suitable fork.
- Brakes and tires.
- Climbing gears.
- Dropper if justified.
- Frame material and weight upgrades last.
Compare two bikes with the same scorecard
| Question | Bike A | Bike B |
|---|---|---|
| Does the geometry suit XC or trail use? | Record evidence | Record evidence |
| Is the fork appropriate and adjustable? | Record evidence | Record evidence |
| Do the tires match normal terrain? | Record evidence | Record evidence |
| Are the climbing gears low enough? | Record evidence | Record evidence |
| Is a dropper included or compatible? | Record evidence | Record evidence |
| What service and upgrade costs remain? | Record evidence | Record evidence |
Set the bike up after purchase
Begin with the manufacturer’s fork-pressure and rebound guidance. Set tire pressure within tire and rim limits, then change it in small steps. Adjust brake-lever reach for comfortable one-finger braking. Set saddle height for pedaling and check fasteners using the current assembly and torque guidance.
During early rides, change one variable at a time. If the bike feels harsh, check rear-tire pressure and casing before assuming the frame is unsuitable. If the front lacks control, review fork setup and tire grip before buying parts.
When to stop and compare full suspension
If the normal route contains repeated rough impacts, rear-wheel traction is frequently lost or fatigue consistently limits the ride, compare full-suspension mountain bikes. The aim is to select the right tool, not defend the original category choice.
How to review the first three rides
Use the first ride to confirm basic fit, brake reach and shifting. Use the second to adjust fork rebound and tire pressure in small steps. Use the third to test the bike on the most representative trail. Record what improved and what remained limiting.
If climbing is difficult, check gearing, position and fitness before blaming bike weight. If descending feels nervous, review tire grip, pressure, fork setup and cockpit position. If repeated rear impacts create fatigue on normal trails, the category itself may need reconsideration.
Budget for the complete riding setup
The purchase price is not the whole budget. Include a helmet, pedals where required, basic tools, pump, spare tube or repair system, hydration, transport equipment and routine maintenance. A slightly less expensive bike with the correct safety and setup equipment can be a better first purchase than spending the entire budget on the frame.
Make the final choice in writing
Complete one sentence before ordering: “This bike suits my normal route because…” The answer should mention terrain, fit and the feature that solves the main riding problem. If the sentence depends on an occasional trip or a future skill level, return to the shortlist.
Then confirm the exact size, live price, stock, included parts, warranty and assembly information. A technically suitable bike is not ready to purchase until those practical details also work.
Photograph or note the initial settings before making adjustments. A simple record prevents random changes and makes it easier to return to a known setup when an experiment does not improve control or comfort. Recheck the result carefully on the normal trail before purchasing an upgrade.
Use current products to test the checklist
At the time this guide was reviewed, current in-stock U.S. hardtails on BikesOnline ranged from $499.99 to $1,699.99. Prices, specifications, sizes and availability can change, so confirm every detail on the live product page.
| Model | Brand | Starting price | Availability snapshot |
|---|---|---|---|
| 2025 Polygon Xtrada 6 – Mountain Bike [XL] [29 inch] | Polygon | $849.99 | 2 units across current variants |
| 2026 Polygon Xtrada 5 – Mountain Bike [New] [XL] | Polygon | $799.99 | 94 units across current variants |
| Polygon Cascade 5 – Mountain Bike [New] [29 inch] [XL] | Polygon | $649.99 | 33 units across current variants |
| Polygon Cascade 4 – Mountain Bike [New] [29 inch] [XL] | Polygon | $599.99 | 24 units across current variants |
| Polygon Cascade 3 – Mountain Bike [New] [S] [29 inch] | Polygon | $519.99 | 90 units across current variants |
Use these models as a practical shortlist, then compare geometry, fork travel, wheel size, tires, drivetrain, brakes and dropper-post compatibility for the intended terrain.
Common mistakes
- Buying too large for perceived stability.
- Exceeding approved fork travel.
- Using excessive tire pressure and losing grip.
- Choosing lightweight XC tires for rough trails.
- Ignoring dropper compatibility.
- Paying for carbon before fit, fork and brakes.
Frequently asked questions
Are hardtail mountain bikes good for beginners?
Yes, particularly for paths, smoother trails and riders who value simple maintenance. Correct sizing, suitable brakes, appropriate tires and a fork matched to the terrain still matter.
Can a hardtail handle technical trails?
Many can, but repeated rocks, roots and high-speed impacts increase rider fatigue and reduce rear-wheel traction. Frame intent, fork, wheels, tires and rider control determine the practical limit.
Is a hardtail faster than a full-suspension bike?
A hardtail can feel faster on smoother climbs and firm trails because it is often lighter and responds directly to pedaling. Full suspension can be faster on rough ground because it preserves traction and control.
What fork travel is best for a hardtail?
Around 100–120 mm is common for XC and general trail use, while aggressive trail hardtails may use more. Always stay within the travel approved for the exact frame.
Do I need a dropper post on a hardtail?
A dropper is optional, but it creates room to move on steep descents and technical corners. Confirm routing, insertion depth and frame compatibility.
Should I choose 27.5-inch or 29-inch wheels?
29-inch wheels generally preserve momentum and roll smoothly over obstacles. 27.5-inch wheels can feel easier to move around for some riders and frame sizes. Complete-bike fit matters more than diameter alone.
Final checklist
The right hardtail mountain bikes fits correctly, suits the normal route and provides usable gears, brakes, tires and fork performance. If rough-terrain comfort needs repeated excuses, compare full suspension.