
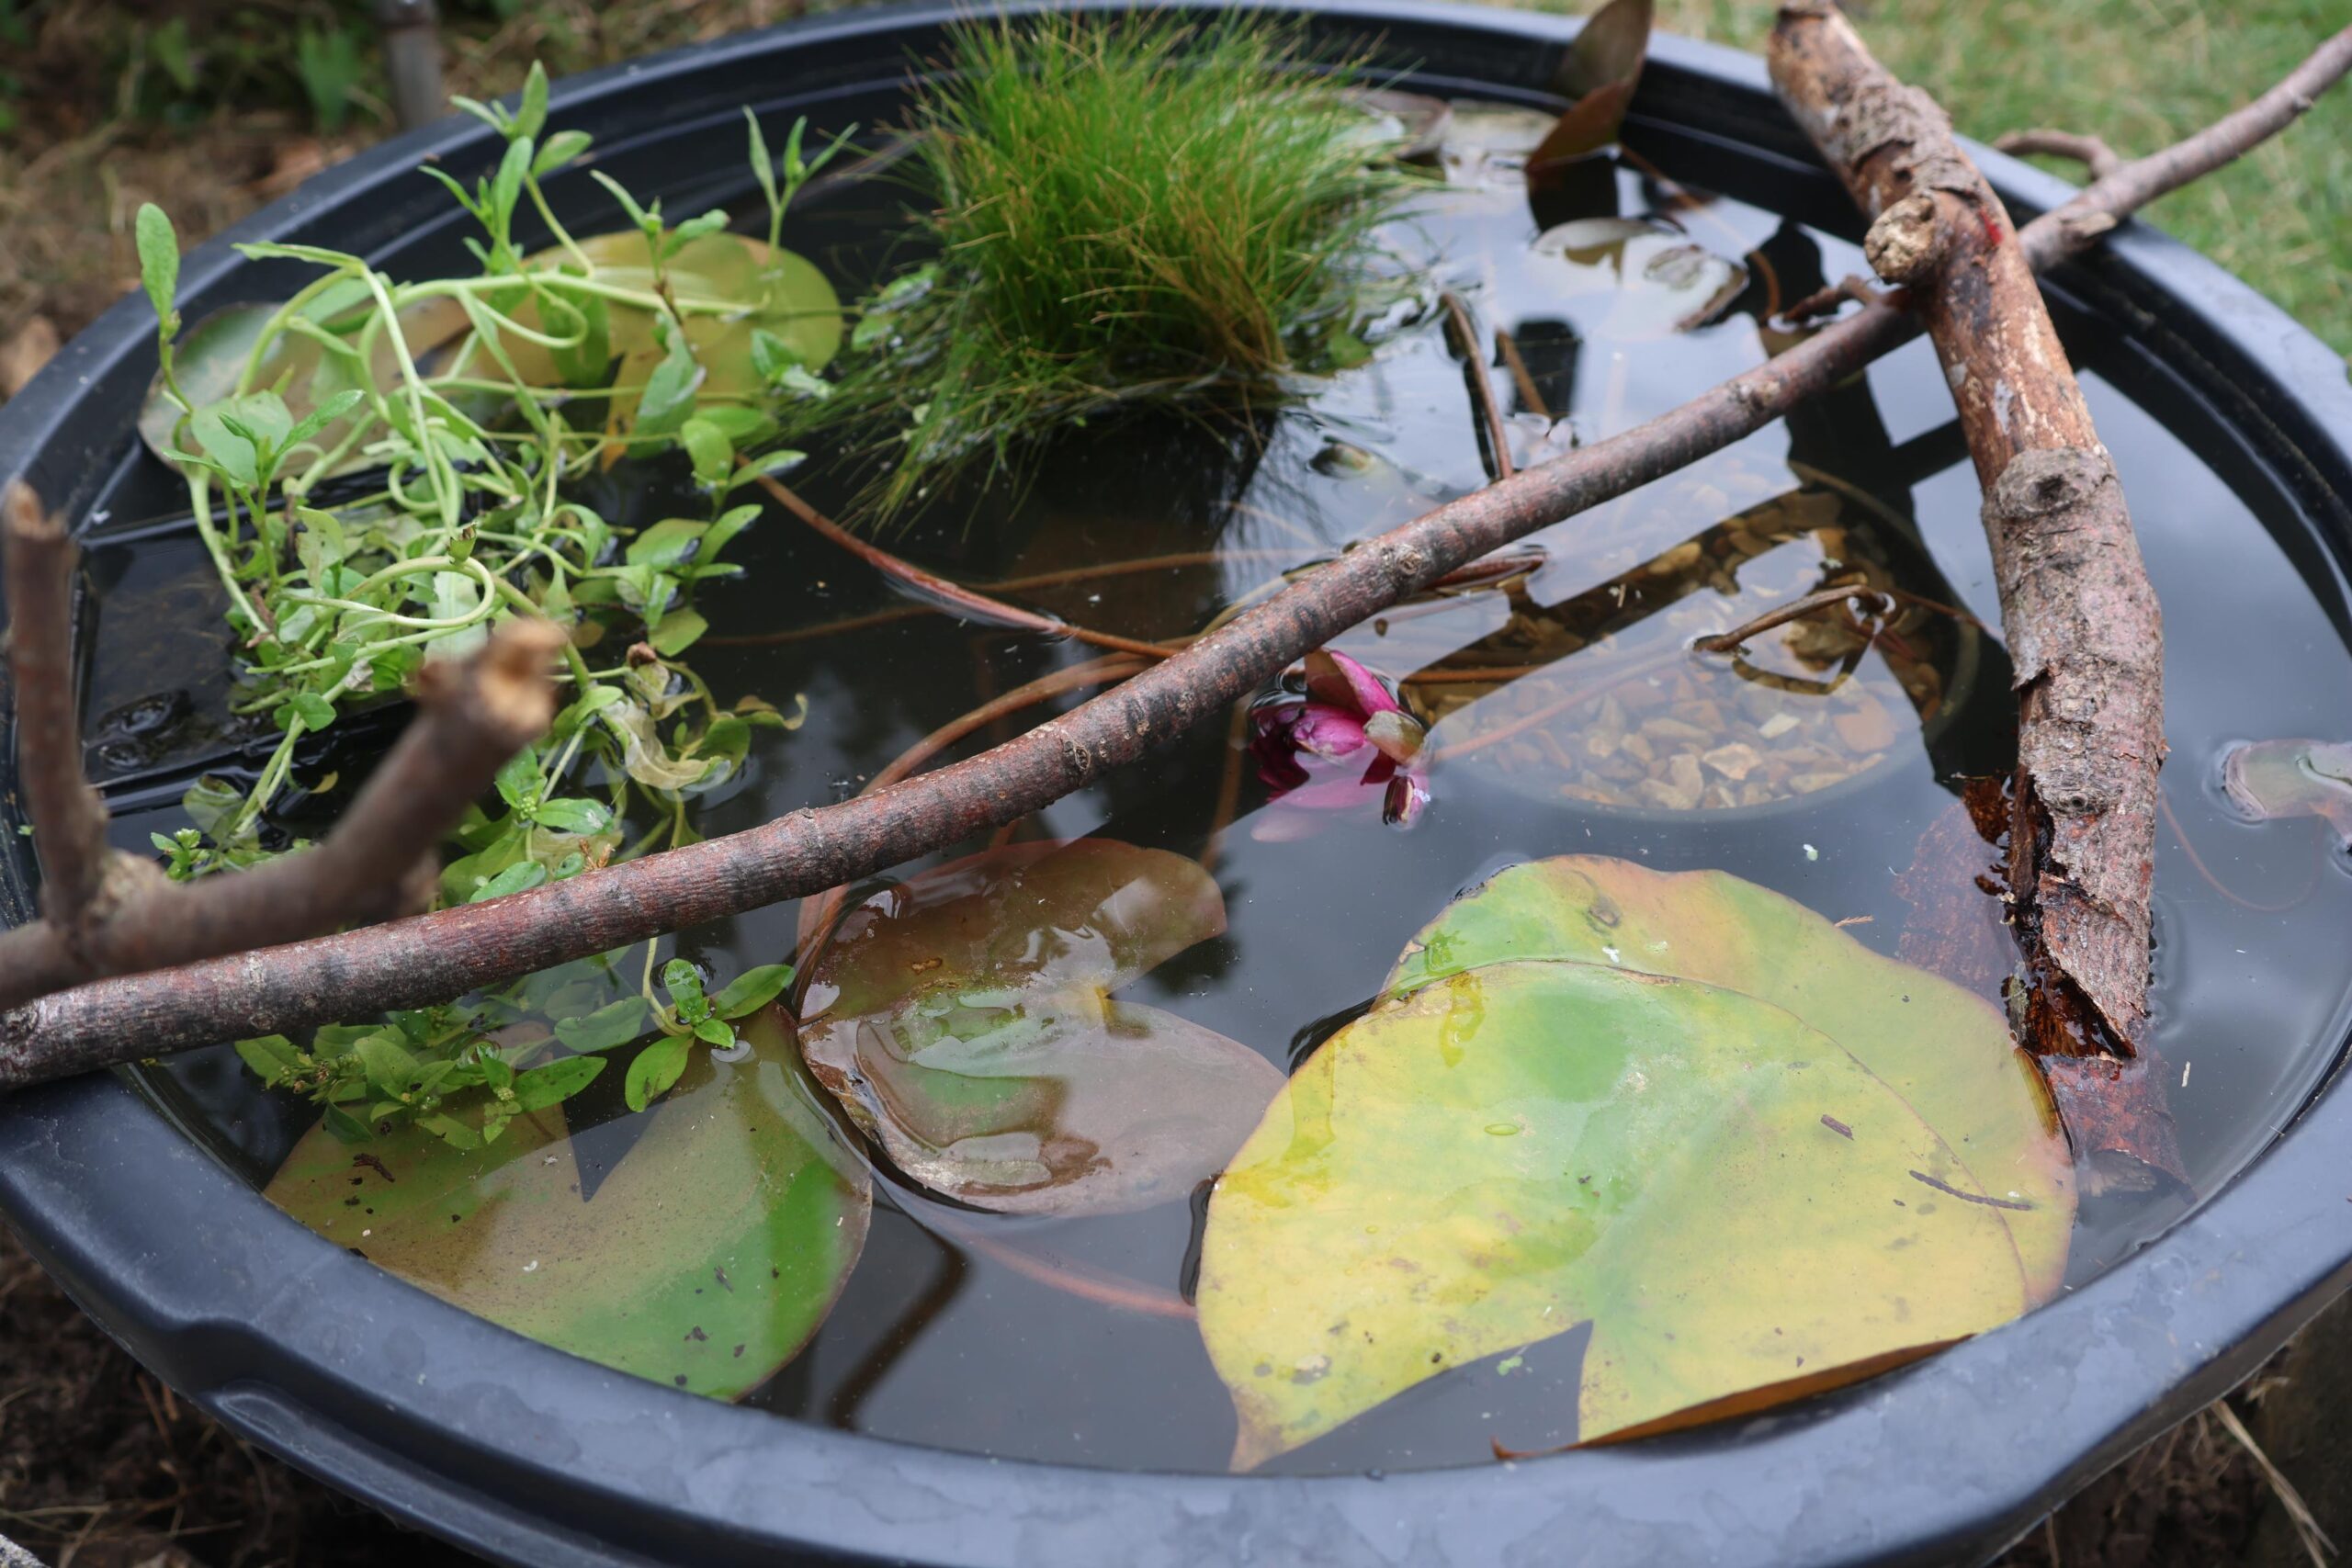
[Ad- gifted collab] A few years back Dann and I made a little flower-pot pond, they were going viral on the internet and we wanted to give it a try! It’s been thriving in our backyard since, and we love looking out into the garden and seeing it. I find these little ponds to be so fun to build and watch change. We’ve seen birds taking drinks, smaller bugs on the plants and sometimes even see butterflies fluttering about! Recently Essex Local Nature Recovery Strategy has challenged people in our area to boost their local ecosystem’s biodiversity, so we’ve partnered with them to create a second mini pond, and we’ll tell you how!
Creating a mini pond is actually really easy and you can often recycle a lot of the materials that you need. We used:
- A bucket, either an old, upcycled one or one purchased from a store.
- Bricks
- Rocks
- Pond Plants (optional)
- Large Sticks
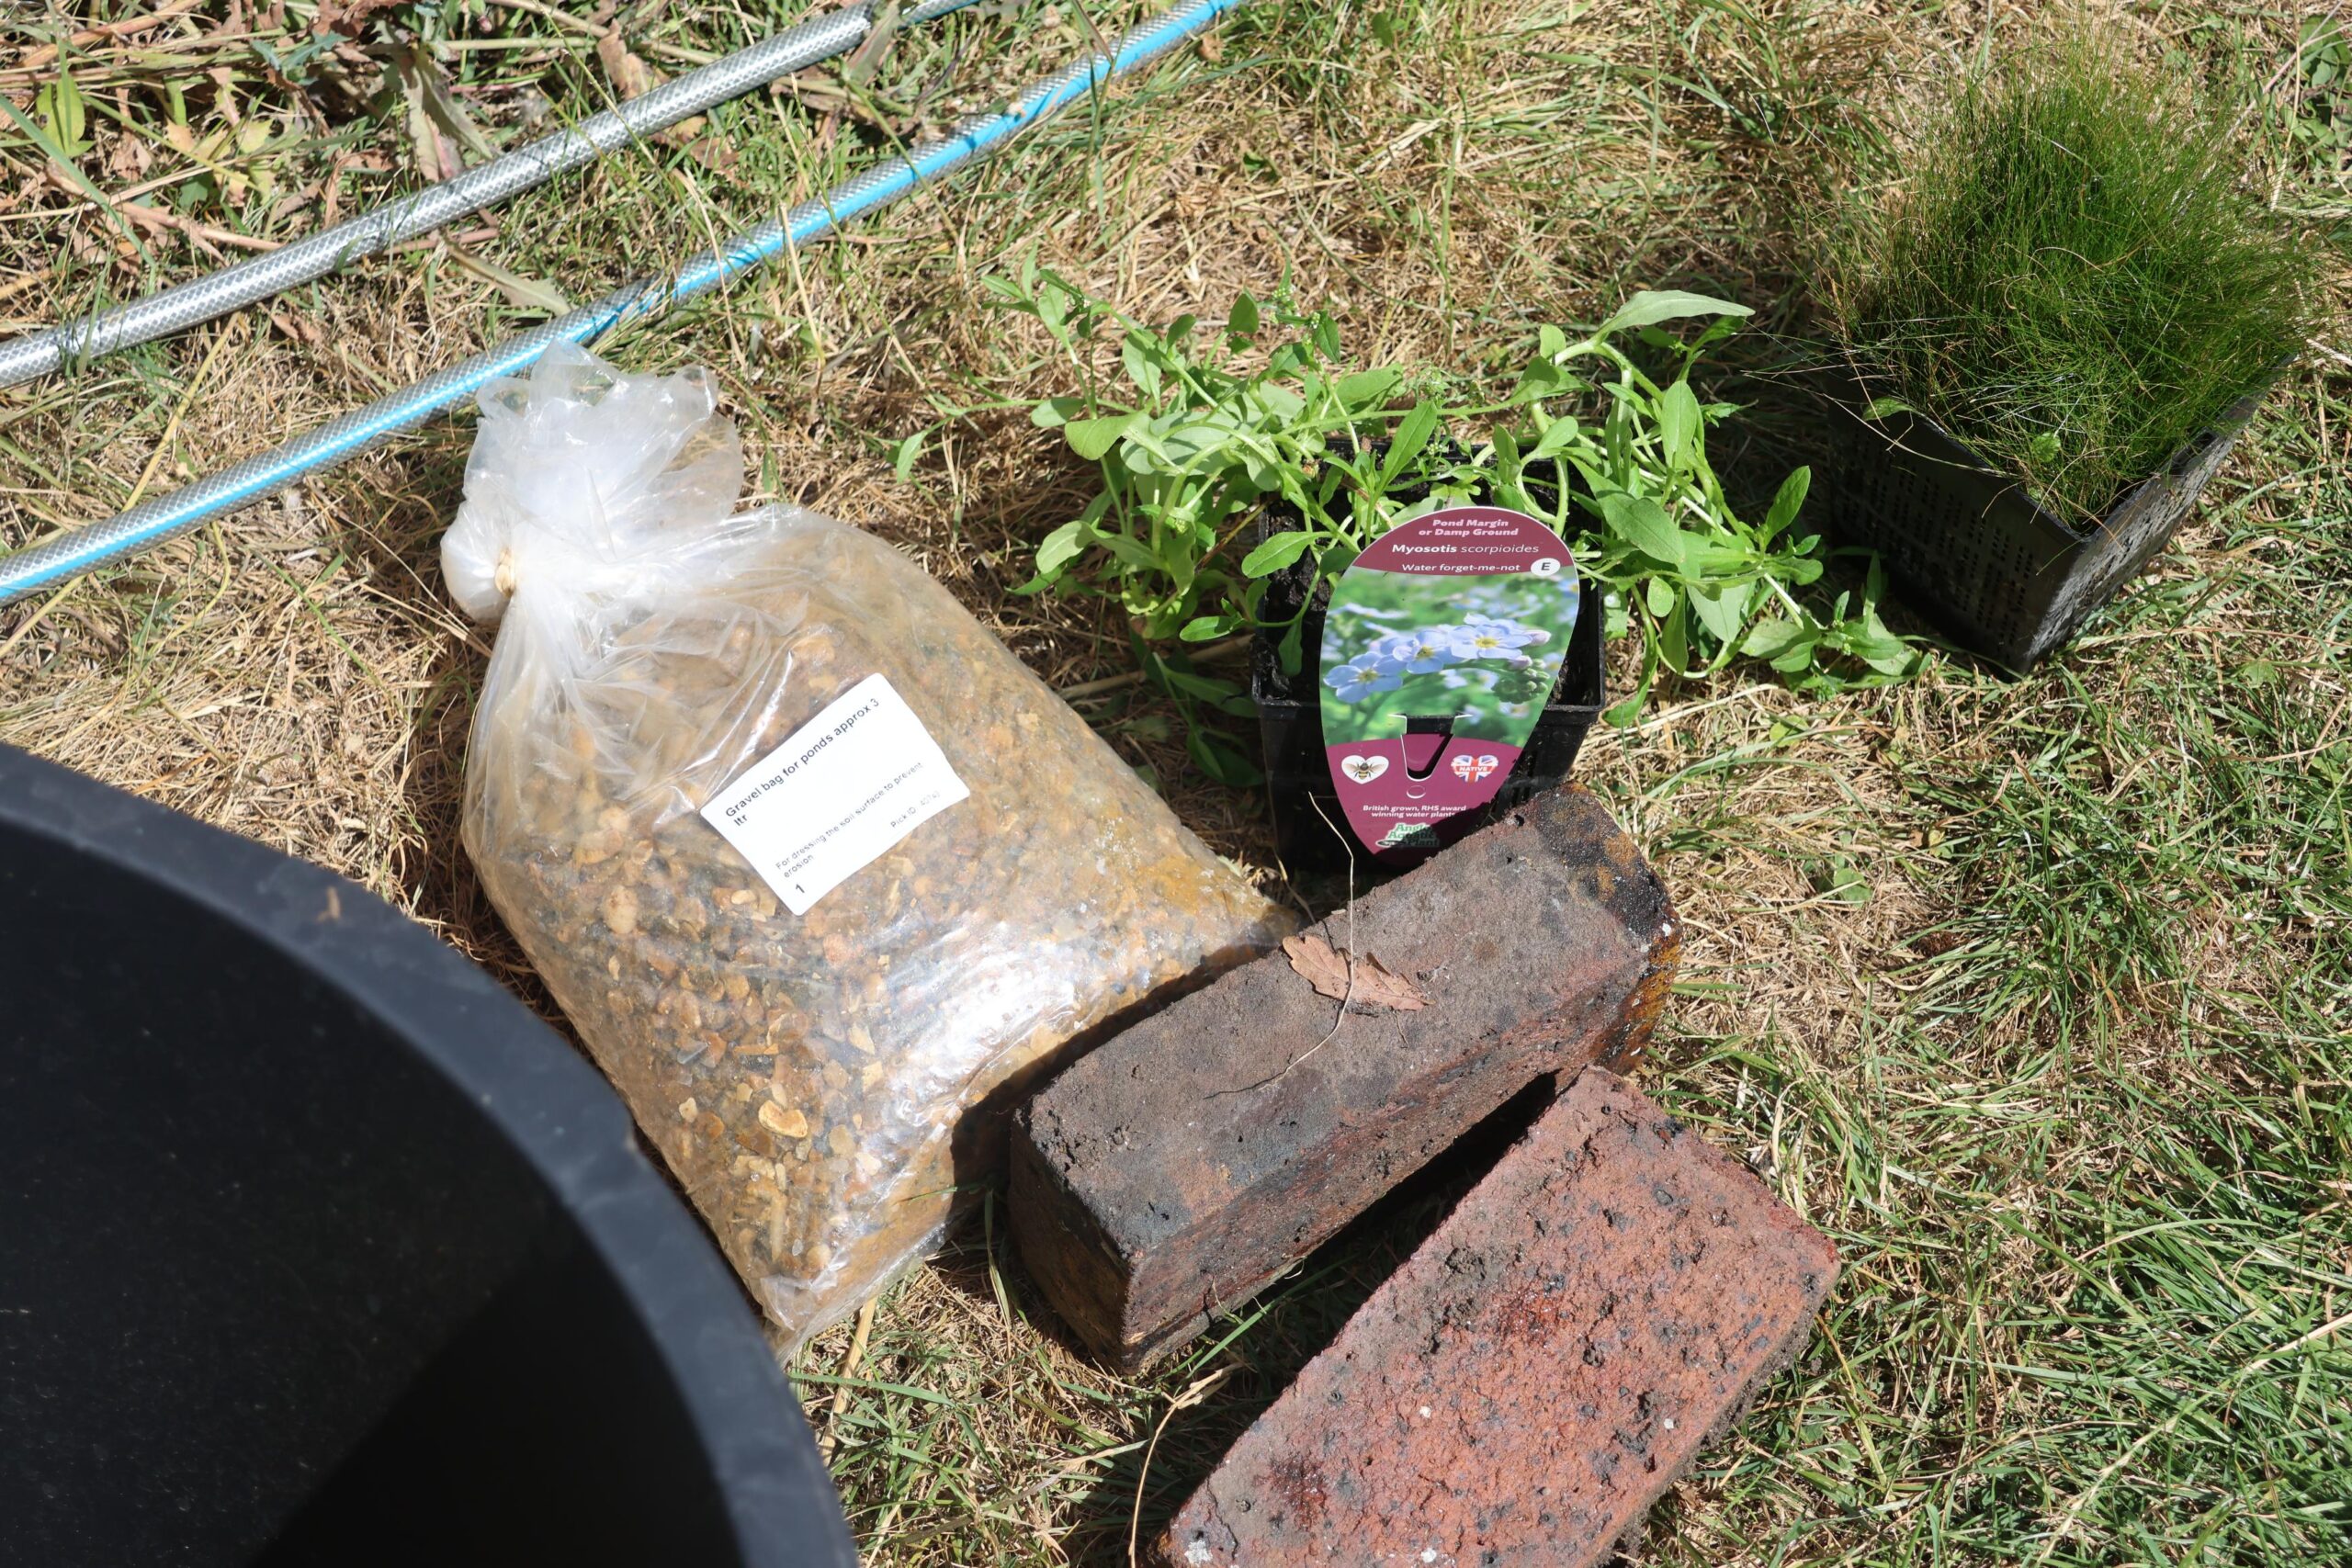
The main thing really is picking out a bucket or container for your pond. Once you have the container, you have two options; an above ground pond or an in-ground pond. The bucket we ended up with was quite large, so we did it half in the ground half out, so that we could line it up with the other mini-pond we had. This was mainly done by Dann, who did a great job of digging and making sure everything is even. The main thing is, if your pond is above ground, you need some sticks or wood to act as a bridge in case smaller animals get stuck in your water.
Once you have placed your pond in it’s final spot, you can then place your bricks or larger rocks into your pond. We had a few different water plants; Eleocharis which is a sort of water grass, that adds a lot of oxygen to the water, Myosotis, which is a water-based forget-me-not, which should create little blue flowers that are great for bees, and lily pads, as they are such fun plants to have in your pond. Some of these have different heights that are needed to them, so I use bricks to layout how I want them all to be, making sure the bricks are stacked up well. You can also use big rocks.
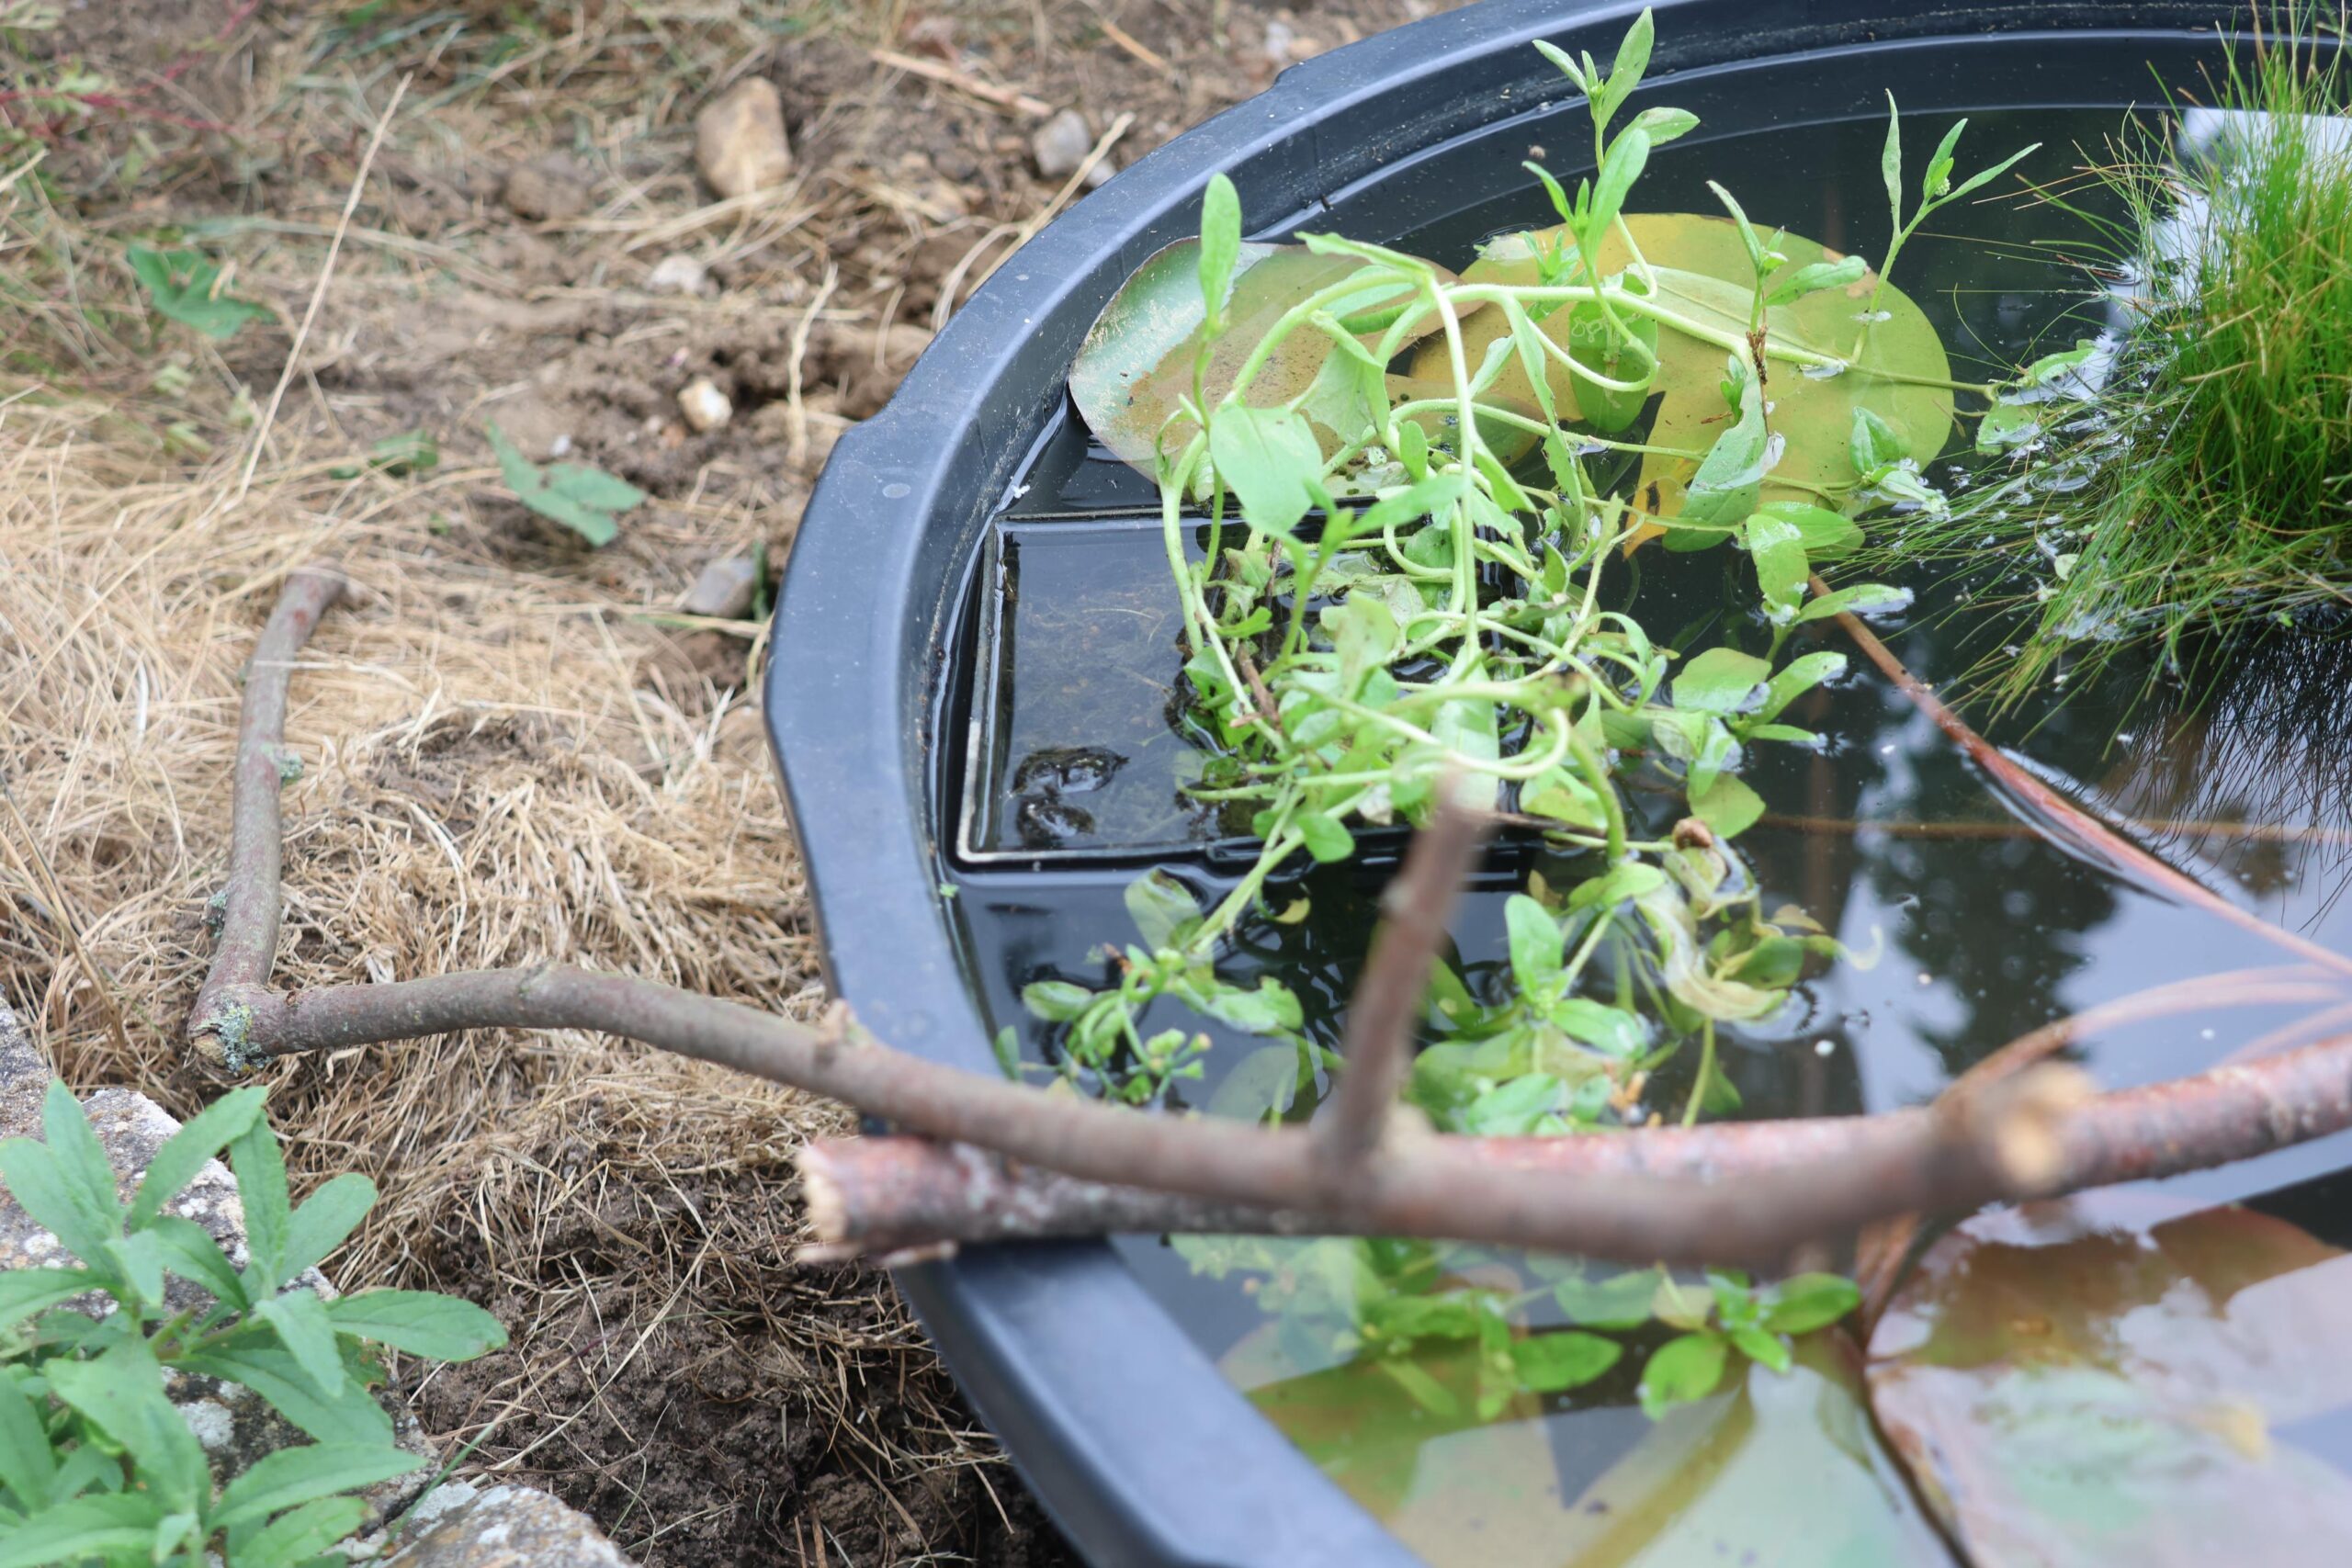
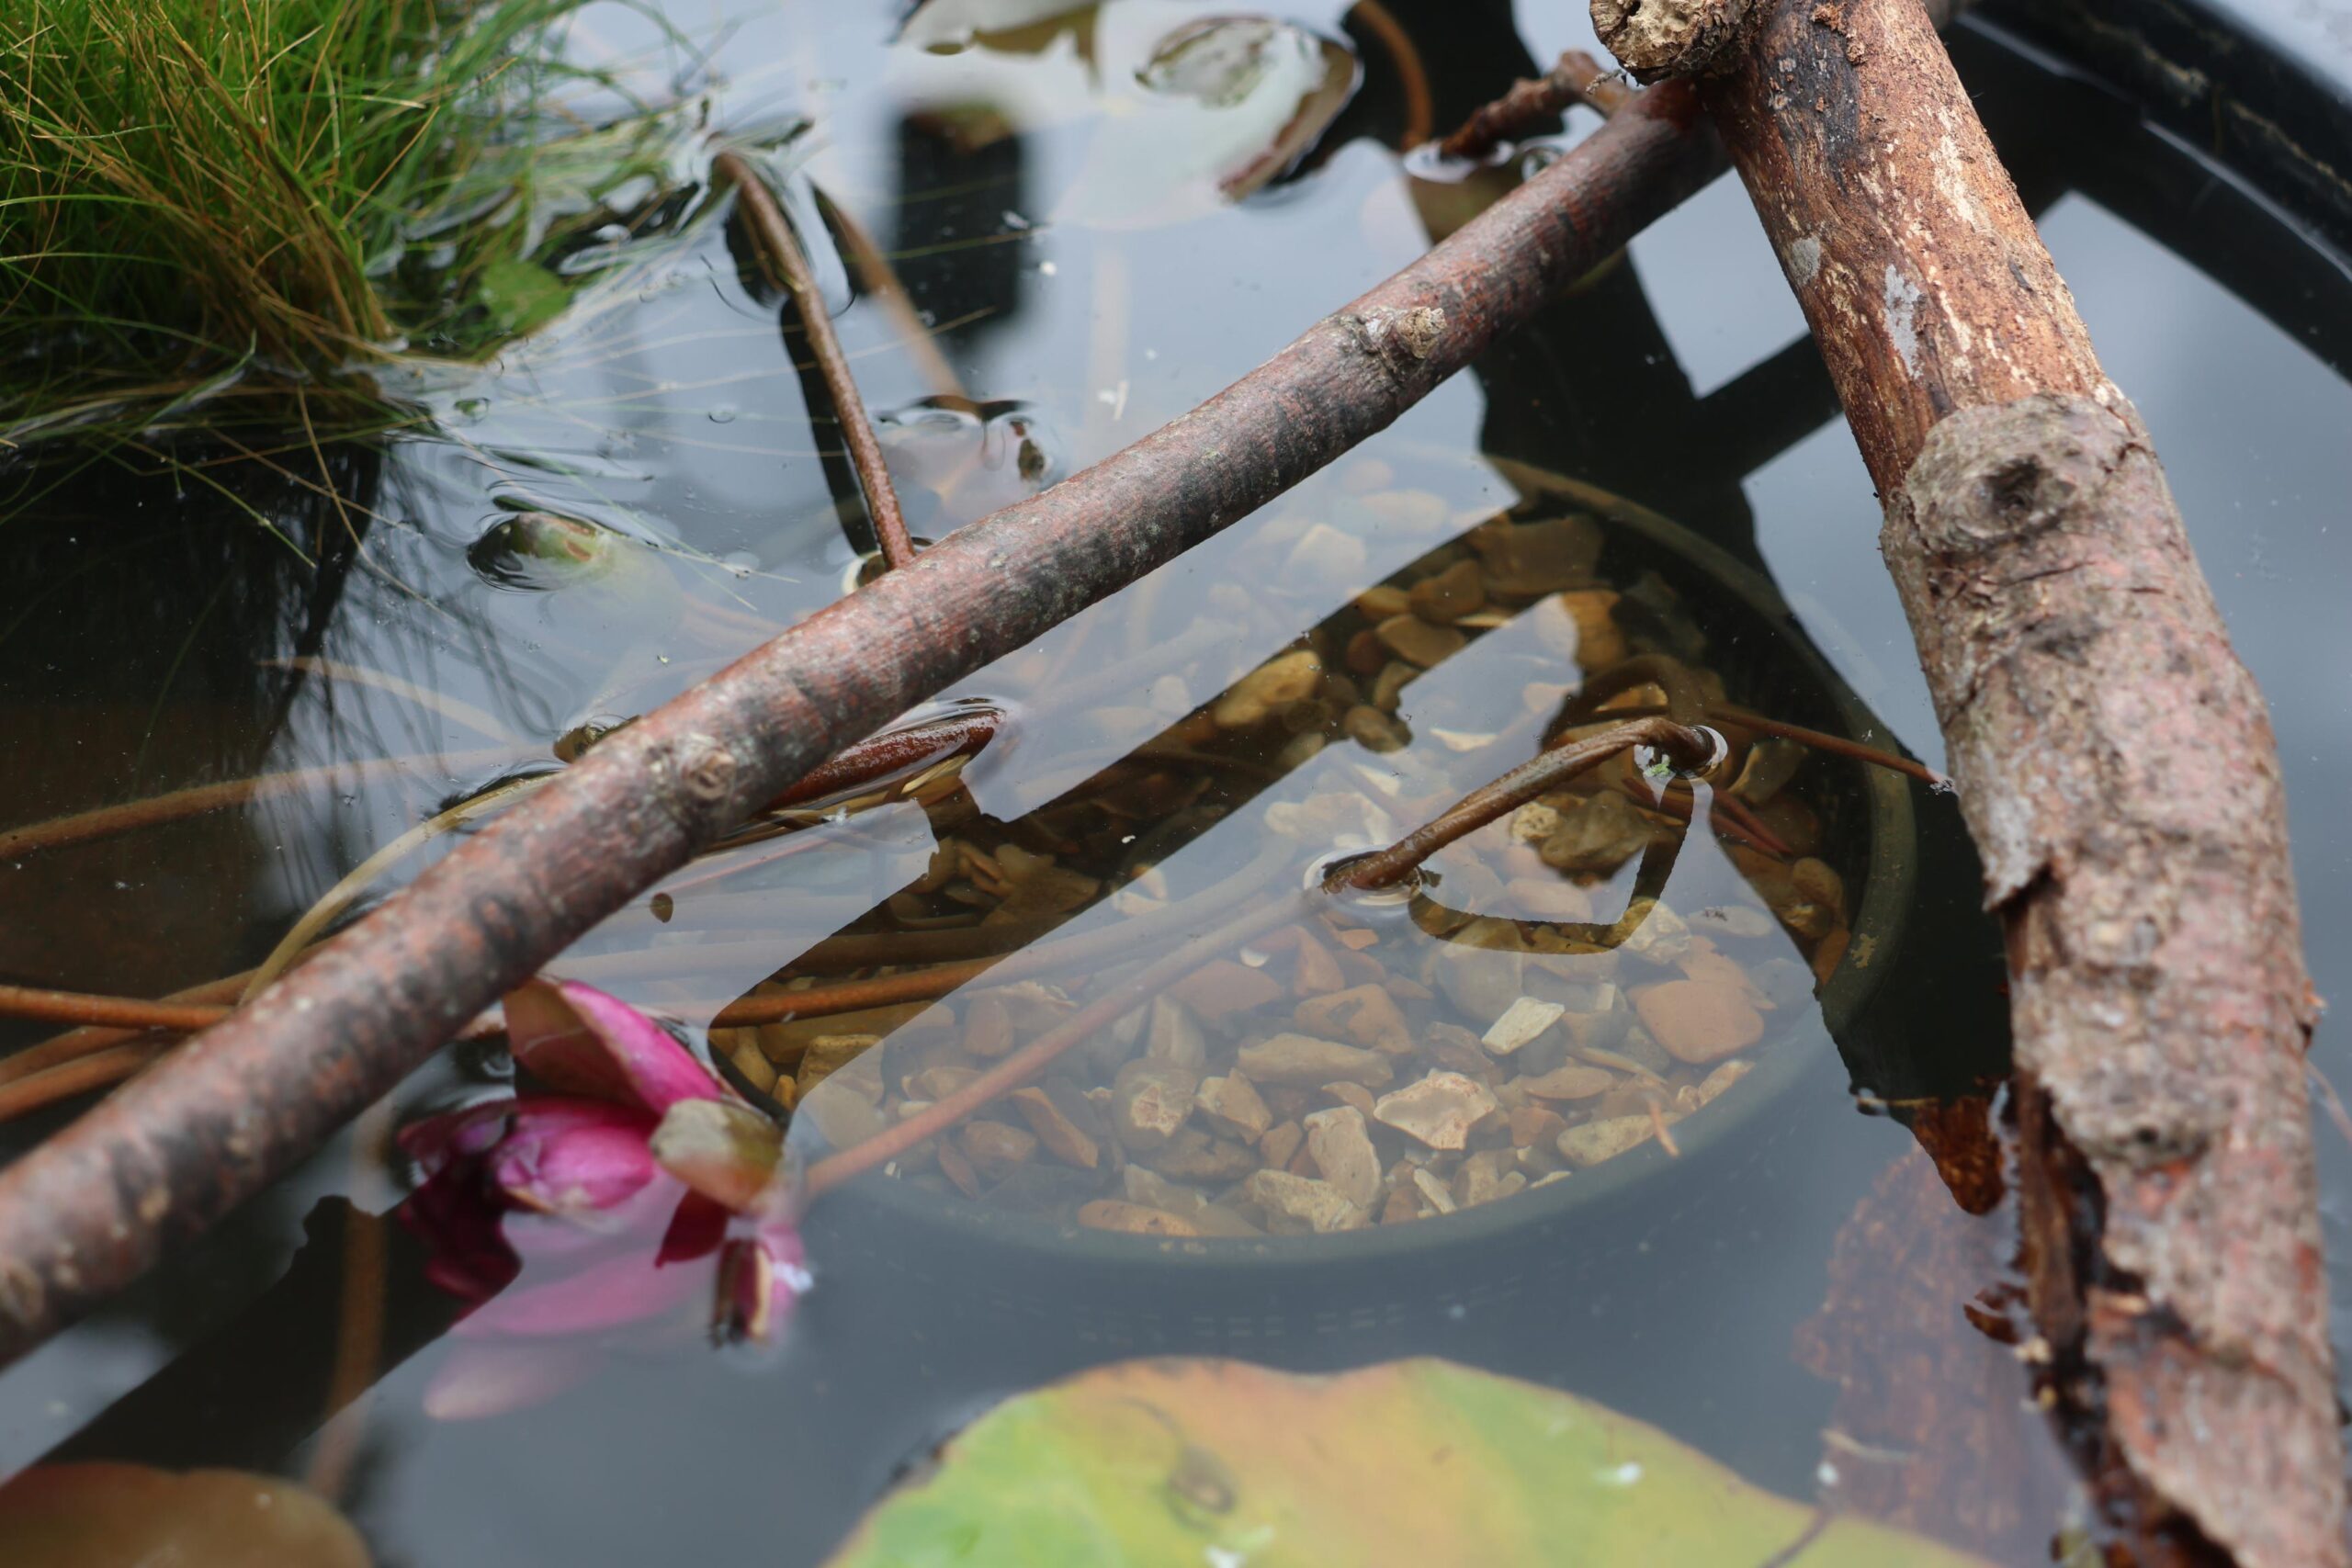
After all of the plants are in place, I removed them and added the washed smaller rocks to the base, so that everything was locked in so to speak. I then started filling it up with water after the plants were back. The water might be a bit murky at first, due to all of the dirt being kicked up, but it settles after a day. I added the sticks on once the water was full. You might need to top up the water every few weeks, but otherwise it will start to grow a life of your own!
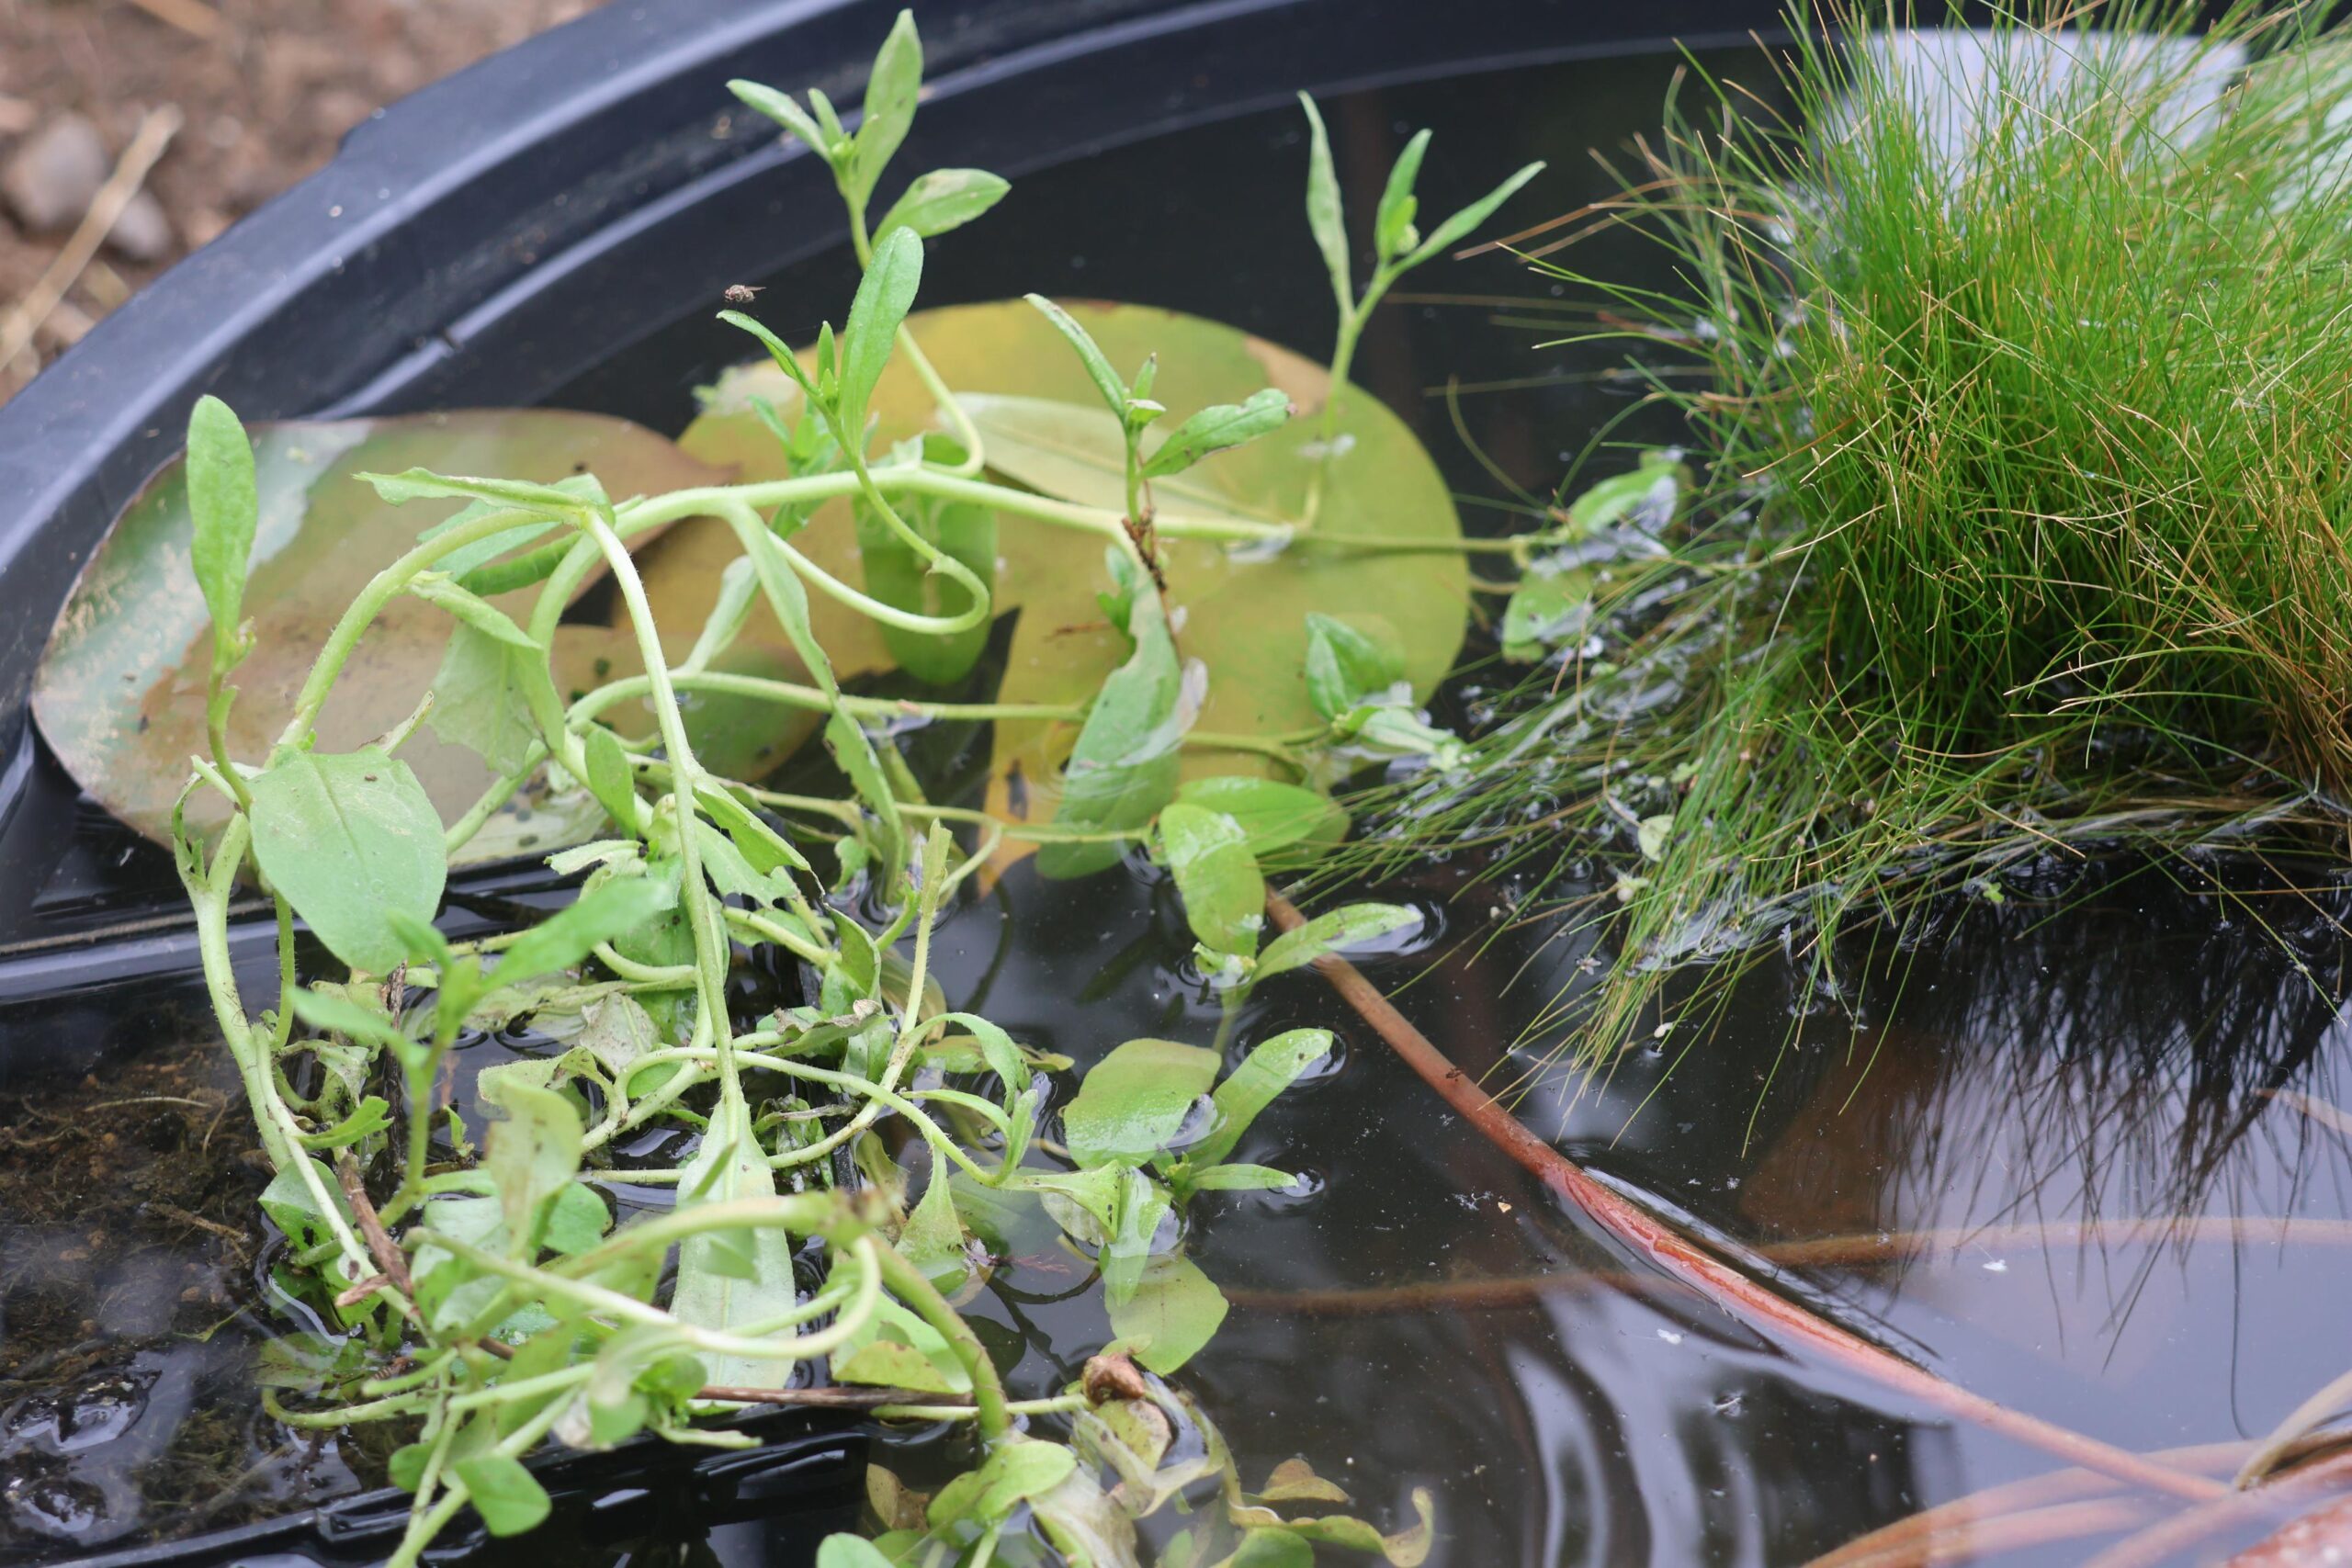
We are so happy with how our mini-pond has ended up! Dann and I will be planting some flowers around the outside, to add even more places for insects to hangout and will be sharing some wildlife updates in the next few months on Instagram. If a pond is too much of a commitment, there are lots of other ways you can help with biodiversity like letting your lawn grow more often or designing your garden to not have hard surfaces, so that water can work it’s way back into the ground.
I’d like to do something similar to this in our garden as we don’t have much going on. This is the kind of thing when my little one gets a bit older she may want to get involved in x
This is so so cool. I would love to have my own pond, I think it would be an amazing addition to my backyard, I love the idea and I will do it. Thank you so much for the information and inspiration.
I’m so doing this! My husband is the “extra” type, so he’s already said he’s going to dig a hole so it sits at ground level. Love this idea!
What a creative way to bring nature closer at home. The wildlife benefits make this backyard pond even more special.
This is a great feature for anyone’s garden and a fab activity for the whole family to get involved in!